Softball End of Season Gift Idea

We have officially neared the end of our amazing softball season. Our girl had so much fun and so did we as parents. We have made some really great friends and cherish their friendships. I encourage you to get your kids involved in an activity and get involved as a parent as well; you’ll create some of the best memories!

I believe that the parents and coaches can really make a difference in how fun the season is for the kids. Some things we’ve done for our girls is get pizza delivered to the field after practice, get ice cream after practice, a pizza party, or a potluck at the fields if we have a double header. All these moments create a bonding experience for the team and for the parents as well.

Our season is now over, and we are getting ready for our end of season party. Our team mom has asked us to provide a small gift for each girl on the team. It can be as small or as large as we’d like. All the items get placed into a basket, and at the end of the season party every girl receives a basket full of goodies. In the past, some items have been pieces of jewelry, slime, craft kit, etc. Anything that the girls can enjoy. I walked through the Dollar Tree and FiveBelow, but nothing caught my eye. I tried to think out of the box this year and tried to gift something that would be used more than once.

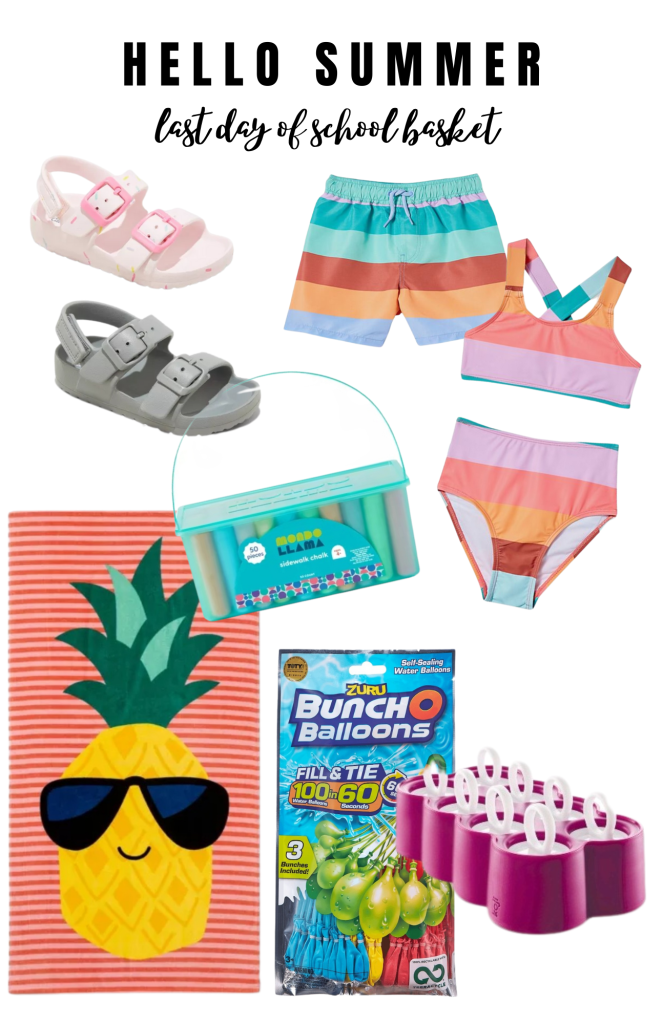
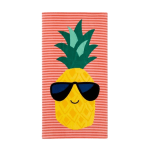
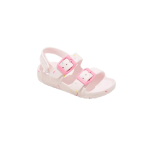
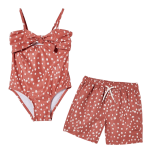
The girls are receiving a team gift of a towel and cute flip flops. I wanted to go with the “summer” theme so I thought, why not a pedicure set. Question was, could I do it and stay within budget? I wanted to spend about $5 per girl. I went home and looked on Amazon. I added all kinds of things to my cart and then I finalized my choices. I ended up ordering some really cute things and spent about $60 on everything.

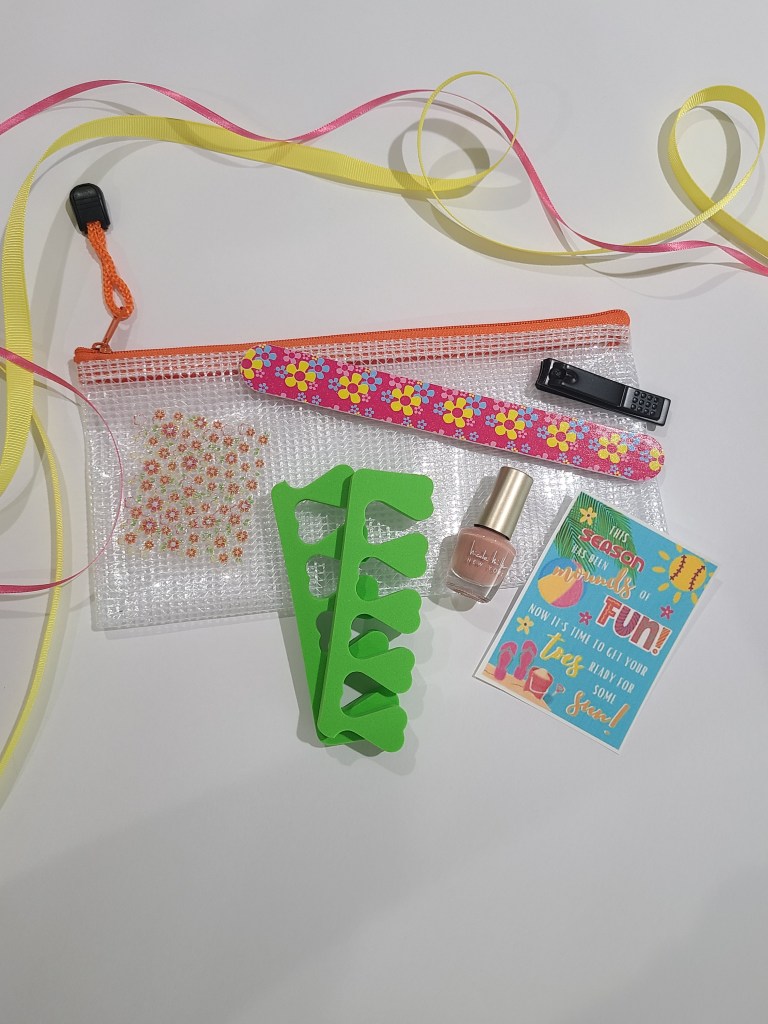
Here’s what I purchased:

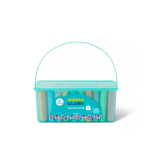
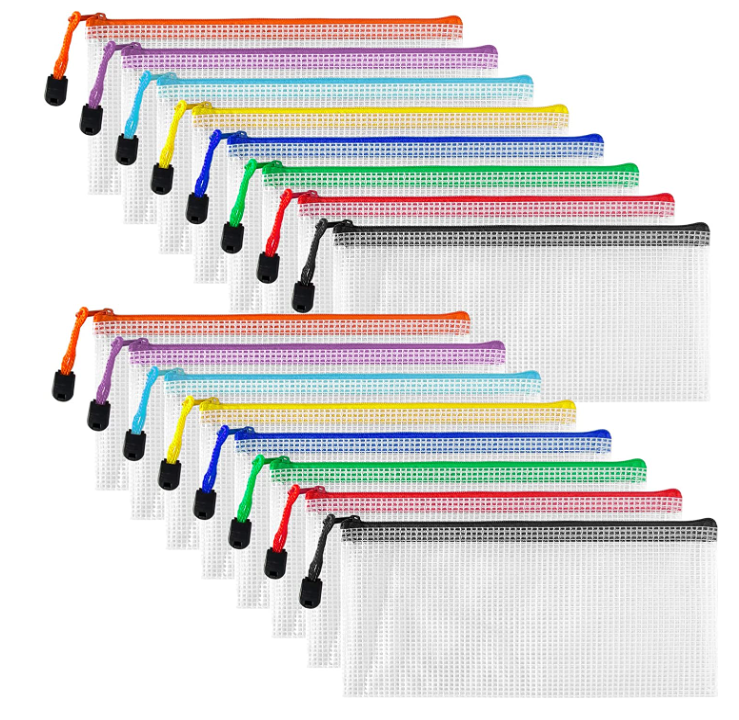
First I looked for a cute bag. I was looking for a pencil bag size. Dollar Tree had some cute ones but they were $1.25 each. This set from Amazon was $7.99 for a pack of 16. They are see through, but that was okay with me. I also loved the colorful zippers.

16 Pack Mesh Zipper Pencil Pouch, Pencil Case Bag, 8 Colors, 9.2×4.5 Inches

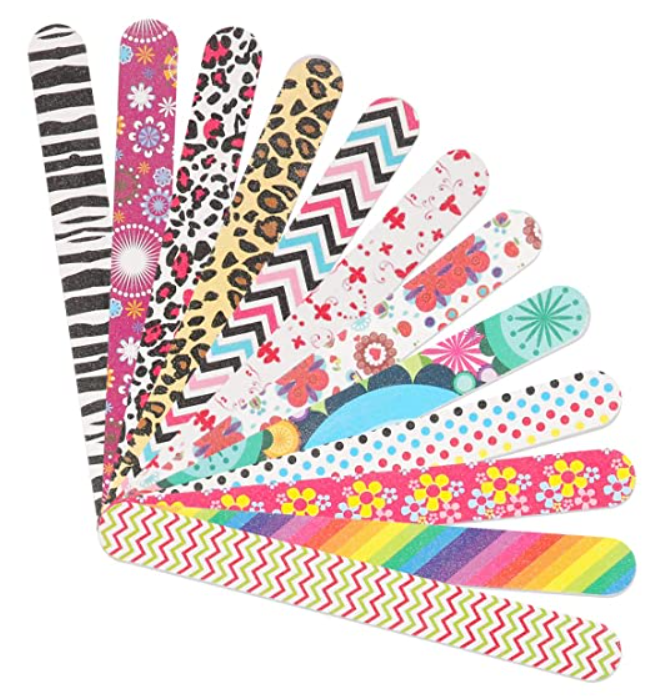
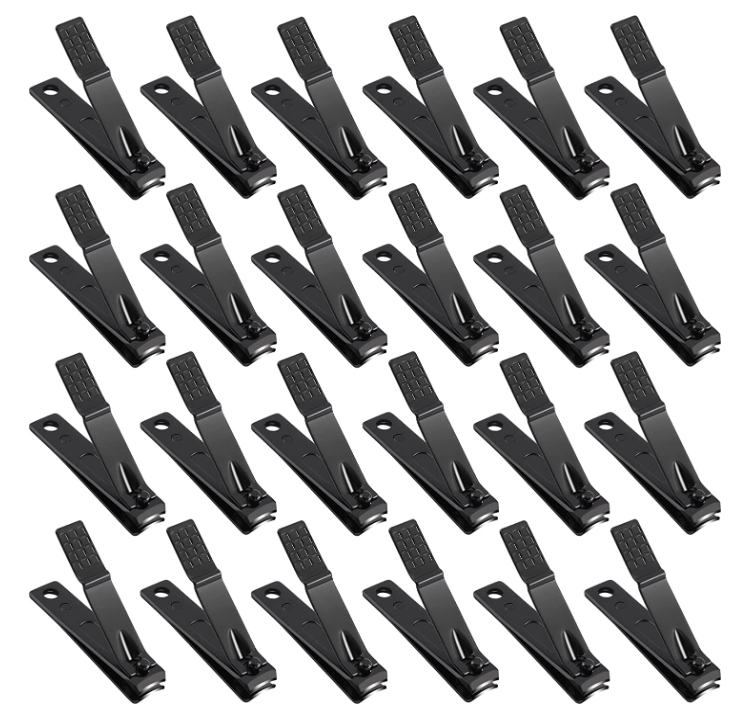
Then I found these cute nail filers. I was looking for full sized ones and these were perfect. I loved the designs. Several others were just plain. These came in a pack of 12 for $4.99. I also found these cute nail clippers. I wanted something more than the basic silver ones. I thought this was a great price. A pack of 24 was $10.79.

12PCS Nail Files 150/150 Grit, Emery Boards for Nails, Professional Double Sided Nail File

Nail Clippers Set,24 Pack Stainless Steel Nail Clippers Bulk

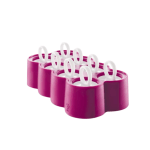
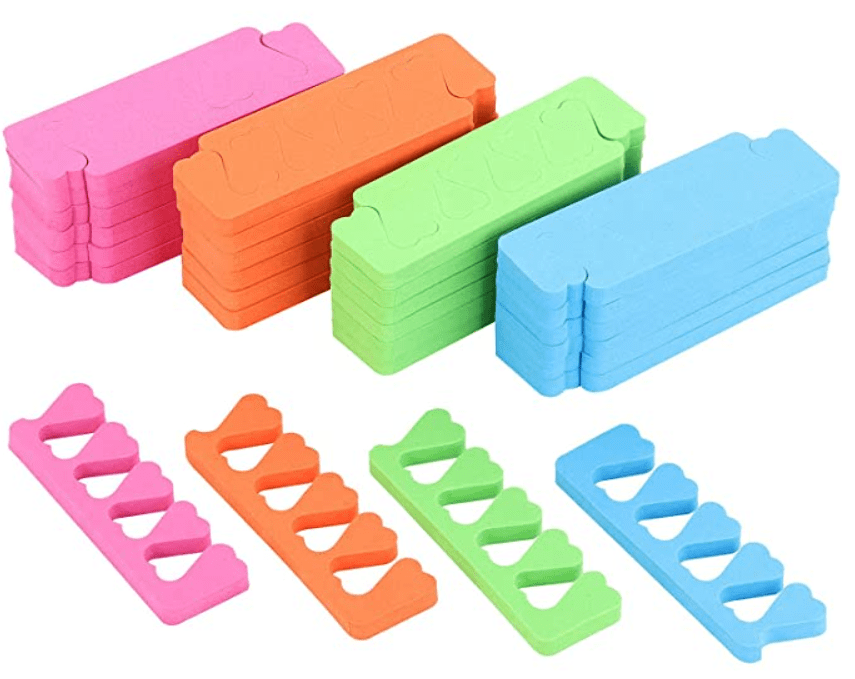
Next, I found these cute toe separators. I fell in love with the different colors in this pack. It comes with 48 pieces for $6.39.

48pcs Sponge Toe Separators Pedicure Set for Nail Polish

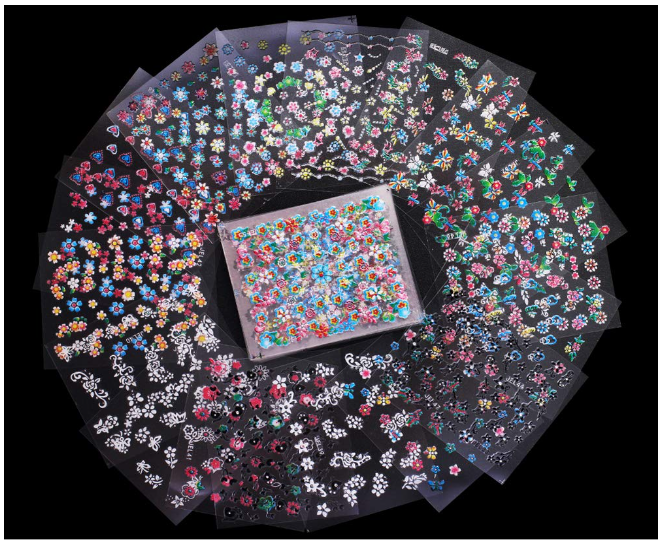
I also wanted to add a cute nail accessory. The easiest accessory I could think of for young girls was stickers. There are several to choose from online. I was looking for a pack that had the most sheets so I can easily divide amongst the girls. I found this set of 50 sheets for $7.99. The sheets were small but the stickers are so cute and perfect for little girl fingers.

50Pcs Self-adhesive 3D Nail Stickers Flower Nail Decals For Women Girls Kids

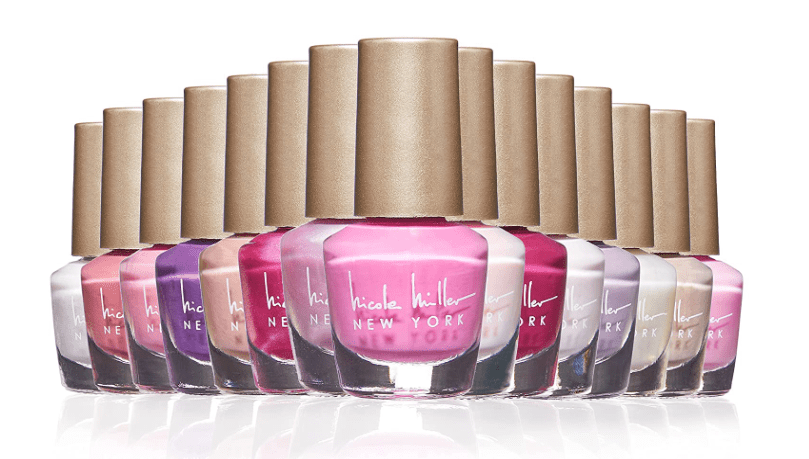
No nail kit is complete without nail polish. I was looking to buy in bulk to get the best price. I also wanted cute neutral colors and nothing too dark. Again, price was a factor with my decision. I came across this set of 15 polishes. It was also a brand name that I have used before so I went ahead and selected this one. The pack of 15 was $14.99 which I think was a great deal. Once they arrived I realized they were smaller than a normal nail polish. It still worked out but just be aware and double check the size of the polish because some are really small.

Nicole Miller 15 Pc Nail Polish Collection

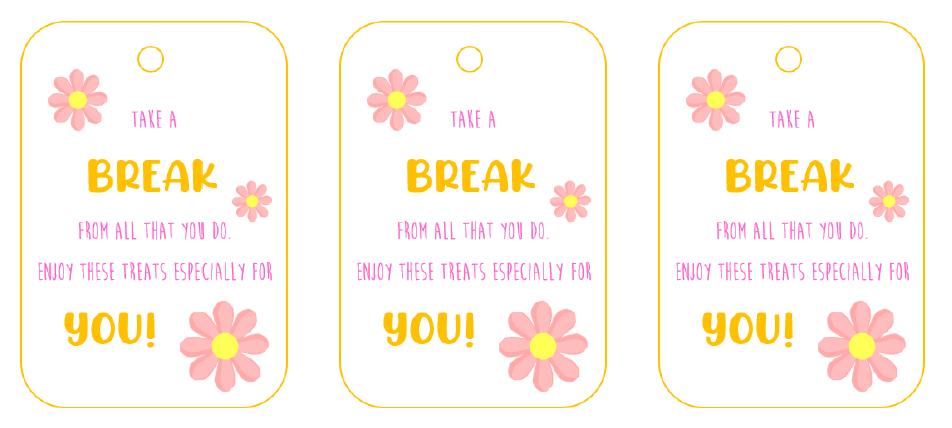
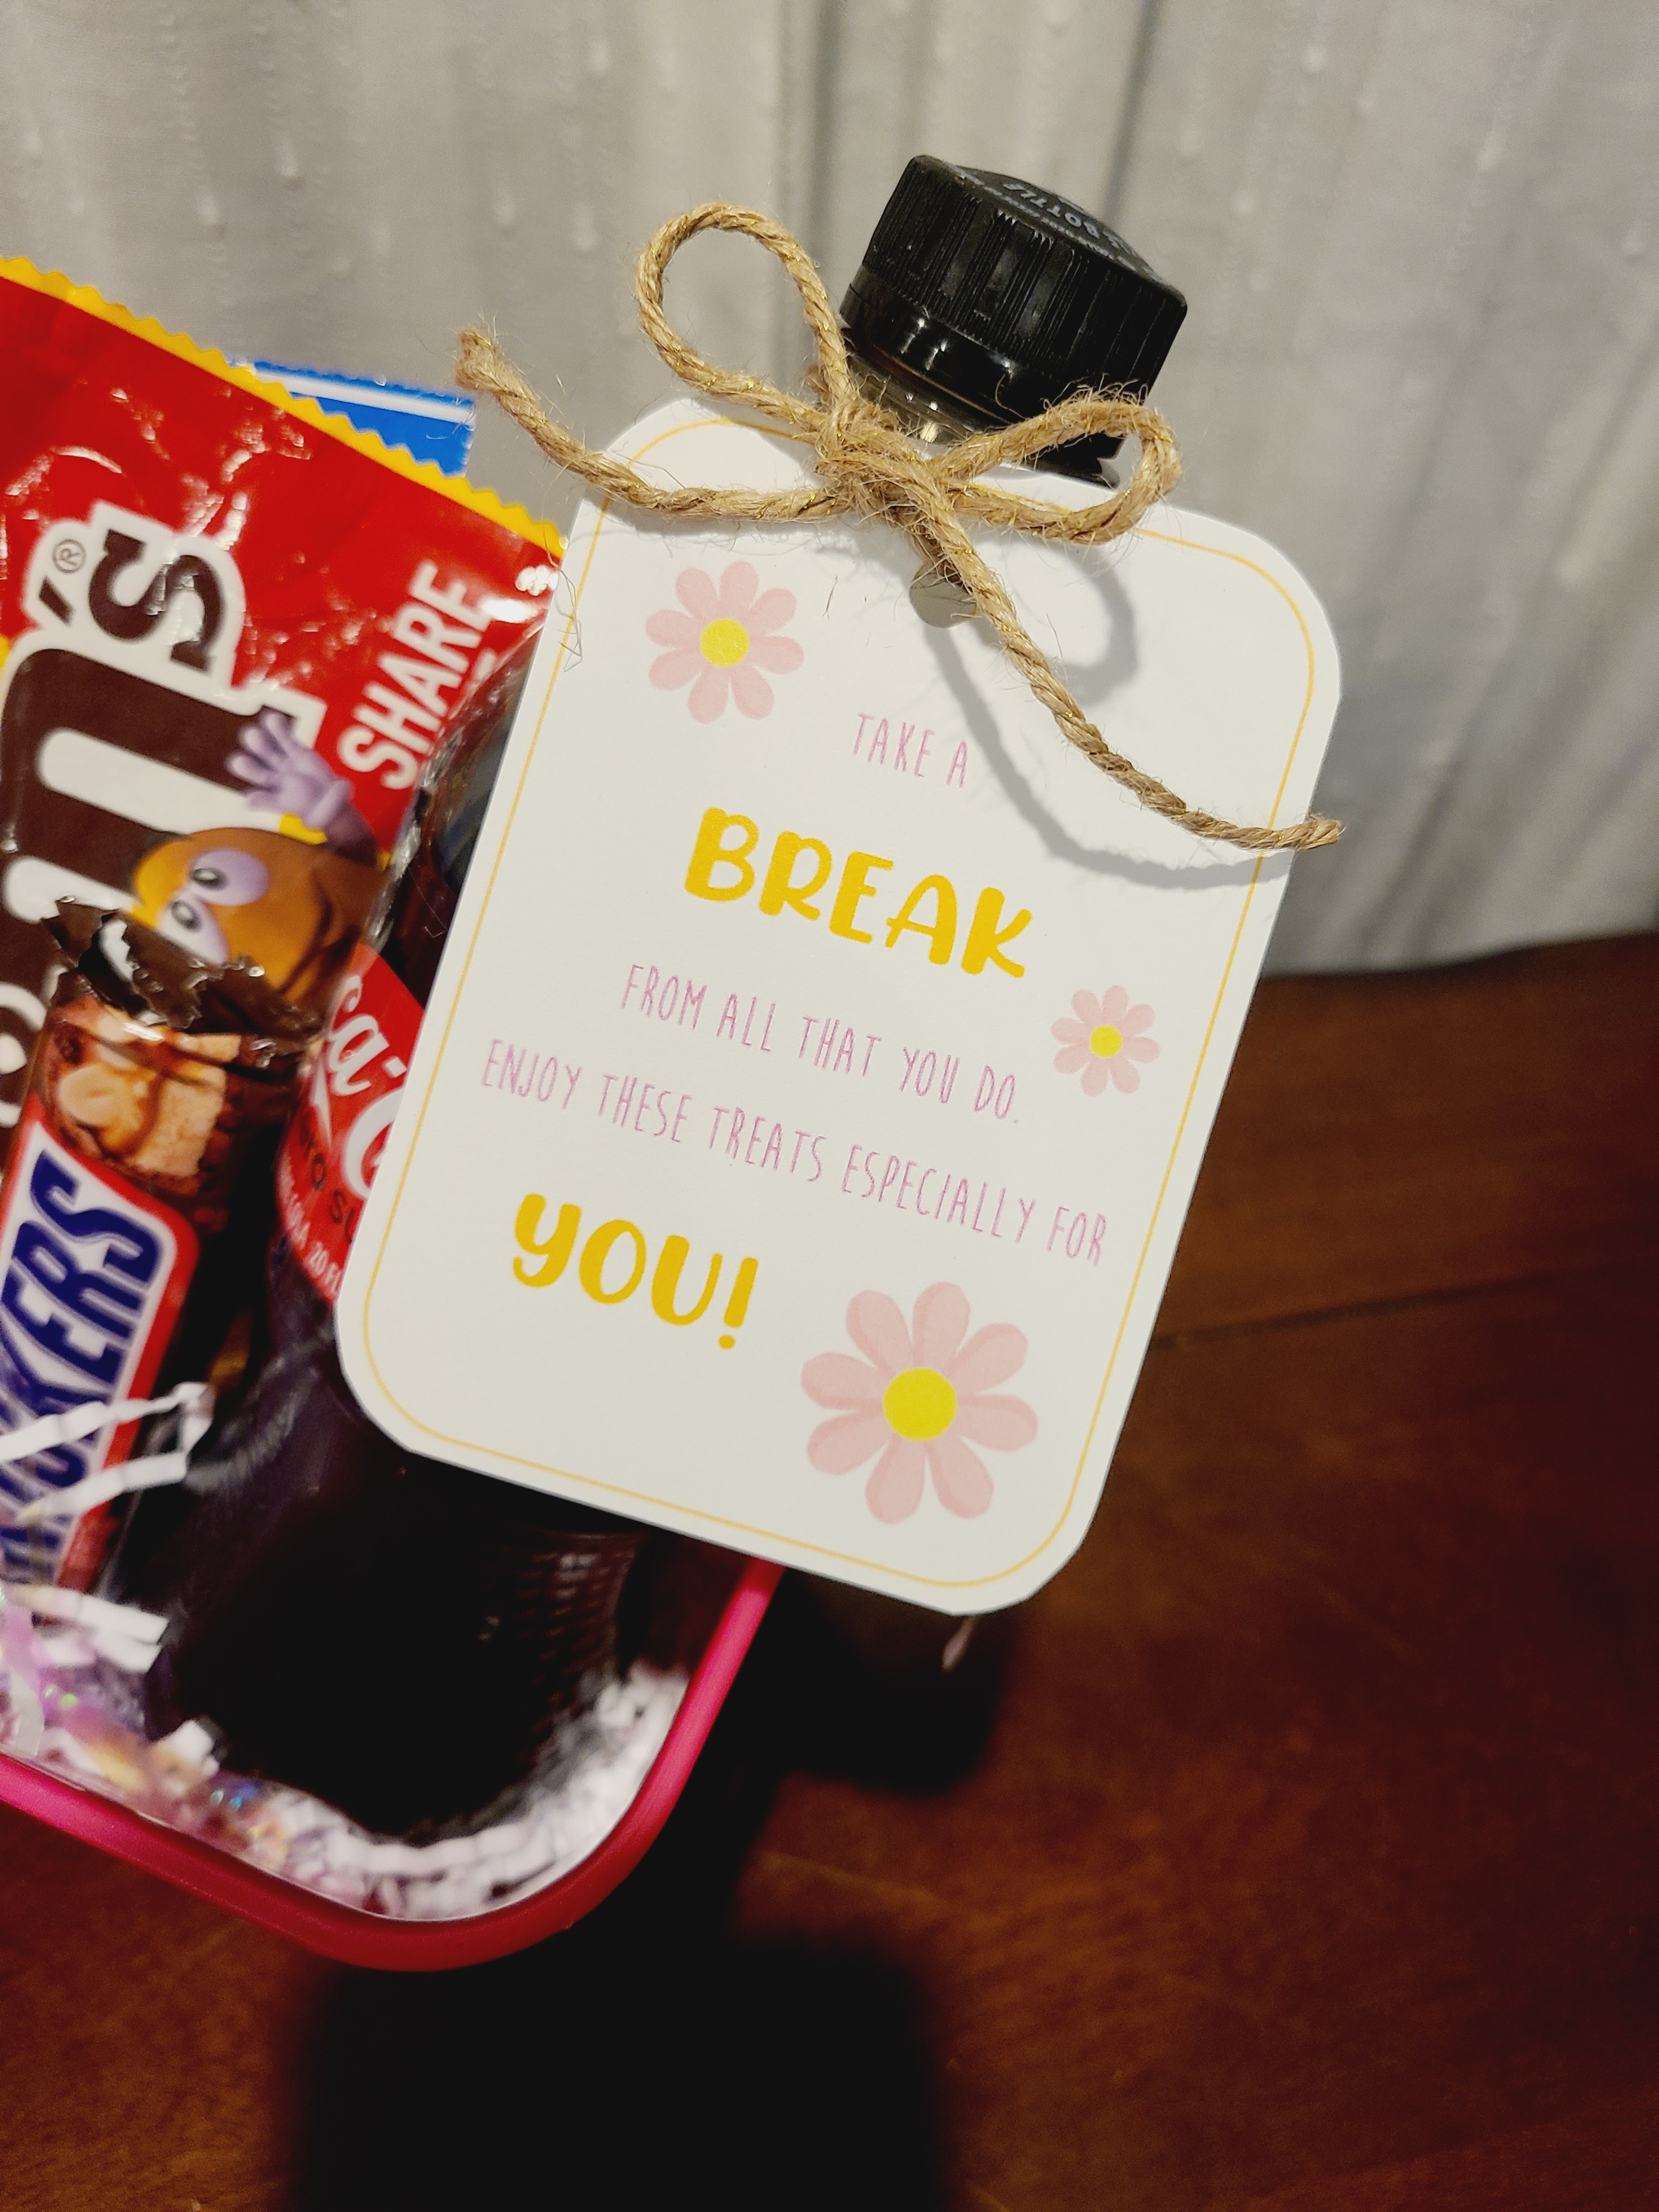
The last piece to this little nail kit I made was a cute tag. I thought long and hard about a cute little saying where could incorporate softball and toes. It was a little tough but I finally came up with something I loved. I designed the tag on the app Canva. You can download it for free if you’d like to create your own kits

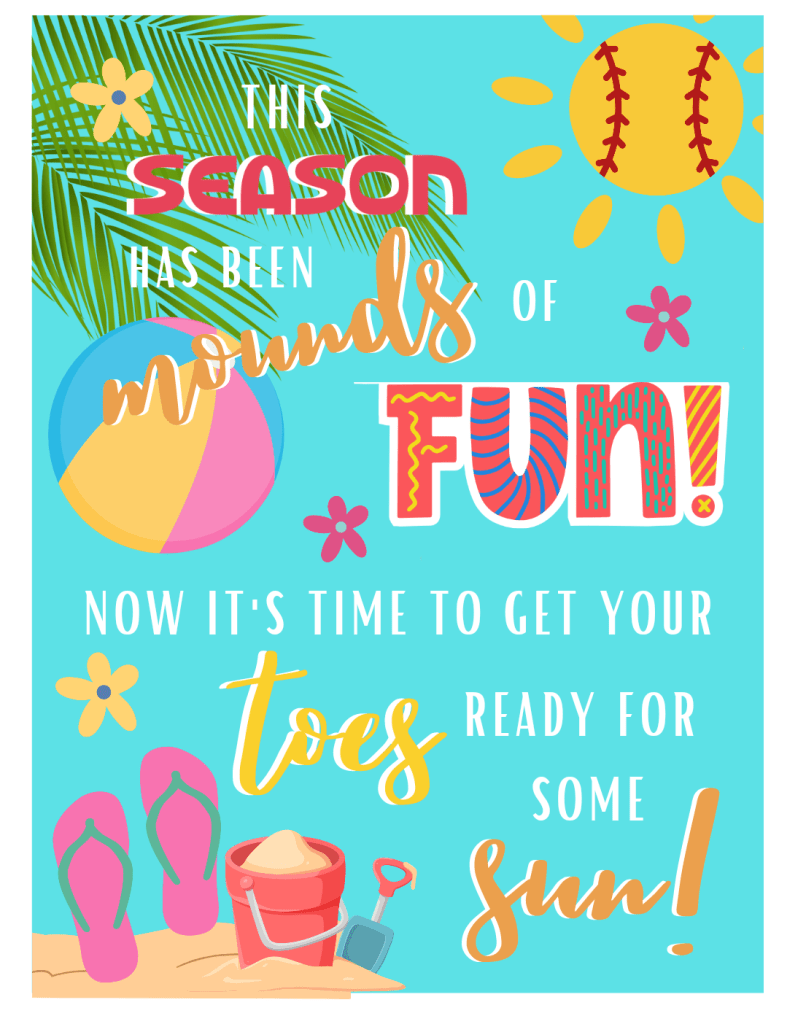
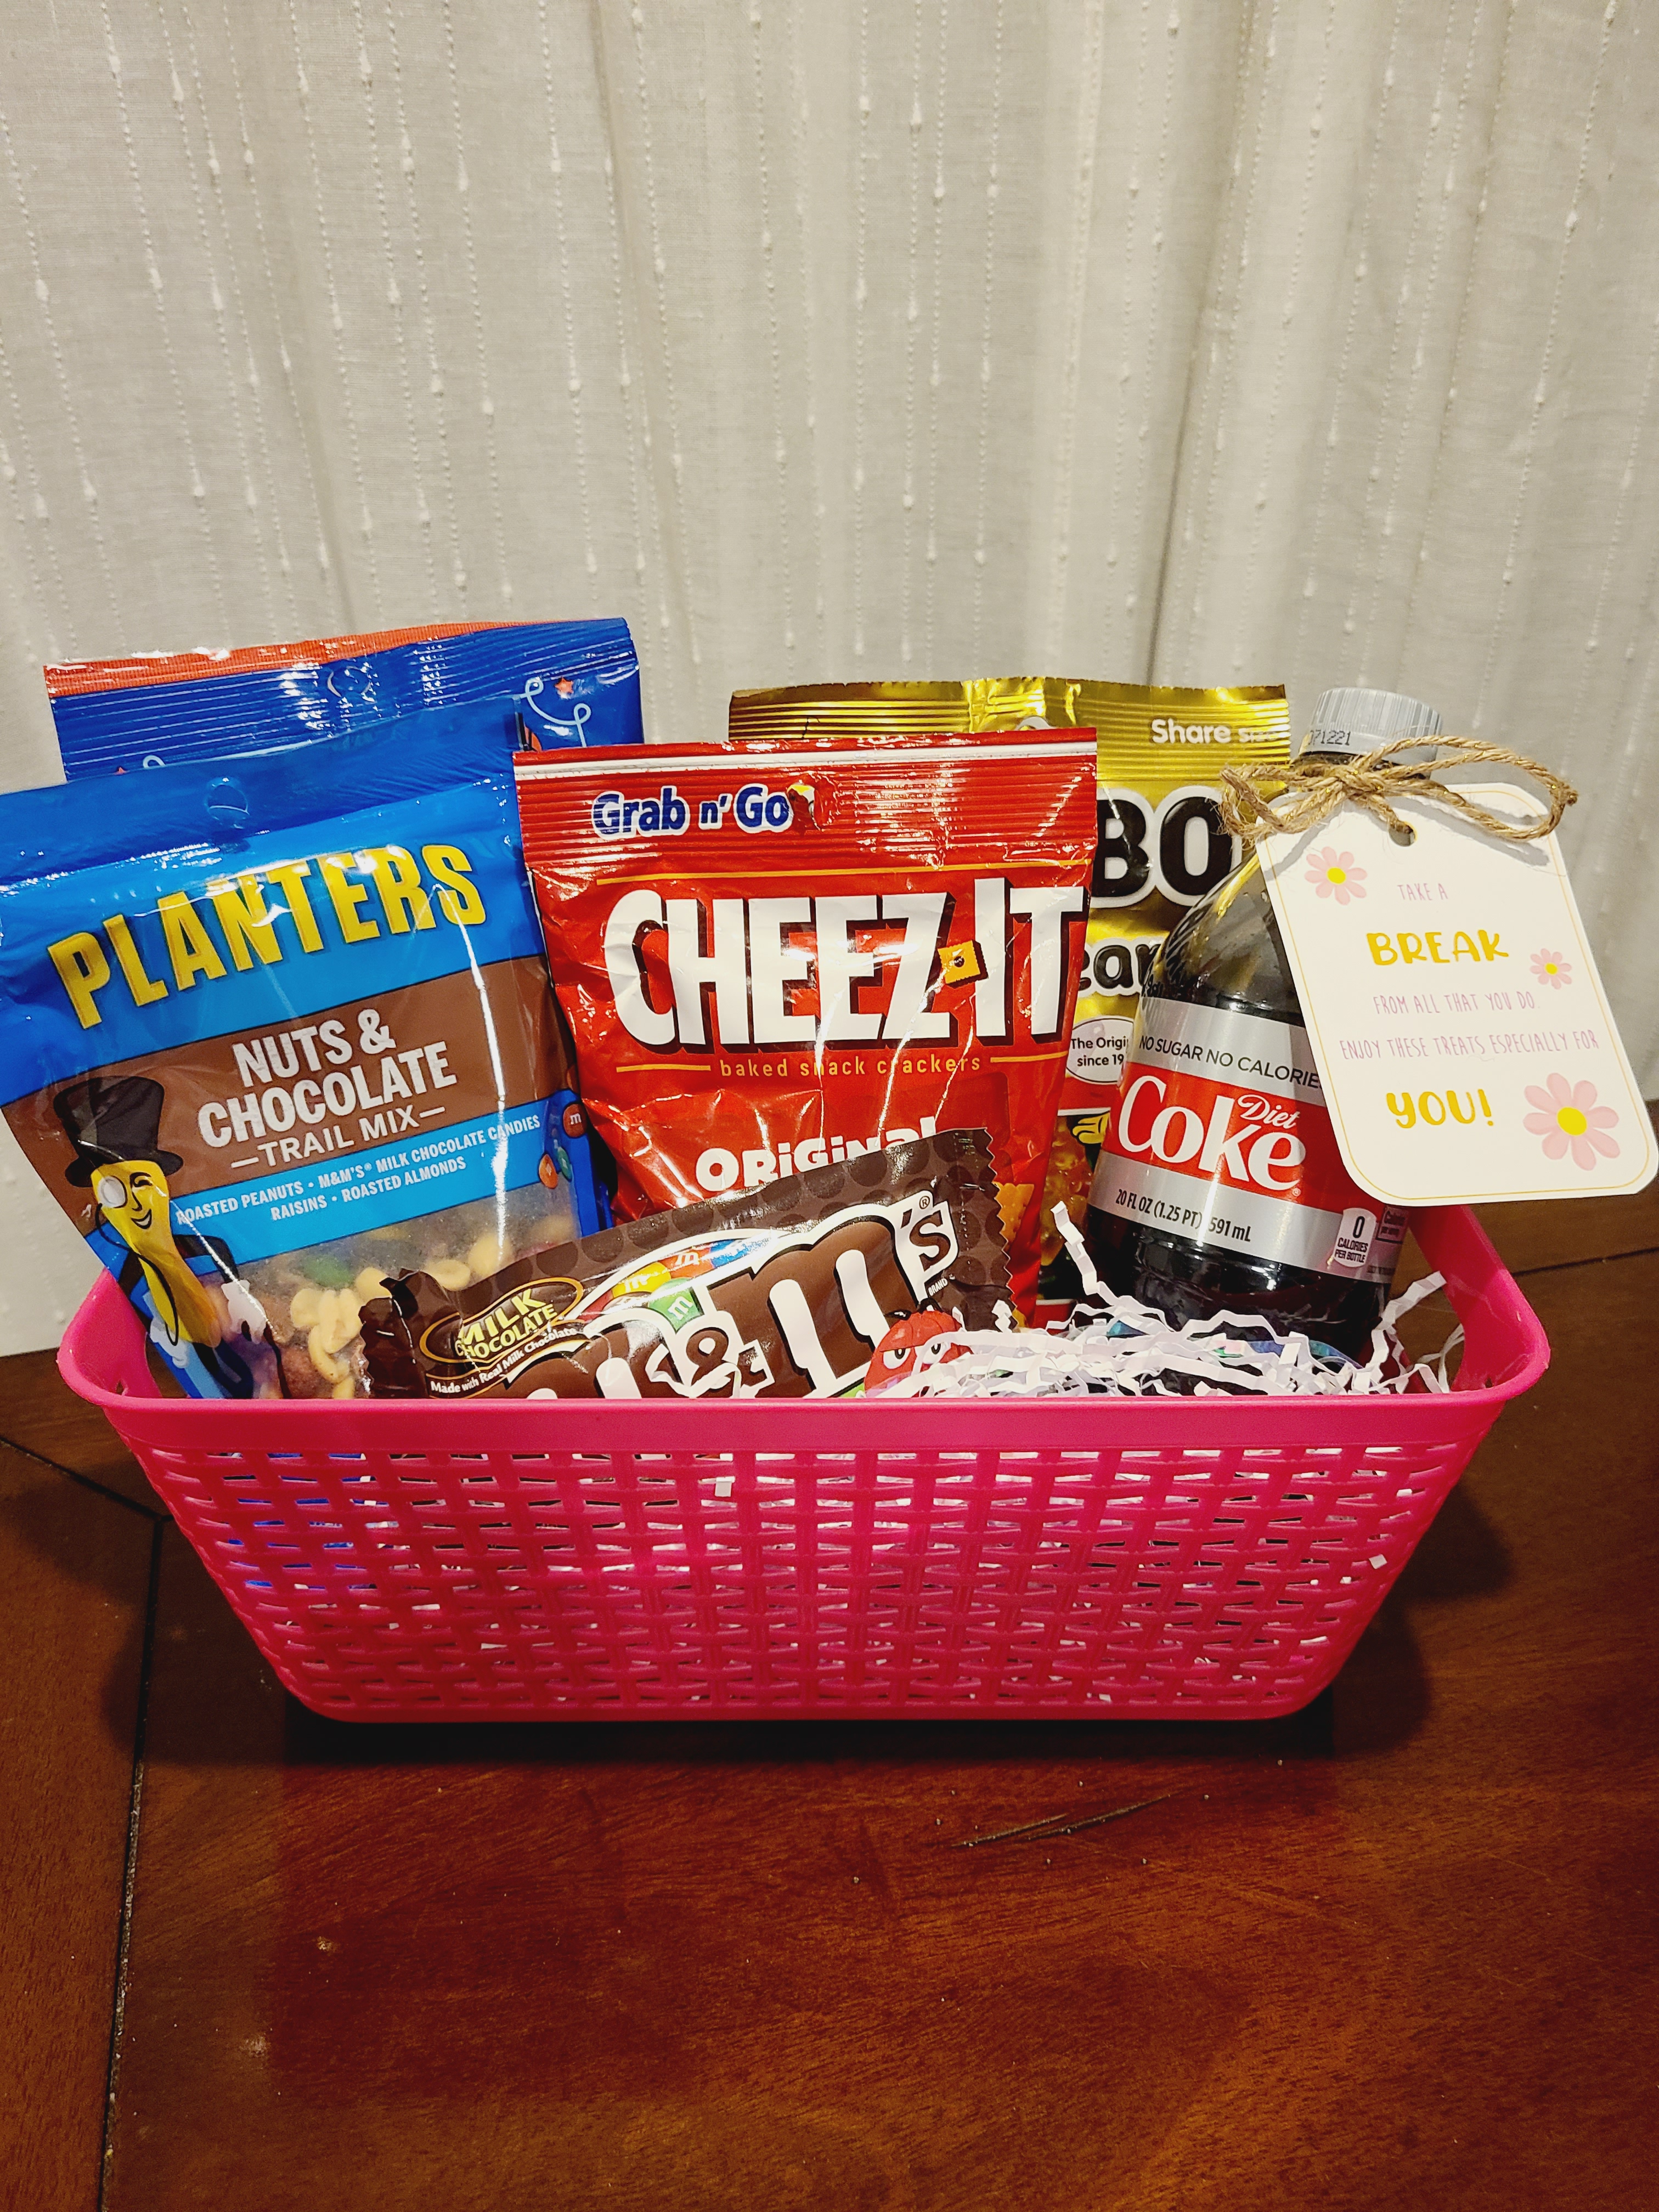
This is the final look of how I put it all together.

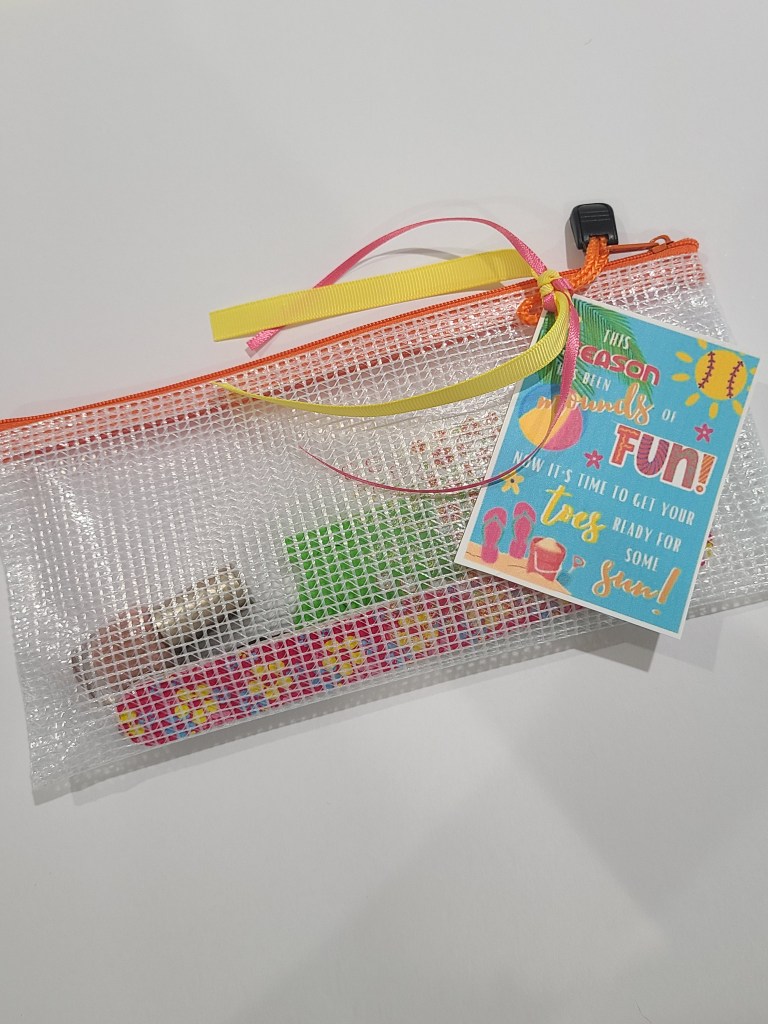
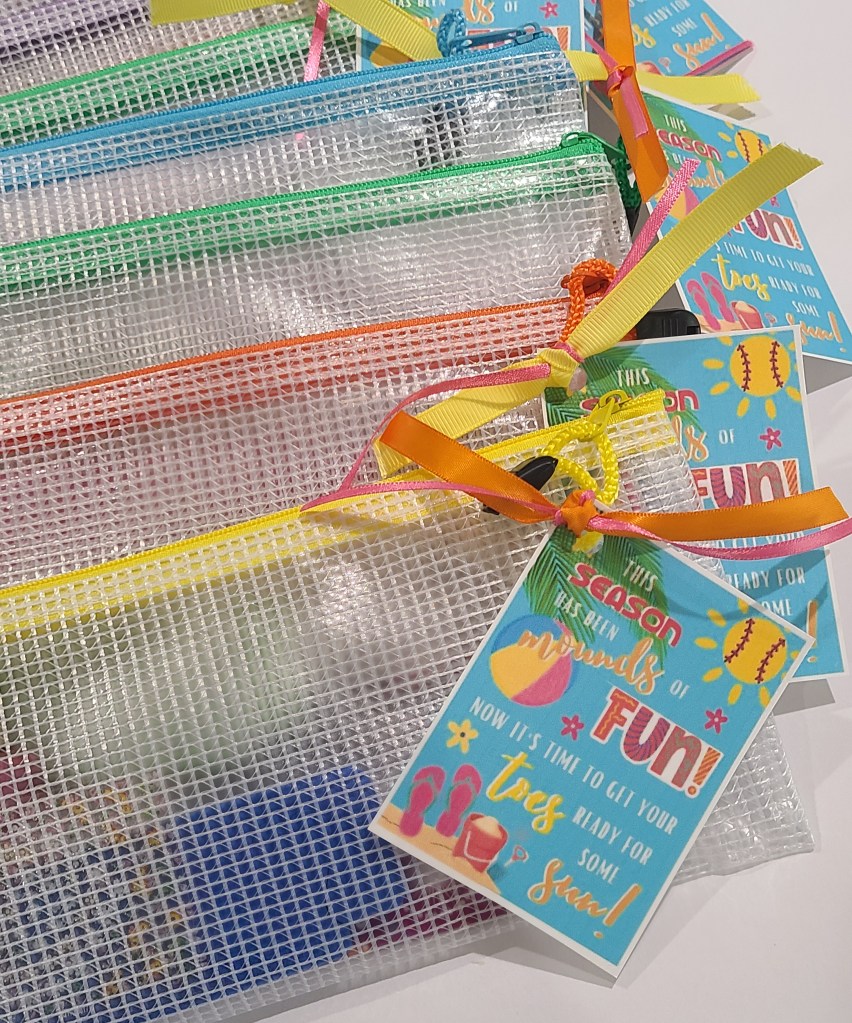
They turned out so cute. I can’t wait for the girls to receive their gifts. I hope they love it! I know my girl will ❤️

Valentine’s Day Pizza Party

So this was the second year that a few of us moms got together to have a Valentine’s day party for our kids. And of course, I’m the mom that took over decor 😁 There are so many cute themes, especially for Galentine’s, but I was looking for something that was neutral to both girls and boys. I loved a pizza party that I came across from Ashley at JustAddConfetti. She had the cutest free printables. I decided that this theme was super cute and simple, so I ran with it. I always like to include activities for the kids and for this party we were gonna make our own pizzas. How fun!

For the decor:

For the main table I created my own banner on WordDoc that said “I love you to Pizzas!” I made mine, but you can definitely buy it. There some really cute ones on Etsy. I also had a heart garland, so I printed heart pizzas and added them to it with some string. (Tried to use what I had so that the cost was minimal.) I also grabbed two pizza boxes from our local pizza place and glued one of Ashley’s printables to it. They are all so cute! Another activity for the kids was to decorate cookies. I found heart cookies at my local grocery store. I decided to place them in a mini pizza box, again one of Ashley’s printables. Adorable! I did have to make the boxes a little bigger before I printed them so the cookies could fit inside.

I also wanted a cute backdrop. Originally, I was going to just get craft paper or wrapping paper and use it as a backdrop. But I really wanted an arch. I was looking into renting one, but for this little party, i didn’t want to spend the money. When I showed my husband what I wanted he said we could make it. We had a piece of plywood that we were able to cut and sand. It was perfect.

I wanted a gingham wrap on it and I thought wallpaper would work. But the shipping was too long and the price was too high. I thought about Mod Podge and when I went to Dollar Tree I found a red and white checker tissue paper. I wasn’t sure of how it would work but it ended up working out perfectly. I placed Mod podge on the wood, then placed the tissue paper, and then topped with more Mod podge. Worked so good! Then I came up with a little phrase for it. All the pizza related phrases I came across were about Love and Pizza. But I changed it to “All you need is Friends & Pizza” I added that phrase to the arch with some letter stickers I had. This is where a Cricut machine would come in handy 😁 I topped the arch with a few balloons and it was perfect!

For the kids table I just ordered some chef aprons and hats from Oriental Trading to place on the table. I added a simple bow to the girls hats. And for the apron, I put their names on a heart pizza and glued it to the front. It was a cute touch. I will add that not many kids wanted to wear the hat. But it’s ok, they looked cute in their aprons. Sharing the links for those below.

The kids had fun making their own pizzas. We kept toppings simple for them. Sauce, cheese and pepperoni. The dough was purchased at our local Trader Joe’s. We pre rolled it for them so all they needed to do was top it. We used a pizza oven to cook them but you can always use an oven and it works just fine.

We had two other activities planned for the kids. One was decorating cookies. I thought it would be fun to make a pizza with our heart shaped cookies. The following is what we used but you can use any candy of choice. For the sauce we used red icing. For the cheese I grated white chocolate. For toppings, we used M&Ms, Sour Patches, and Dots.

This is the final result once it’s dry. You can use it as a vase for flowers or place a candle in it.

Overall this little party was so fun for the kiddos. And I, as always, enjoyed getting creative with the decor. I love to see my babies smile and have fun with their friends. They may not remember these days when they are older but it sure does bring such joy to my heart. These photo’s will show them how much effort their parents made to making sure they created some amazing memories.

I Spy Valentine

I love Valentine’s Day! Love is always in the air and I feel it just makes everyone a little more kind ❤ We had a Valentine’s Day pizza party last weekend and it was so fun. I can’t wait to share the details.

Today I am sharing what my daughter will be handing out to her class this Valentine’s Day. I always like to gift things that are not candy. This year she wanted to gift pens and I found the coolest invisible ink pens on Amazon. Its a marker that writes invisible. Then it has a light attached to it, so when you place it over your writing, you can see what was written. My daughter will sign her name and the kids need to use the light to see who its from. I thought that was fun 🙂

I created these super cute cards to attach the marker to. I will be using some washi tape to hold the marker and card together. Please feel free to download them and use them for your kiddos. Enjoy your day! – XOXO

Below are the free downloads. Enjoy!

Nightstand Transformation

I had this vision in my head of what I wanted a nightstand to look like for my daughters room. I couldn’t find it anywhere and if I did, it was a pretty penny. I began looking second hand, for something I could paint. Offer up had a few options, but once I decided to buy, they were gone. Don’t sleep on OfferUp! If you see something you like, buy it! 🤣

I ended up finding a natural wood nightstand on the HomeDepot website. It was $45 which I think it was a great deal! Especially because I was going to paint it. We bought the color I wanted. It was interior paint in a semi gloss finish. We also bought fluted trim that we were going to cut to the size we needed. We used two pieces and they were about 6ft each.

There was no priming or sanding done to the dresser. I just started to paint. I knew this nightstand wasn’t going to get used very much. It was basically to fill the space, so prepping in my opinion, wasn’t necessary. If you are painting big furniture that will be used daily, then I would recommend sanding prior to painting and even finishing with a special top coat. For this project, I just gave it about 3 coats of paint to have an even finish.

Once I was done painting my husband cut the trim to the size needed. We used a wood glue to help them stay in place.

I debated whether or not to stain the wood, but in the end, the natural look is what I loved. We added a knob and it was done. It is just what I envisioned in my head.

The finished look. I love this little corner so much!

Halloween Treats

We were invited to a Pumpkim Carving party this past weekend and it was so much fun. It was potluck style and my daughter and I decided to make some yummy Halloween Treats. Now last time I did this, it was all junk. Candy, chips, cookies! I mean, it was yummy, but not very healthy. The treats we made this time were healthier choices. My daughter really wanted to help, so I ttied to let her do most of the work. But this got super messy at times and I was trying to be neat so the clean up was quick and easy. What we ended up doing was splitting the duties instead.

We started with the Oreos. Super simple. We melted about one cup of orange melting chocolate in the microwave. I do about 30 second increments, stirring in between, to make sure the chocolate doesn’t burn. Then, I drizzled the cookie and she added green sprinkles. Together, we added an eye to it using the chocolate as our glue.

We then worked on our Ghost Cheese Sticks. This one she was able to do all on her own. I did one as an example and then she ran with it. We used a permanent marker and drew some eyes and a mouth on a string cheese. Very simple. She had fun and felt accomplished once she was done.

We moved on to our Mummy Strawberries. I prewashed and dried them so they were ready to go. I melted about one cup of white melting chocolate in the microwave. The goal was for the chocolate to be messy so my girl gave it a try. But her hand hurt after awhile and she wanted me to drizzle the chocolate and she would add the eye. Truth is, she just wanted to eat. She snacked the whole time we were making these things!

There were two more snacks we made that I didn’t photograph individually. The first was a pumpkim made out of a Cutie orange. The easiest treat we made. We simply peeled the orange and used a piece of bell pepper as the stem. The next was Vampire Mouths made out of Apples, Peanut Butter & mini Marshmallows. This one I think was her favorite to make. It was so fun to see the Mouths take shape and also because she was eating all the marshmallows! 🤣 I sliced the apples and smeared a little peanut butter on one side. My girl placed the Marshmallows on top of the peanut butter and then we basically sandwiched them. So it was apple, Marshmallows and apples. This is one of my favorite snacks. Apples & peanut butter, you can never go wrong!

Last thing we made were Mummy Dogs. We preheated the oven to 375° We used one pack of Crescent Rolls Dough and 12 hot Dogs. I cut the dough into strips and wrapped it around the hotdogs. Popped in the oven for 15 minutes. Once they were out, we grabbed our candy eyes and placed them on our Dogs. For this, we used a little ketchup as our glue. These were such a hit for both adults and kids.

Once all our treats were made I assembled them onto a big cutting board to make a cute display. I love how it turned out! There are so many fun treats out there that you can make and incorporate into a board like this. We really had a great time eating and creating. I hope that you get some ideas from here and create your own spooky treats 👻

Hello Summer!

Do you gift your child with a hello summer basket on the last day of school? I have never done it before but I’ve seen other mommas do it and it looks like so much fun! I mean, its stuff we’re going to need for summer anyway so why not make it cute?

I started shopping for some things that I want to add my girls basket and thought I would share. There is so much stuff out there that would be so  fun. You can go as simple or as extreme as you’d like. New summer gear, water toys, or yummy treats. . . The ideas are endless!

FROM TARGET:

FROM COTTON ON KIDS

https://cottonon.com/US/kids/kids-edit-swim/

So many cute swim suits on the Cotton On kids website. Found a few matching ones for Ava & Abram. Now the hard part is to choose just one. Run, there is a Sale!

I will also stop by the Dollar Tree and see what summer toys they have. Maybe even try to find a basket there. They have some cool stuff sometimes and you can never go wrong with $1!

If you decide to make one, share with me the items you’re adding. I would love to hear your ideas. Have fun shopping ❤

Home Mood Boards

I’ve mentioned before that we are remodeling our home. What the initial plan was, was to expand my living room to add space for a dining table. It has always been a “want” for me. To have my family gather around the table for dinner and talk about our day. But, with the current living space, I just didn’t have a place for a table. Of course, we were fine just the way we were, but we financially had the opportunity to start this project, so we decided to go for it. It was my dad and husbands bright idea, to add to the whole house. Might as well go big right? So here we are, almost doubling our square footage. Making our living room larger, 2 bedrooms larger, our bathroom is getting larger and we are adding a laundry room. What a blessing!! And did I mention that this is a DIY. My husband and father are doing as much as they can and that is why this process has taken almost a year to complete. We have had help from friends and family and we are so blessed with all the help. Truly grateful!!

We are finally nearing the end. We are adding finishing touches and soon enough we get to CLEAN and really make this place feel like home again. My favorite part is the decor, so you’d think it would be easy to pick and buy what I need right? Well, its not that easy. So many ideas are running through my head. Many times my husband has had a design question that I had to answer on the spot and I was so indecisive. I needed to finalize all my thoughts that were floating in my head. I’m a visual person so I had to gather my thoughts for each room on paper somehow. I decided to create a mood board for each room.

Creating a mood board has worked out so well for me. As we are out shopping for things, I refer to these boards so I stick to my plan. It has changed a bit, but for the most part, this has helped me stay focused with my original design plan.

First up, our bedroom. My vision is for it is to be bright. We purchased a new bedroom set that is a natural stain wood with dark hardware. I love it! The walls are all white. Maybe down the line, we can make an accent wall behind the bed. I have a window that looks to the back yard. I want to buy some light curtains and put either an accent chair or a recliner. Hubby wants a recliner in the living room. I’m trying to see if we can make it work. If not, it will go in the bedroom. Also, we have a whole wall of closets. I’m hoping we can design and DIY some closet doors in the future because I haven’t found any I like. For now, they will remain open.

Next is our bathroom. Our home has two bathrooms. We only remodeled the one attached to our room. It was so tiny before so it was so nice to add to this room. We made the old bathroom a wet room which is basically a big walk in shower. The addition to the bathroom is where we will place the vanity and toilet. I really wanted some bold pretty tile in here but I was scared to commit. I know styles change often so I decided to stay neutral in here as well. We chose white/grey marble tile for the shower and we purchased some beautiful teak wood for the shower floors. The vanity was a little hard to find. I wanted something with natural wood and a dark hardwood without paying thousands of dollars. My dad offered to build it but I did not want to add to the to do list. I ended up searching on offer up. I found a wholesaler who was selling vanities at the perfect price and it was just what we wanted. I highly recommend checking offer up for those deals!

Speaking of bold tiles, the one place I felt comfortable with a pattern tile was in the laundry room. There were so many beautiful tiles at Floor and Decor but this one I fell in love with since day one. It also matched the gold hardware and blue cabinets that I wanted in this space. I have a vintage utility sink that is on its way! This space is coming together and I am loving it. Doing laundry is definitely not a fun task but maybe doing it in a cute space will make it better!

My Ava girl wants a rainbow room. By rainbow I mean red, orange, yellow, etc which is too hard on my eyes. I have convinced her to let me do a muted rainbow. I promised her it would be pretty. And since she is getting older, I want her to be able to grow into this room and not have to remodel it for a few years. I am planning on a DIY ombre backboard for her bed. I have a table that belonged to her grandma that I am contemplating painting white. Then by her window, maybe create a little reading nook with some cute poufs and floor pillows. The ones pictured above are from Urban Outfitters.

Next area is the new dining space that I am so excited to finally have. I want a large dining table with black chairs. I found this really pretty table from Crate & Barrel and these chairs are from Home Depot. I want this space to be simple and pretty. Another DIY for this space will be a built in electric fireplace in black with a wood mantel. I am already in love and I can already picture family enjoying dinner around the table.

Final room is the new living room space. This room was the most difficult. We had to find a tile that matched out existing tile which was so hard. There weren’t many options when we did our floors years ago and now there are so many that it was overwhelming. But I think we found one and we were pretty close. We decided to lay the tiles in a herringbone pattern to offset the two different tiles. Hopefully when we deep clean the house we can see the true colors of the floor and cross our fingers that there isn’t too much of a difference. Aside from new floors I am trying to give this space a new look without spending too much money. Planning on buying a new rug and some new pillow cases. I have a ton of pillows that I need to reuse. I think adding some new wall pictures in here will finish this space.

Completing my home with all the decor pieces will take time. I will try to buy a few things at a time so that I’m not spending too much money at once. So bare with me as I share photos of the completed space.

I can’t wait to share more photos with you as it all comes together.

Teacher Appreciation Week

Teacher appreciation week is this week, May 3rd – 7th. If you know me, you know that I try to take every opportunity to say thank you to my daughters teacher. They spend more time at school then they do at home. And being a teacher takes a lot of love & patience. It is not an easy job. Many parents experienced first hand this past year, during the pandemic, that it takes a lot of work! So this year, more than ever, we need to thank our teachers.

This year for us has been a little different because my daughter has, not one, but 3 teachers! So finding cost effective gifts that they will all enjoy can be a little hard. But here is what I came up with. . .

On the first day of school I sent my daughter with a printable that writes a little note to the teacher asking them to fill out what their favorites are (favorite drink, snack, etc). So I used this sheet when doing my shopping.

Teacher Favorites Free Printable

Monday: You Make Me Bloom!

Sending my daughter to school with a small bouquet for every teacher. I bought these really cute balloons from the Dollar Tree that say “Best Teacher Ever” and “You’re the Best” Also purchased the small vases and the chalkboard tags. You don’t have to buy real flowers, you can do fake flowers or even have your child make a flower. It’s always the thought that counts.

Tuesday: Hands Down You’re The Best Teacher Around!

This tag can be used for a lot of different things. It can be used with hand soap, hand sanitizer or lotion. I went into Bath and Body Works. They happened to have a sale on the hand soaps, so that is what I purchased. I also knew the teachers favorite scents, so I know it’s one they’ll love! Bath and Body Works gives you free cello wrap and a ribbon so you don’t even need to buy anything else for this gift. Just ask and they will give it to you. I placed the soap in the cello wrap, tied it up and added my tag. It was a cute and simple gift.

Hands Down You’re the Best Teacher Around Free Printable
Added the tag to a Hand Soap from Bath and Body Works

Wednesday: Thanks a LOTTO for all that you do!

I purchased a few scratchers for each teacher from my local donut shop. You can buy however many you’d like and in any amount. They sell them for $1, $2, $5, etc. I created a small envelope to place them in. Another cute term you can use for lotto tickets is “I hit the Jackpot having you as my teacher.” Hopefully one of them wins 🙂

Thanks a LOTTO Free Printable

Thursday: You just hap-PEN to be very INK-redible!

This little saying is probably my favorite. Going to pair it with a set of colored pens. I mean, who doesn’t love assorted pens? Colored pens are perfect for lesson planning or for your calendar. I think you can never have too many!

INK-credible Teacher Free Printable

Friday: Take a BREAK from all that you do. Enjoy these TREATS especially for you!

This one is a fun one because its a little more personalized. I purchased a small basket from the Dollar Tree for each teacher and filled it with a few of their favorite treats. Some items on their lists were soda, popcorn, candy, nuts, etc. You can fill it with all of their favorites or things you think they may like. Either way its yumminess in a basket that they can enjoy during breaktime.

Teacher Treats Free Printable

Hopefully this gave you some inspiration for your teachers. At the end of the day, any way we choose to say thank you is appreciated. Enjoy the free printables!

Construction Birthday

My son turned one and I had to chose a birthday theme. When I start to plan a birthday, there are a few things that I like to think about first. One is obviously, what does my son like? Right now he is into airplanes, trash trucks, blue clues, and lots of other things. Then, I start to think, do I own things that I can use? In this case, I had a Tonka construction truck that my family gave him for Christmas. It is so cute and he enjoys playing with it. I started looking into decorations and all the fun things I can do for his party and viola, we have selected a theme! A construction birthday party.

Throwing a party doesn’t have to be expensive. Everyone has a different budget to work with. I started planning what I wanted to do, decor wise, and then I went hunting. I found so much decor on Amazon that was super affordable and believe it or not I found so much at the dollar tree. Have you ever walked the isles at the dollar tree?? wow, so much good stuff. My husband always asks, did you just spend $30 at the dollar tree? Haha, yup! I did! Wanna see what I bought? 🙂 I will share some photos of my sons party and I’ll try to link what I bought.

Let me start with what I can’t link.

The Dollar Tree:

I bought the construction cones, black hangers, the sand box toys (yes, even the little construction trucks). The black baskets I used for the Build It Station and the create your own construction site kit. It was a cute little kit that included stickers to create your own construction scene.

At the Target Bullseye I found these really cute construction tucks you can build yourself. They were $1 and I added them to the Build It Station. I always like to have activities for the kids at a party. Its fun to watch them get creative! Last thing at the build it station were the “toolbelts” that they got to decorate. Purchased them at the Home Depot for $1.50.

Apron link:

https://www.homedepot.com/p/The-Home-Depot-Canvas-Tool-Apron-HD324655-TH/310338162

From Amazon:

Toolbox that I used for candy bags

https://www.amazon.com/gp/product/B07HWX1HHJ/ref=ppx_yo_dt_b_asin_title_o02_s00?ie=UTF8&psc=1

Construction Signs

https://www.amazon.com/gp/product/B07KVVYMMW/ref=ppx_yo_dt_b_asin_title_o02_s00?ie=UTF8&psc=1

HardHats and Vest

https://www.amazon.com/gp/product/B01LDFY4SY/ref=ppx_yo_dt_b_asin_title_o03_s00?ie=UTF8&psc=1

Construction Party Decor Kit

https://www.amazon.com/gp/product/B07N4LM727/ref=ppx_yo_dt_b_asin_title_o03_s01?ie=UTF8&psc=1

Shovel Spoons

https://www.amazon.com/gp/product/B07RZN758D/ref=ppx_yo_dt_b_asin_title_o03_s05?ie=UTF8&psc=1

Construction Backdrop

https://www.amazon.com/gp/product/B07SVY5DBK/ref=ppx_yo_dt_b_asin_title_o03_s01?ie=UTF8&psc=1

High Chair Banner

https://www.amazon.com/gp/product/B07WYJ49K4/ref=ppx_yo_dt_b_asin_title_o03_s05?ie=UTF8&psc=1

H E L L O

Hi friends. My name is Brenda Anaya and I am totally new to this blog thing. Its something that sparked interest but never thought I’d actually do. Before I start on my why, let me tell you about myself.

I am 31 yrs old, born and raised in Whittier, Ca. I have a loving husband who I’ve been married to for 6 yrs. When we got married I gained a bonus daughter named Destiny, and later had my first born Ava who is 5 and baby boy, Abram who is now 1.

Prior to having my son, I worked as a supervisor for a company for 12 yrs. It was one of my first jobs where I just flourished. But after so long I felt wore out and was craving something different. I started to pursue other job opportunities but 1. I was being too picky with the job/pay and 2. I wasn’t landing anything. So I put that idea of leaving on pause. Then we found out we were expecting another child. I started to really think about our families future. How was I going to work a full time job and manage my family. It started stressing me out. I have a husband who has a wonderful job and is so flexible because he is always on the road. He can pick up my daughter from school or take her to dance if I’m running late, but how will we do it with two? I mean its possible, but these were just the thoughts I had in my head. So I prayed. I asked God to show me what He wants me to do. Honestly, I was too scared to leave a job where I’ve been at for 12yrs. I never thought it was possible and my heart was uneasy. My main concern was, can we financially afford to do it? Now, I’m horrible with money management. I don’t do well with budgets and I have no will power. So throughout my pregnancy, leaving a job without another one in place, was not an option.

We work so hard and make a decent living where I can admit I can have a bit of a shopping problem. I love all things home decor and clothes for my babies and I. So in my head, my income is much needed. . . for all the fun stuff! But God was starting to show me otherwise. Time came for my maternity leave Jan 2020. Everyone asked if I was going to return and my answer was Yes. Fast forward to March 2020 and Covid19 hit. When I had my son this whole pandemic had just started. So being in the hospital wasn’t too scary. I was allowed to have family in the room during birth and visitors were allowed to meet him. But once we got home, it got real. I had my mom buying me groceries because things were getting bought off the shelves. It was a scary time!

Once my maternity leave was up I couldn’t find it in my heart to return to work. With Covid still happening, my daughter was not back in school yet and now I also had my son. I called to see if I can get an extension or work from home, but those were not options. I had to make the decision to leave, but I was so at peace with it. God was showing me throughout my leave that my income was not needed. That I was meant to be home with my kids. To be that mom that took her kids to school, picked them up, took them for a treat after class, to be there for all the events, to be a room mom (someday)! Obviously with Covid we are limited to what we can do but I am so happy to be home. I know God gave me a talent and I am meant for something special. At the moment I don’t know what that may be. For now, I will enjoy my time as a stay at home mom.

We are currently renovating our home, so I want to share it all with you. All my home decor, party decor, crafts, inspiration, recipes, etc. I am so glad that you are here and that you are joining me on this new venture!