Valentine’s Day Pizza Party

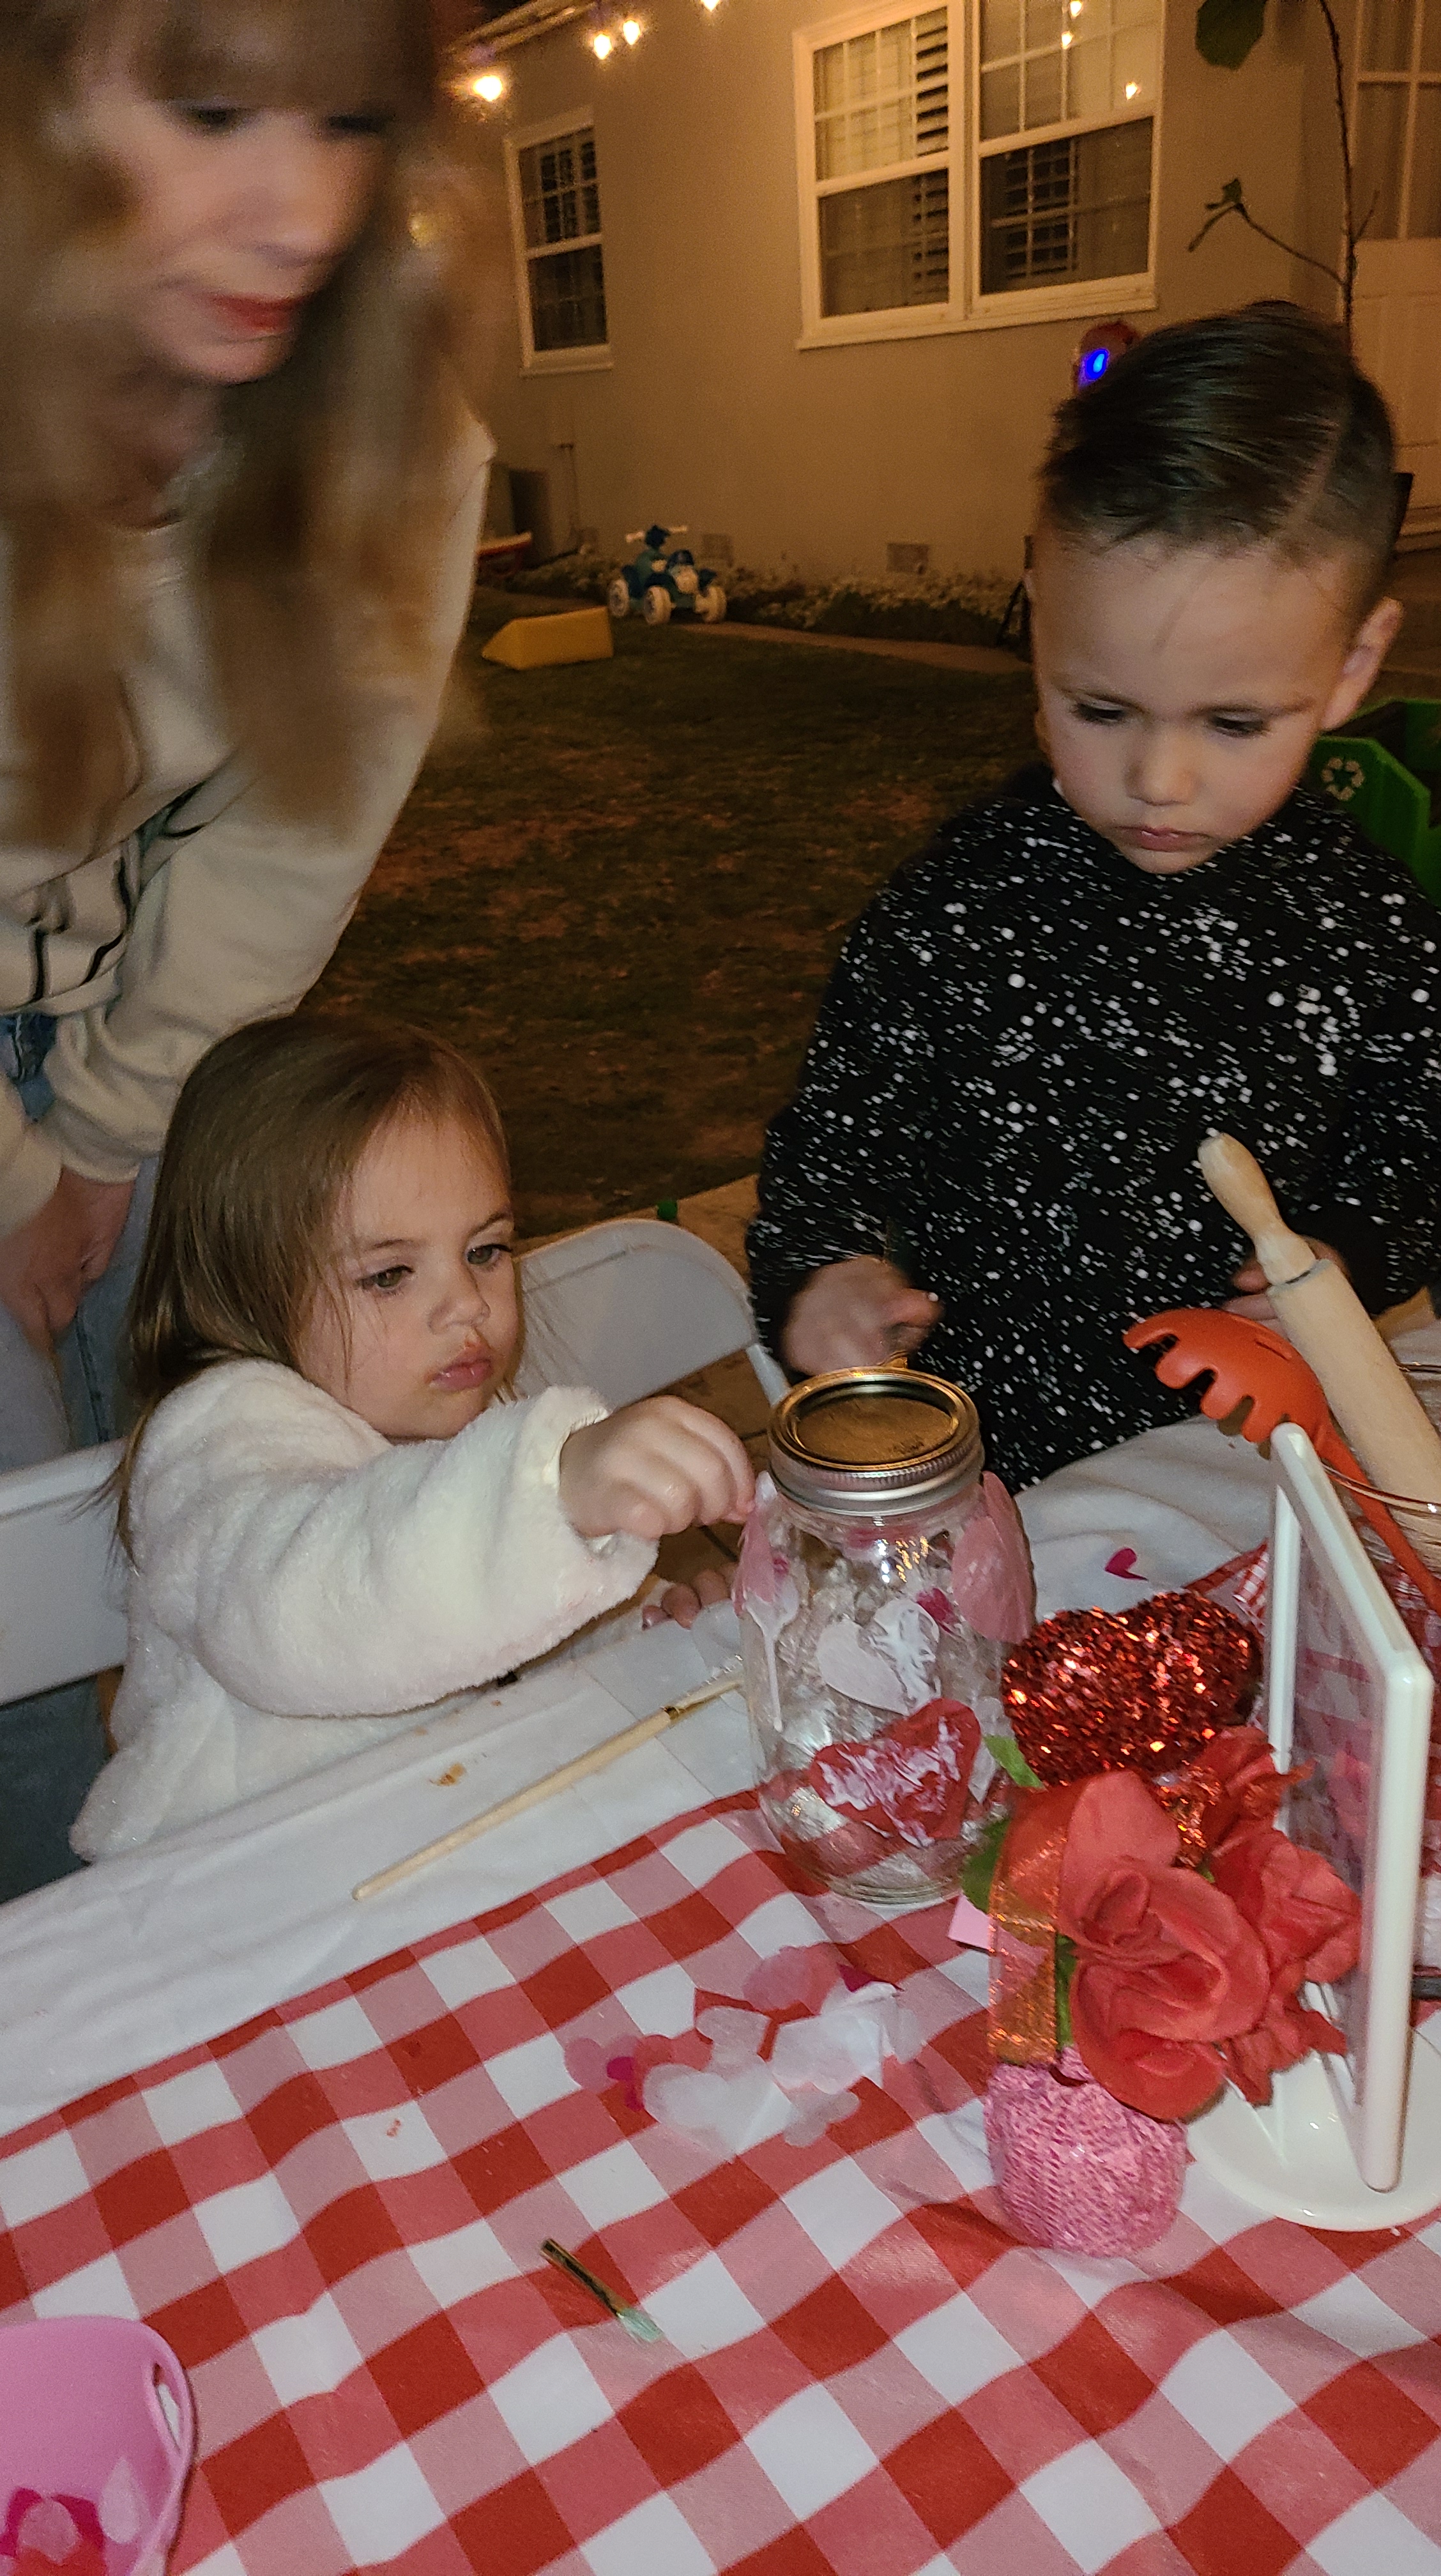
So this was the second year that a few of us moms got together to have a Valentine’s day party for our kids. And of course, I’m the mom that took over decor 😁 There are so many cute themes, especially for Galentine’s, but I was looking for something that was neutral to both girls and boys. I loved a pizza party that I came across from Ashley at JustAddConfetti. She had the cutest free printables. I decided that this theme was super cute and simple, so I ran with it. I always like to include activities for the kids and for this party we were gonna make our own pizzas. How fun!

For the decor:

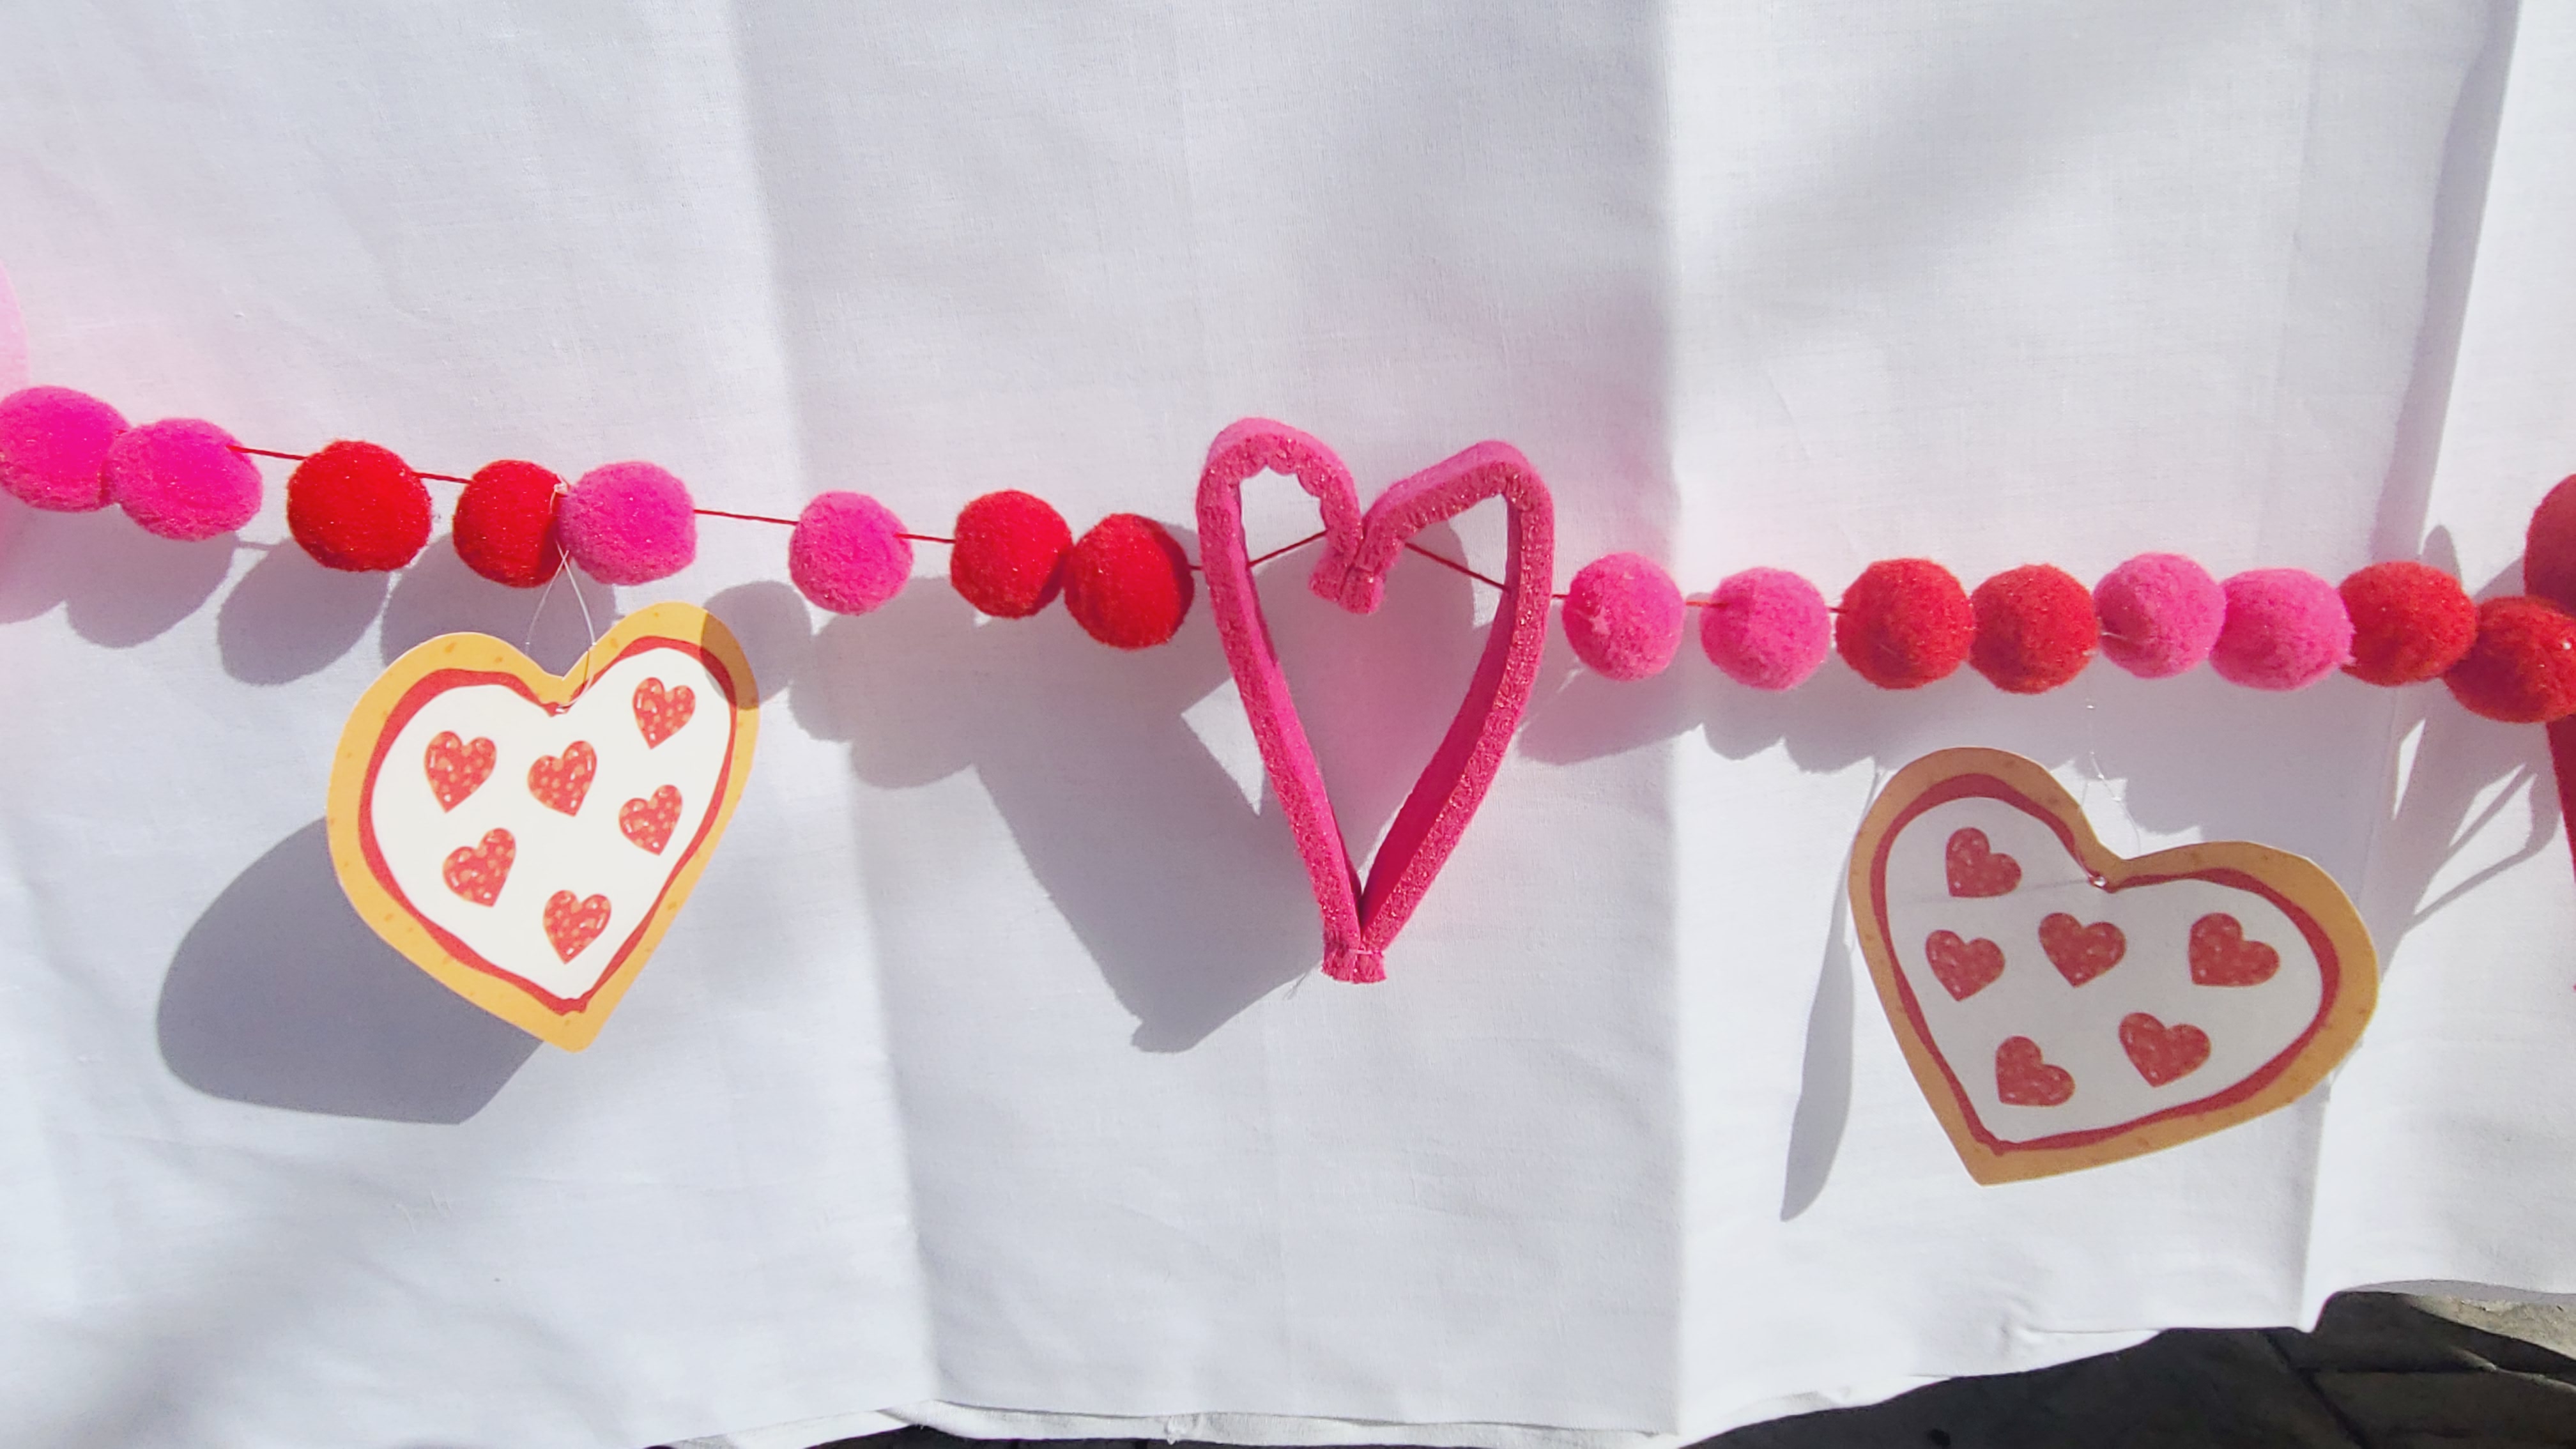
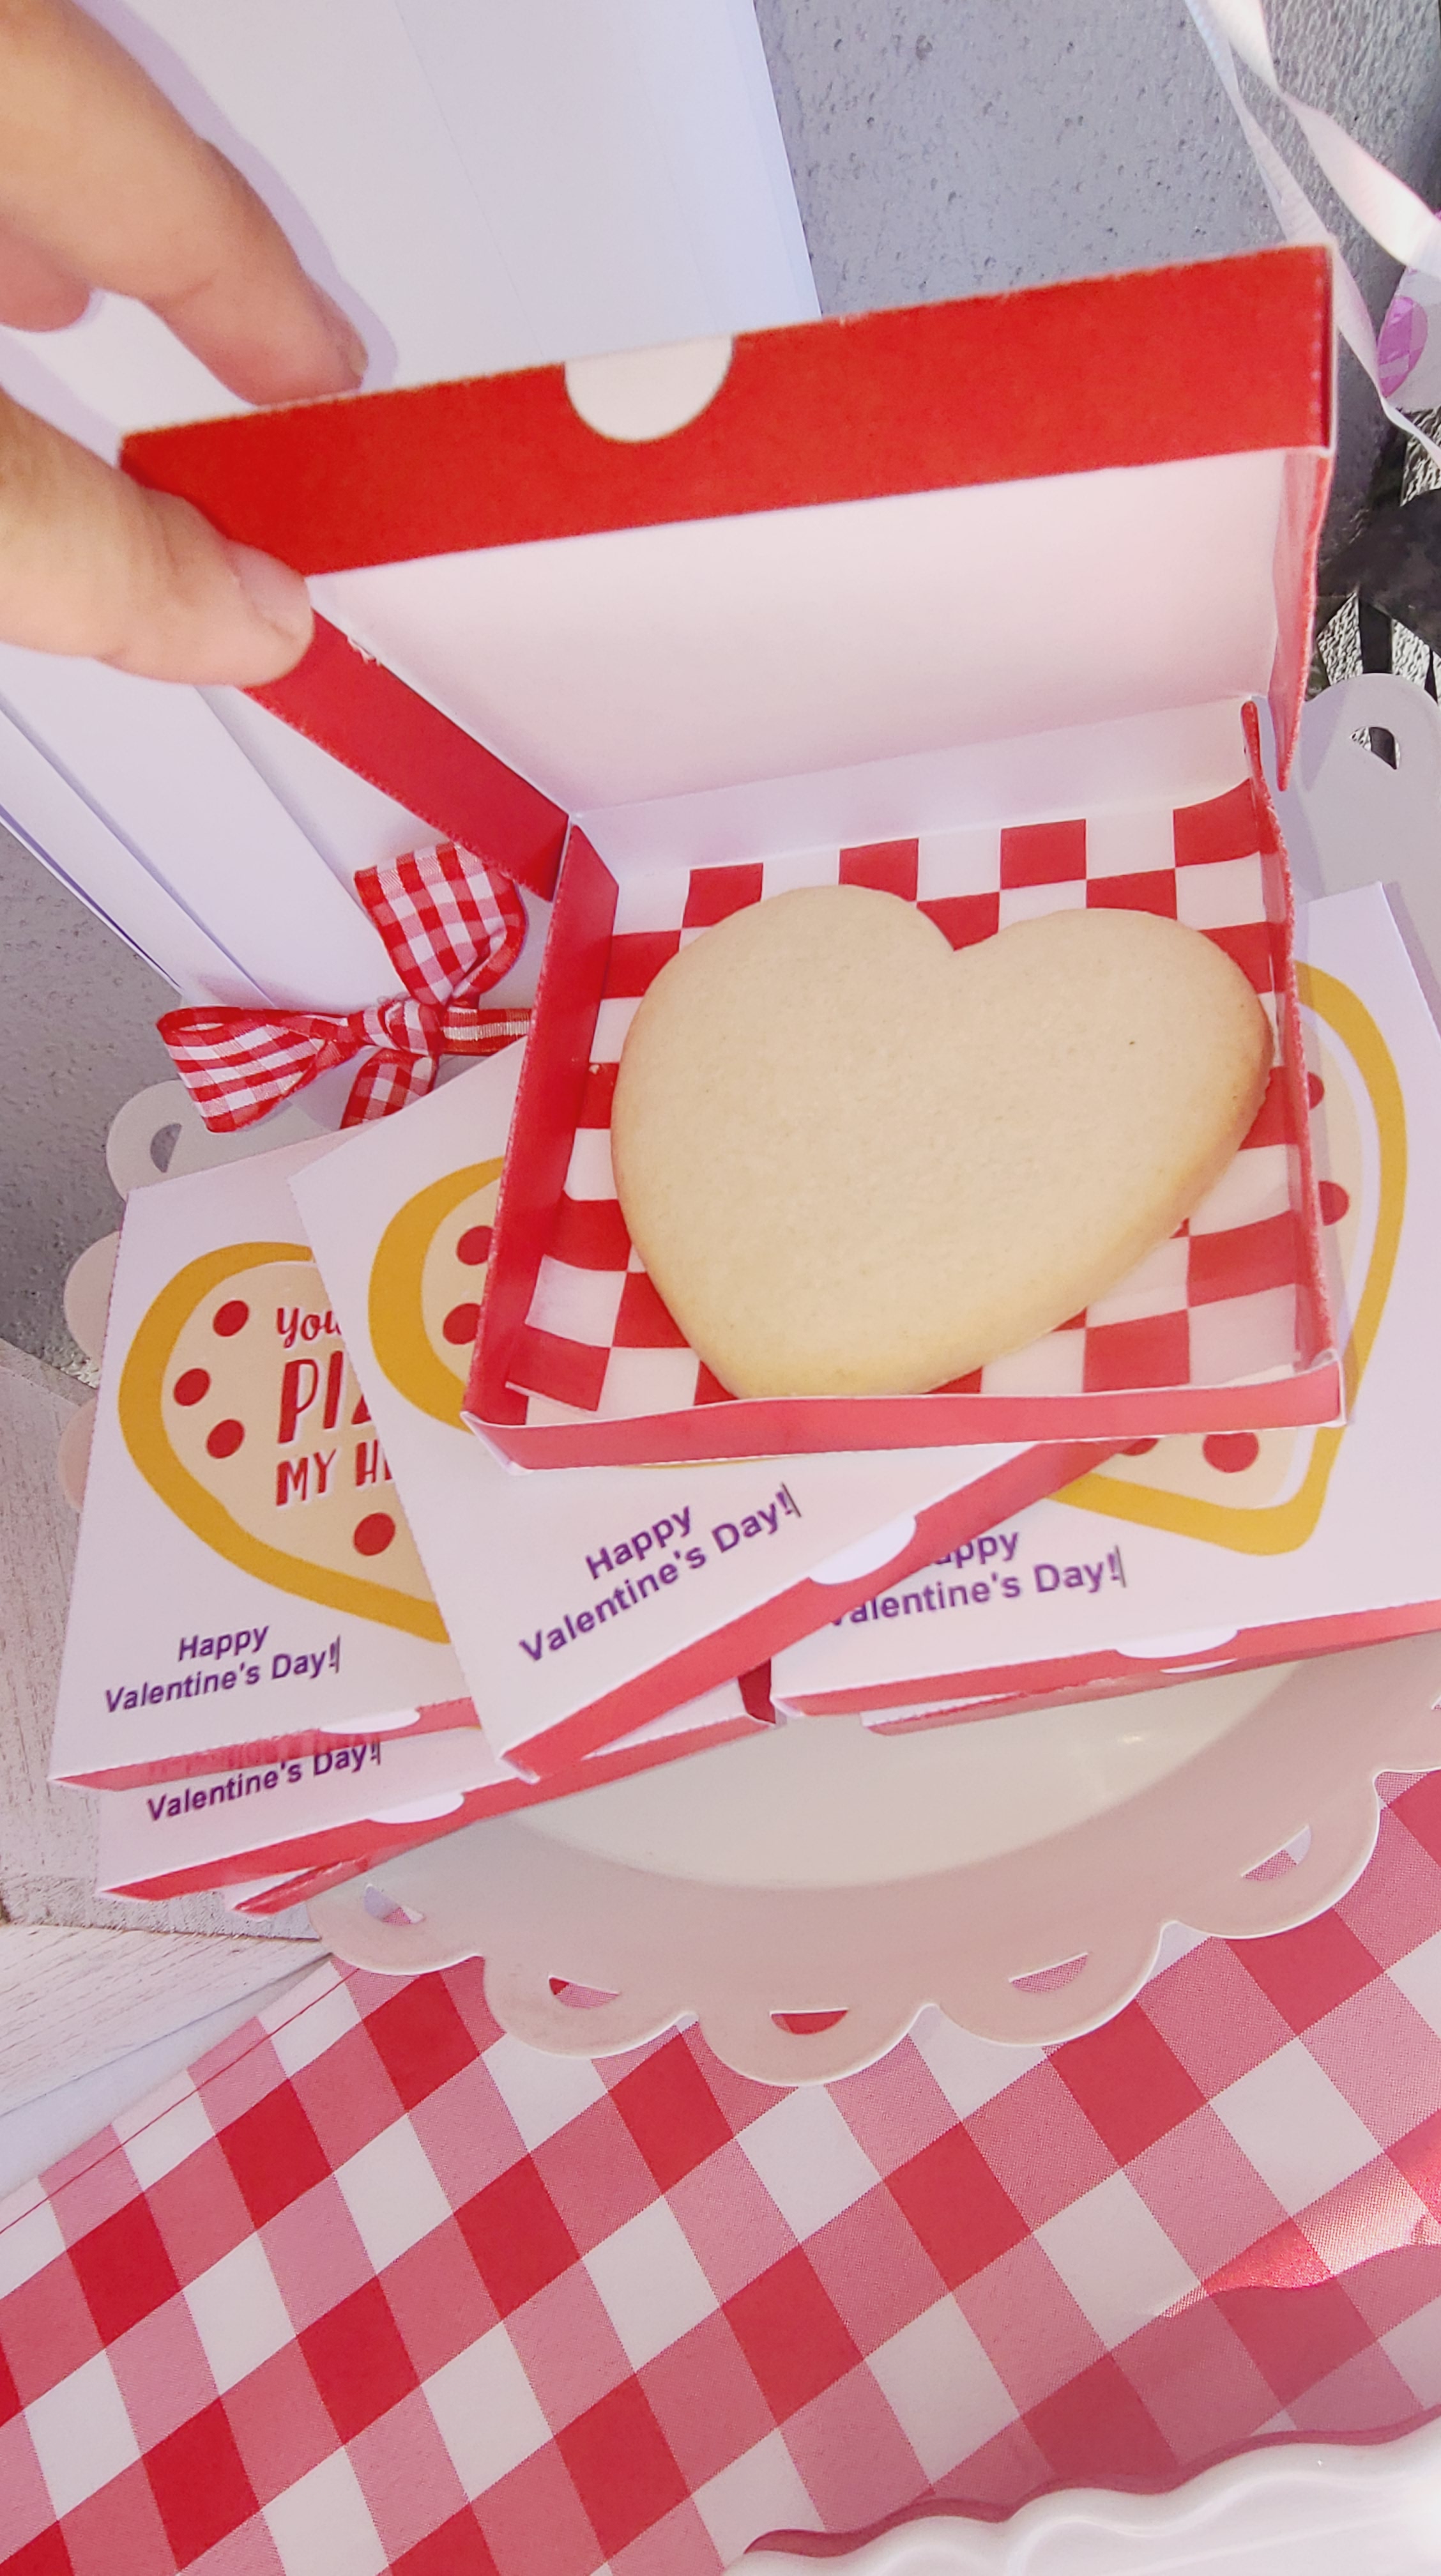
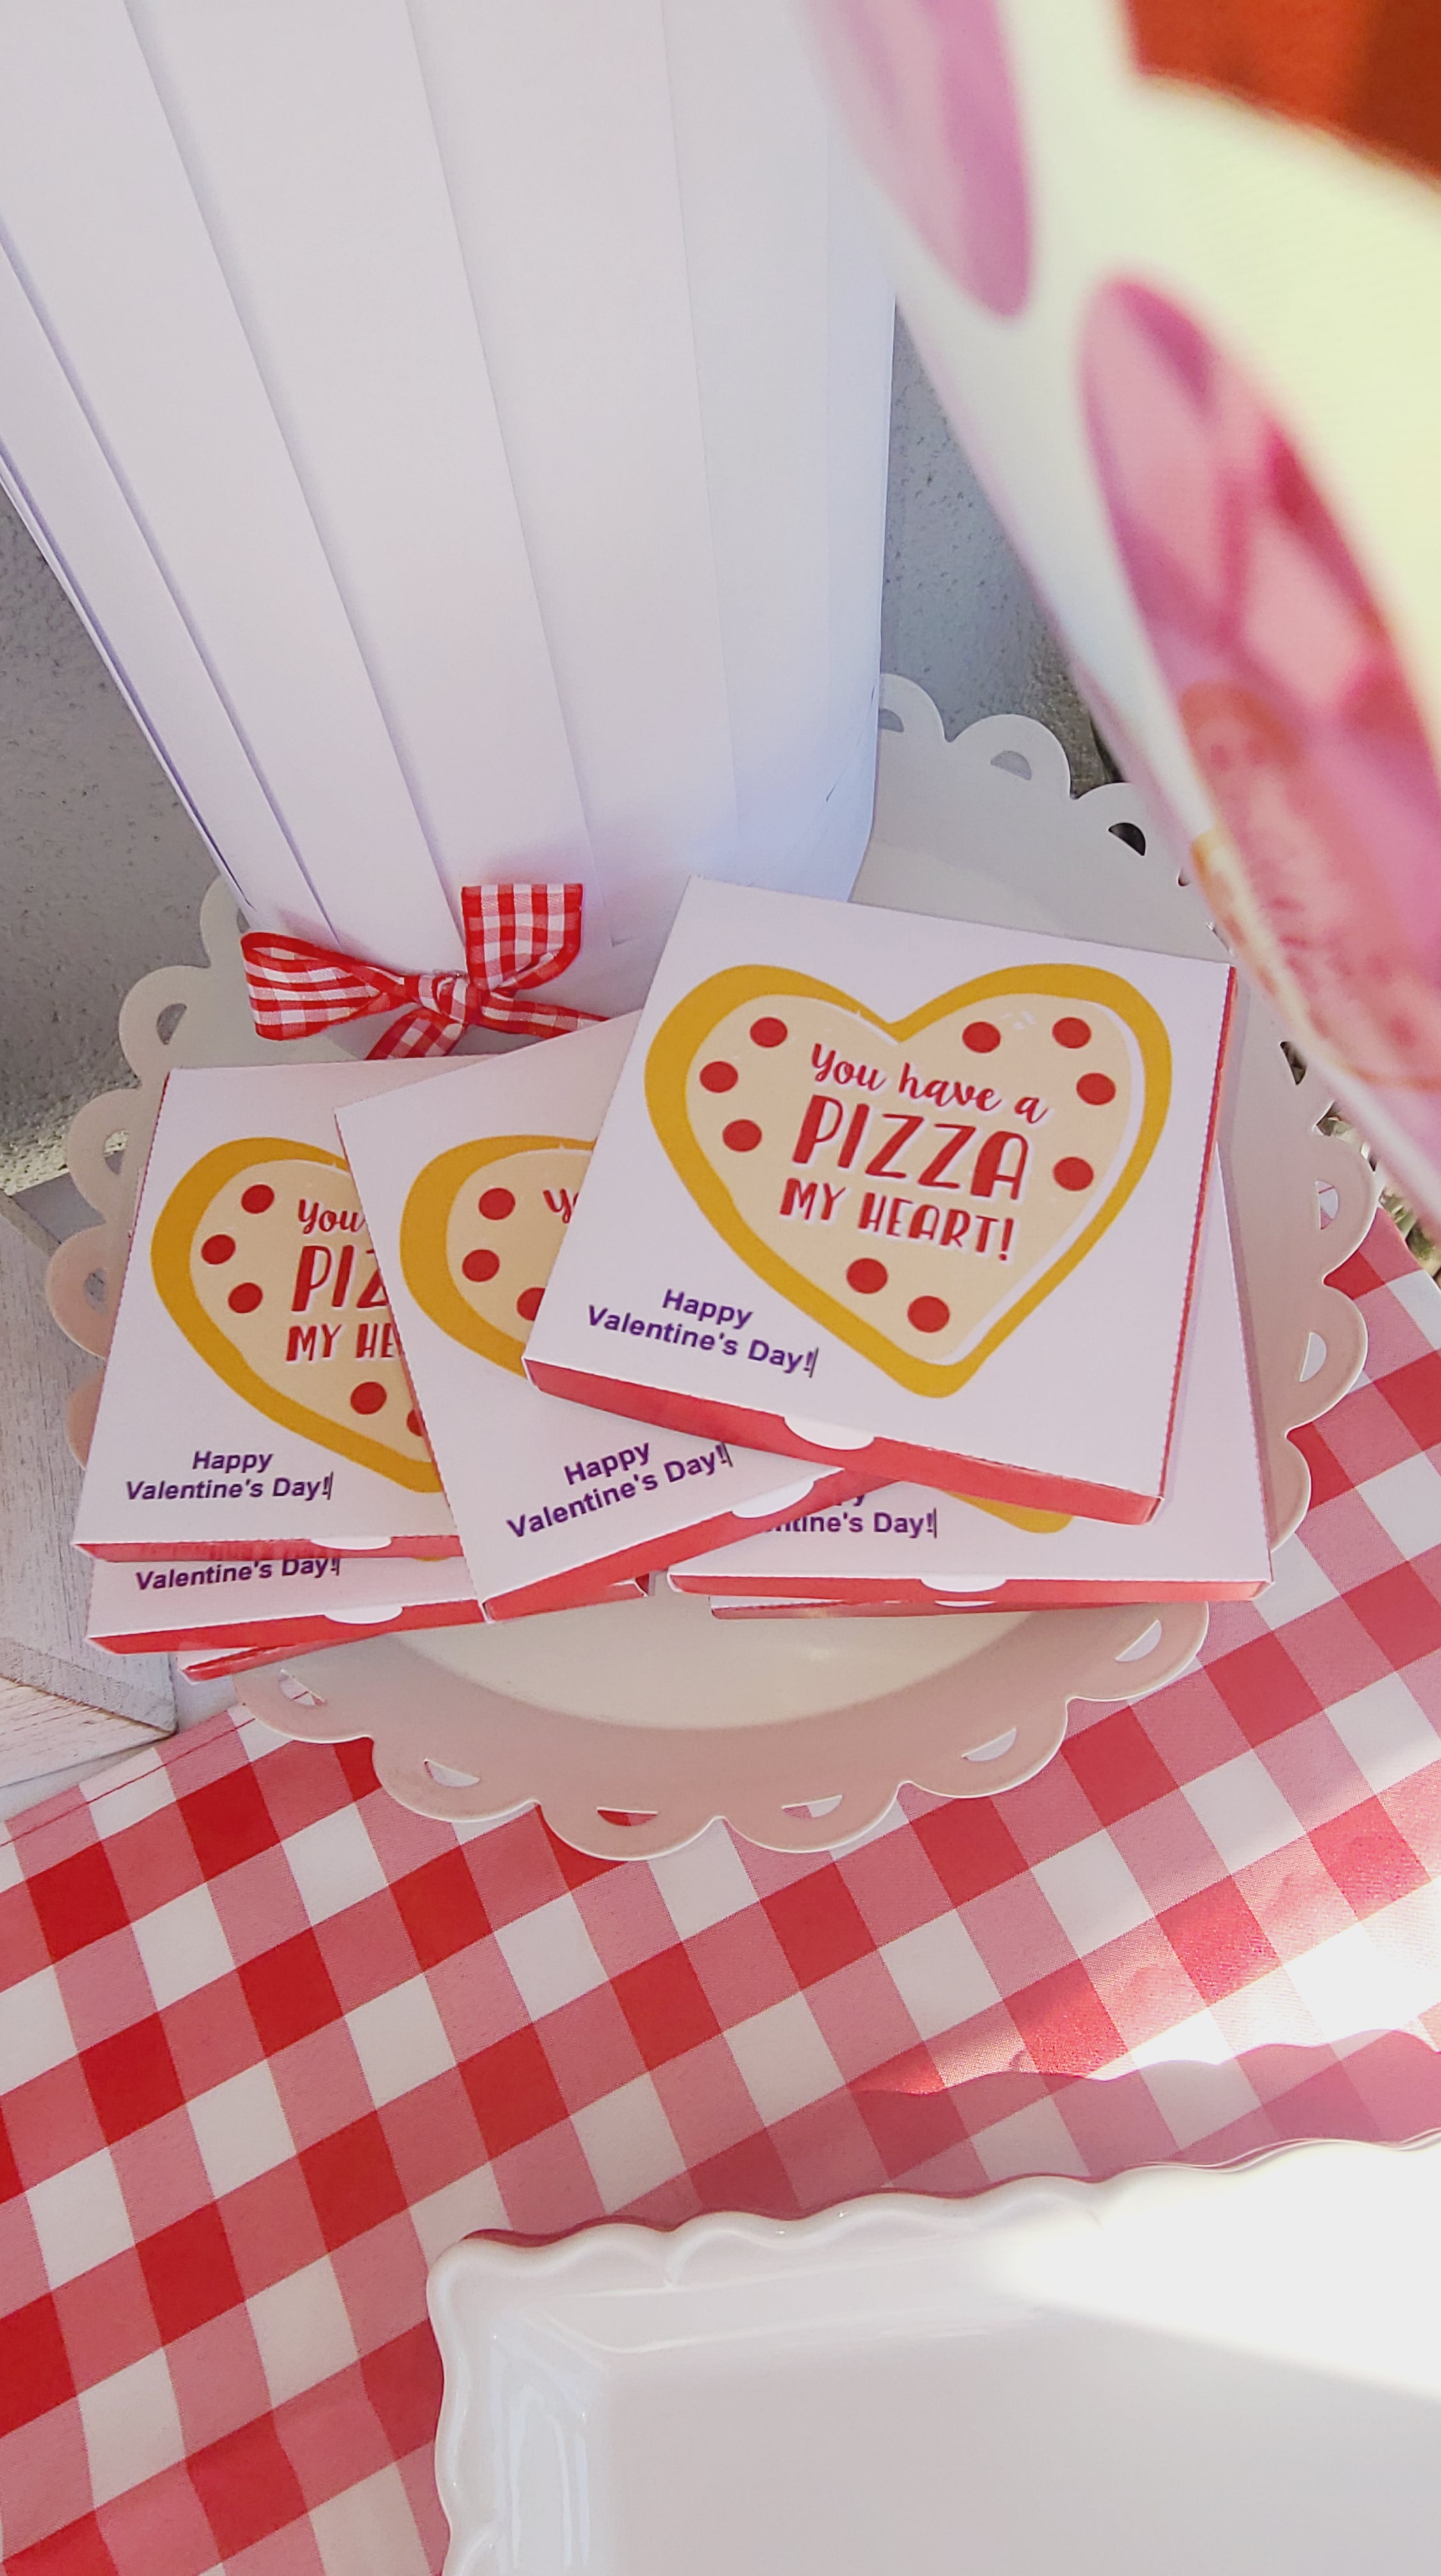
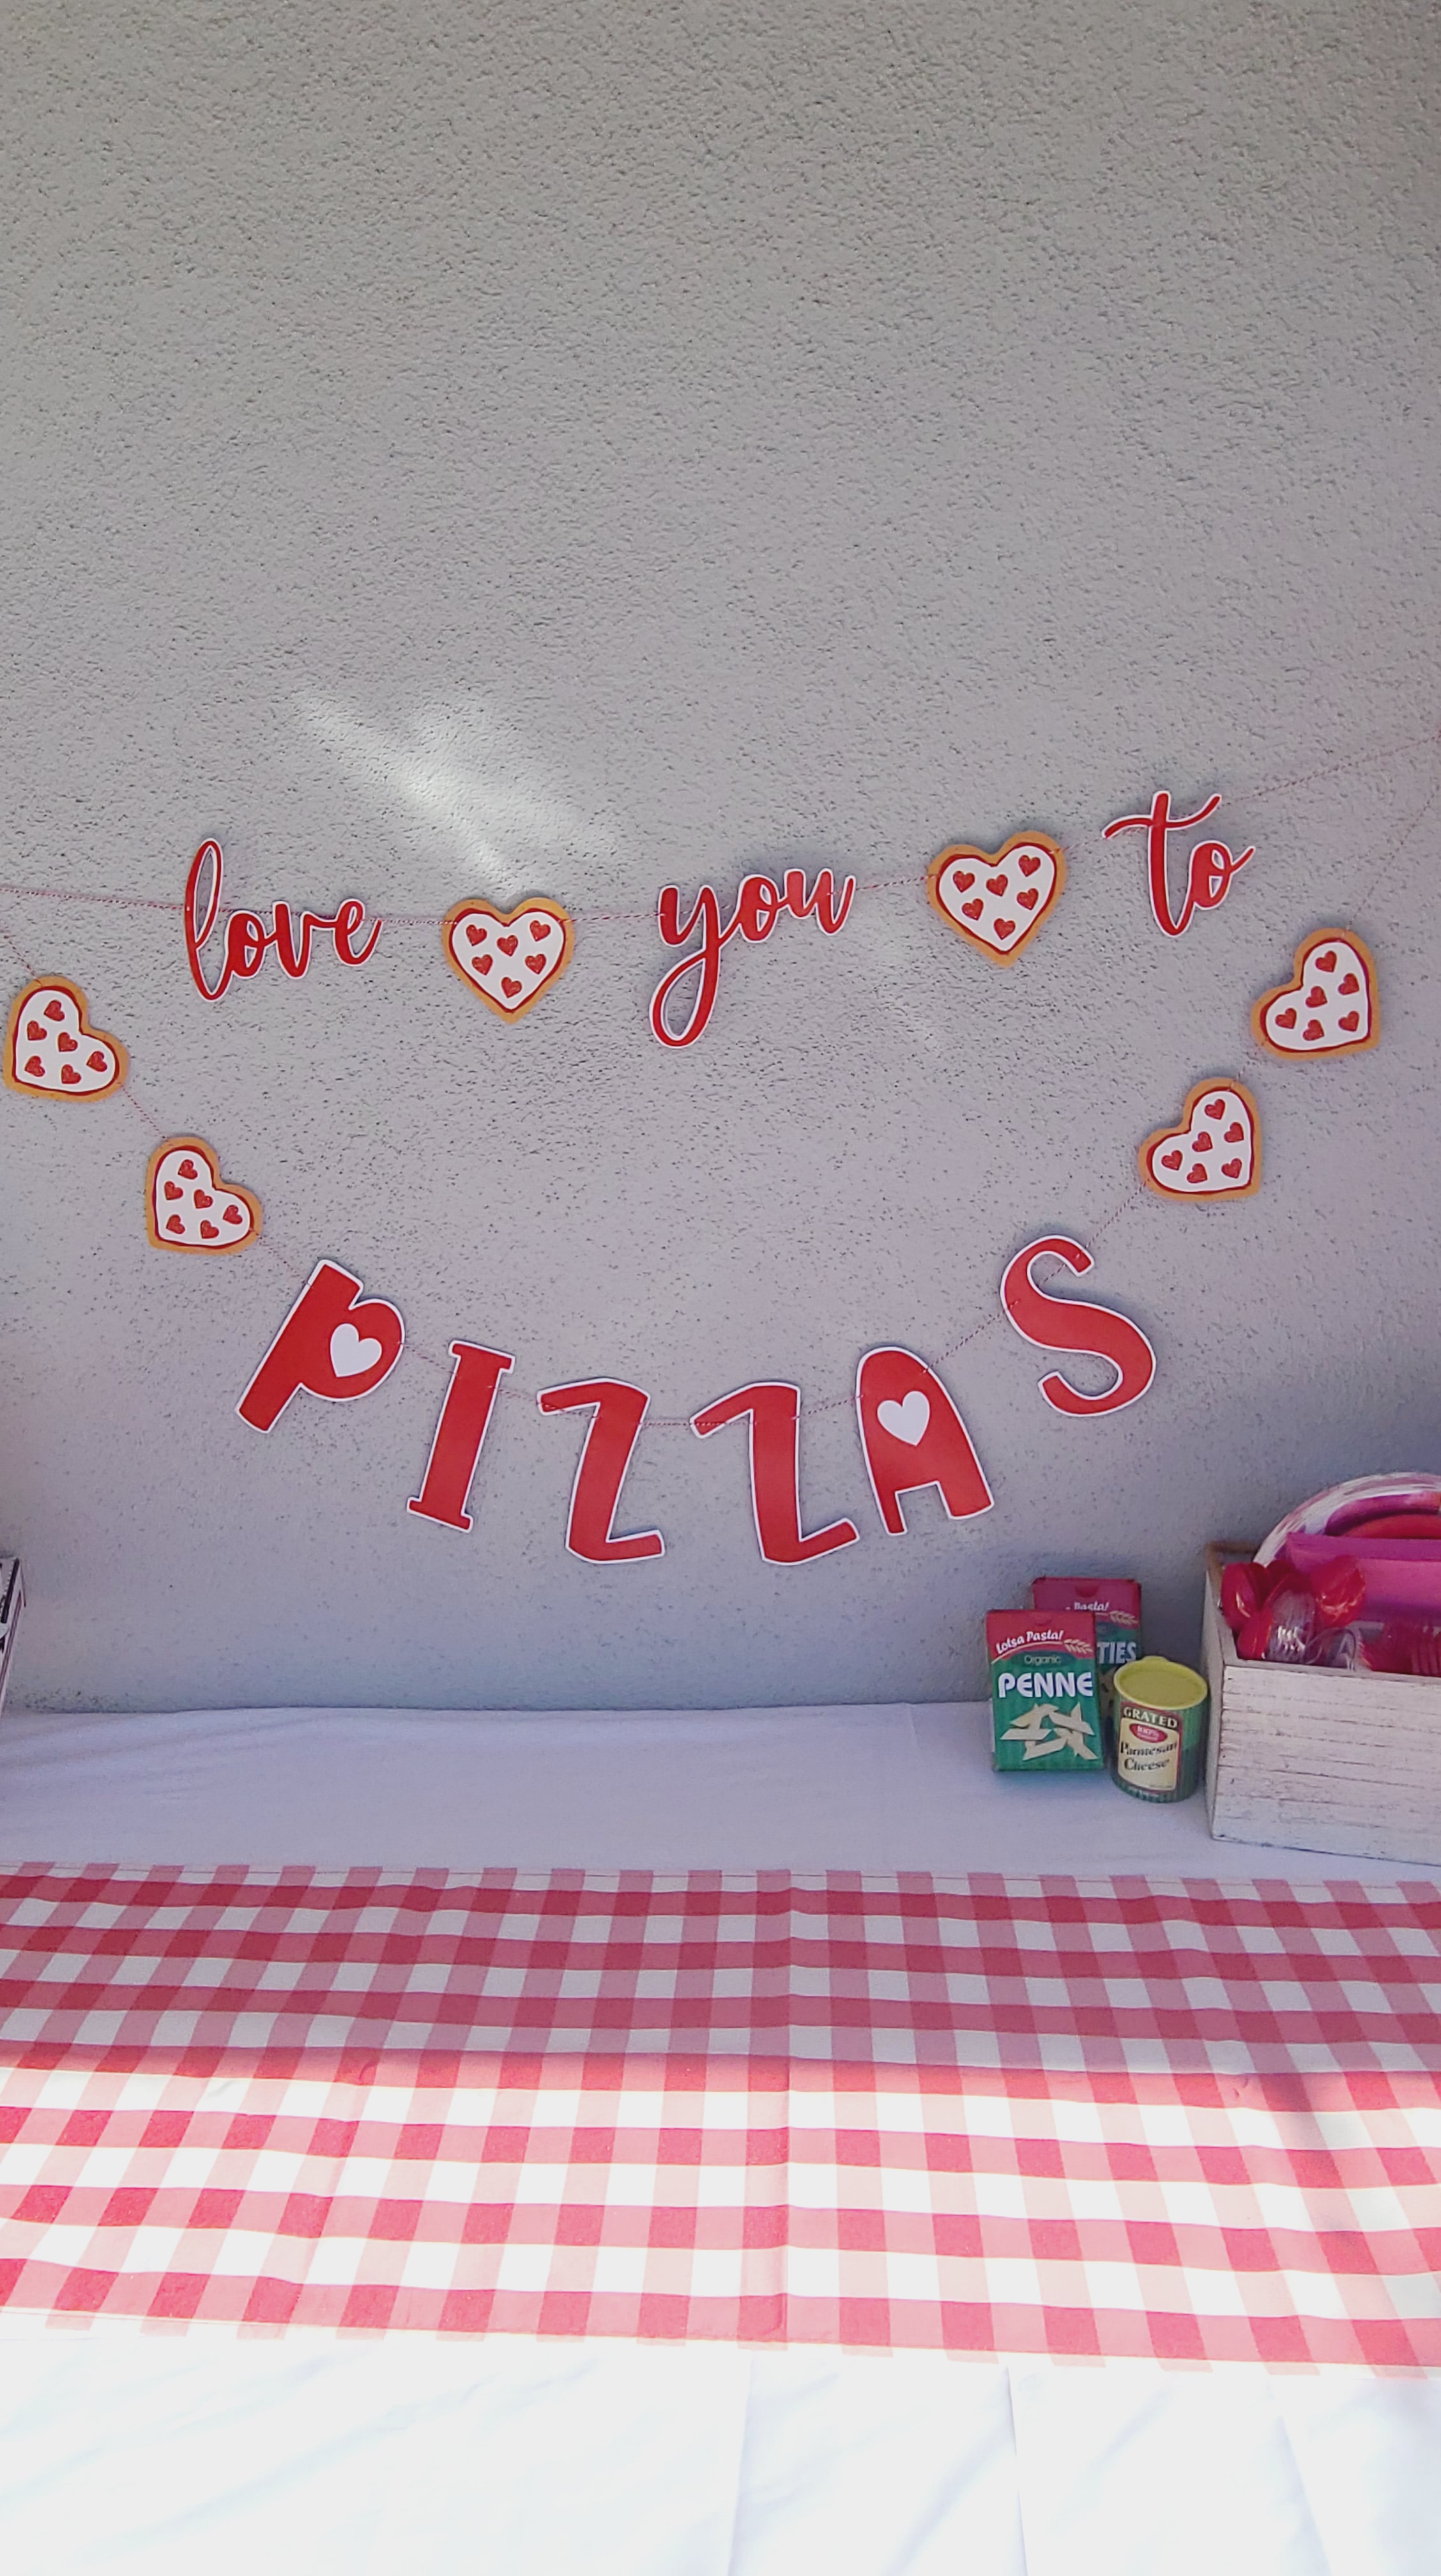
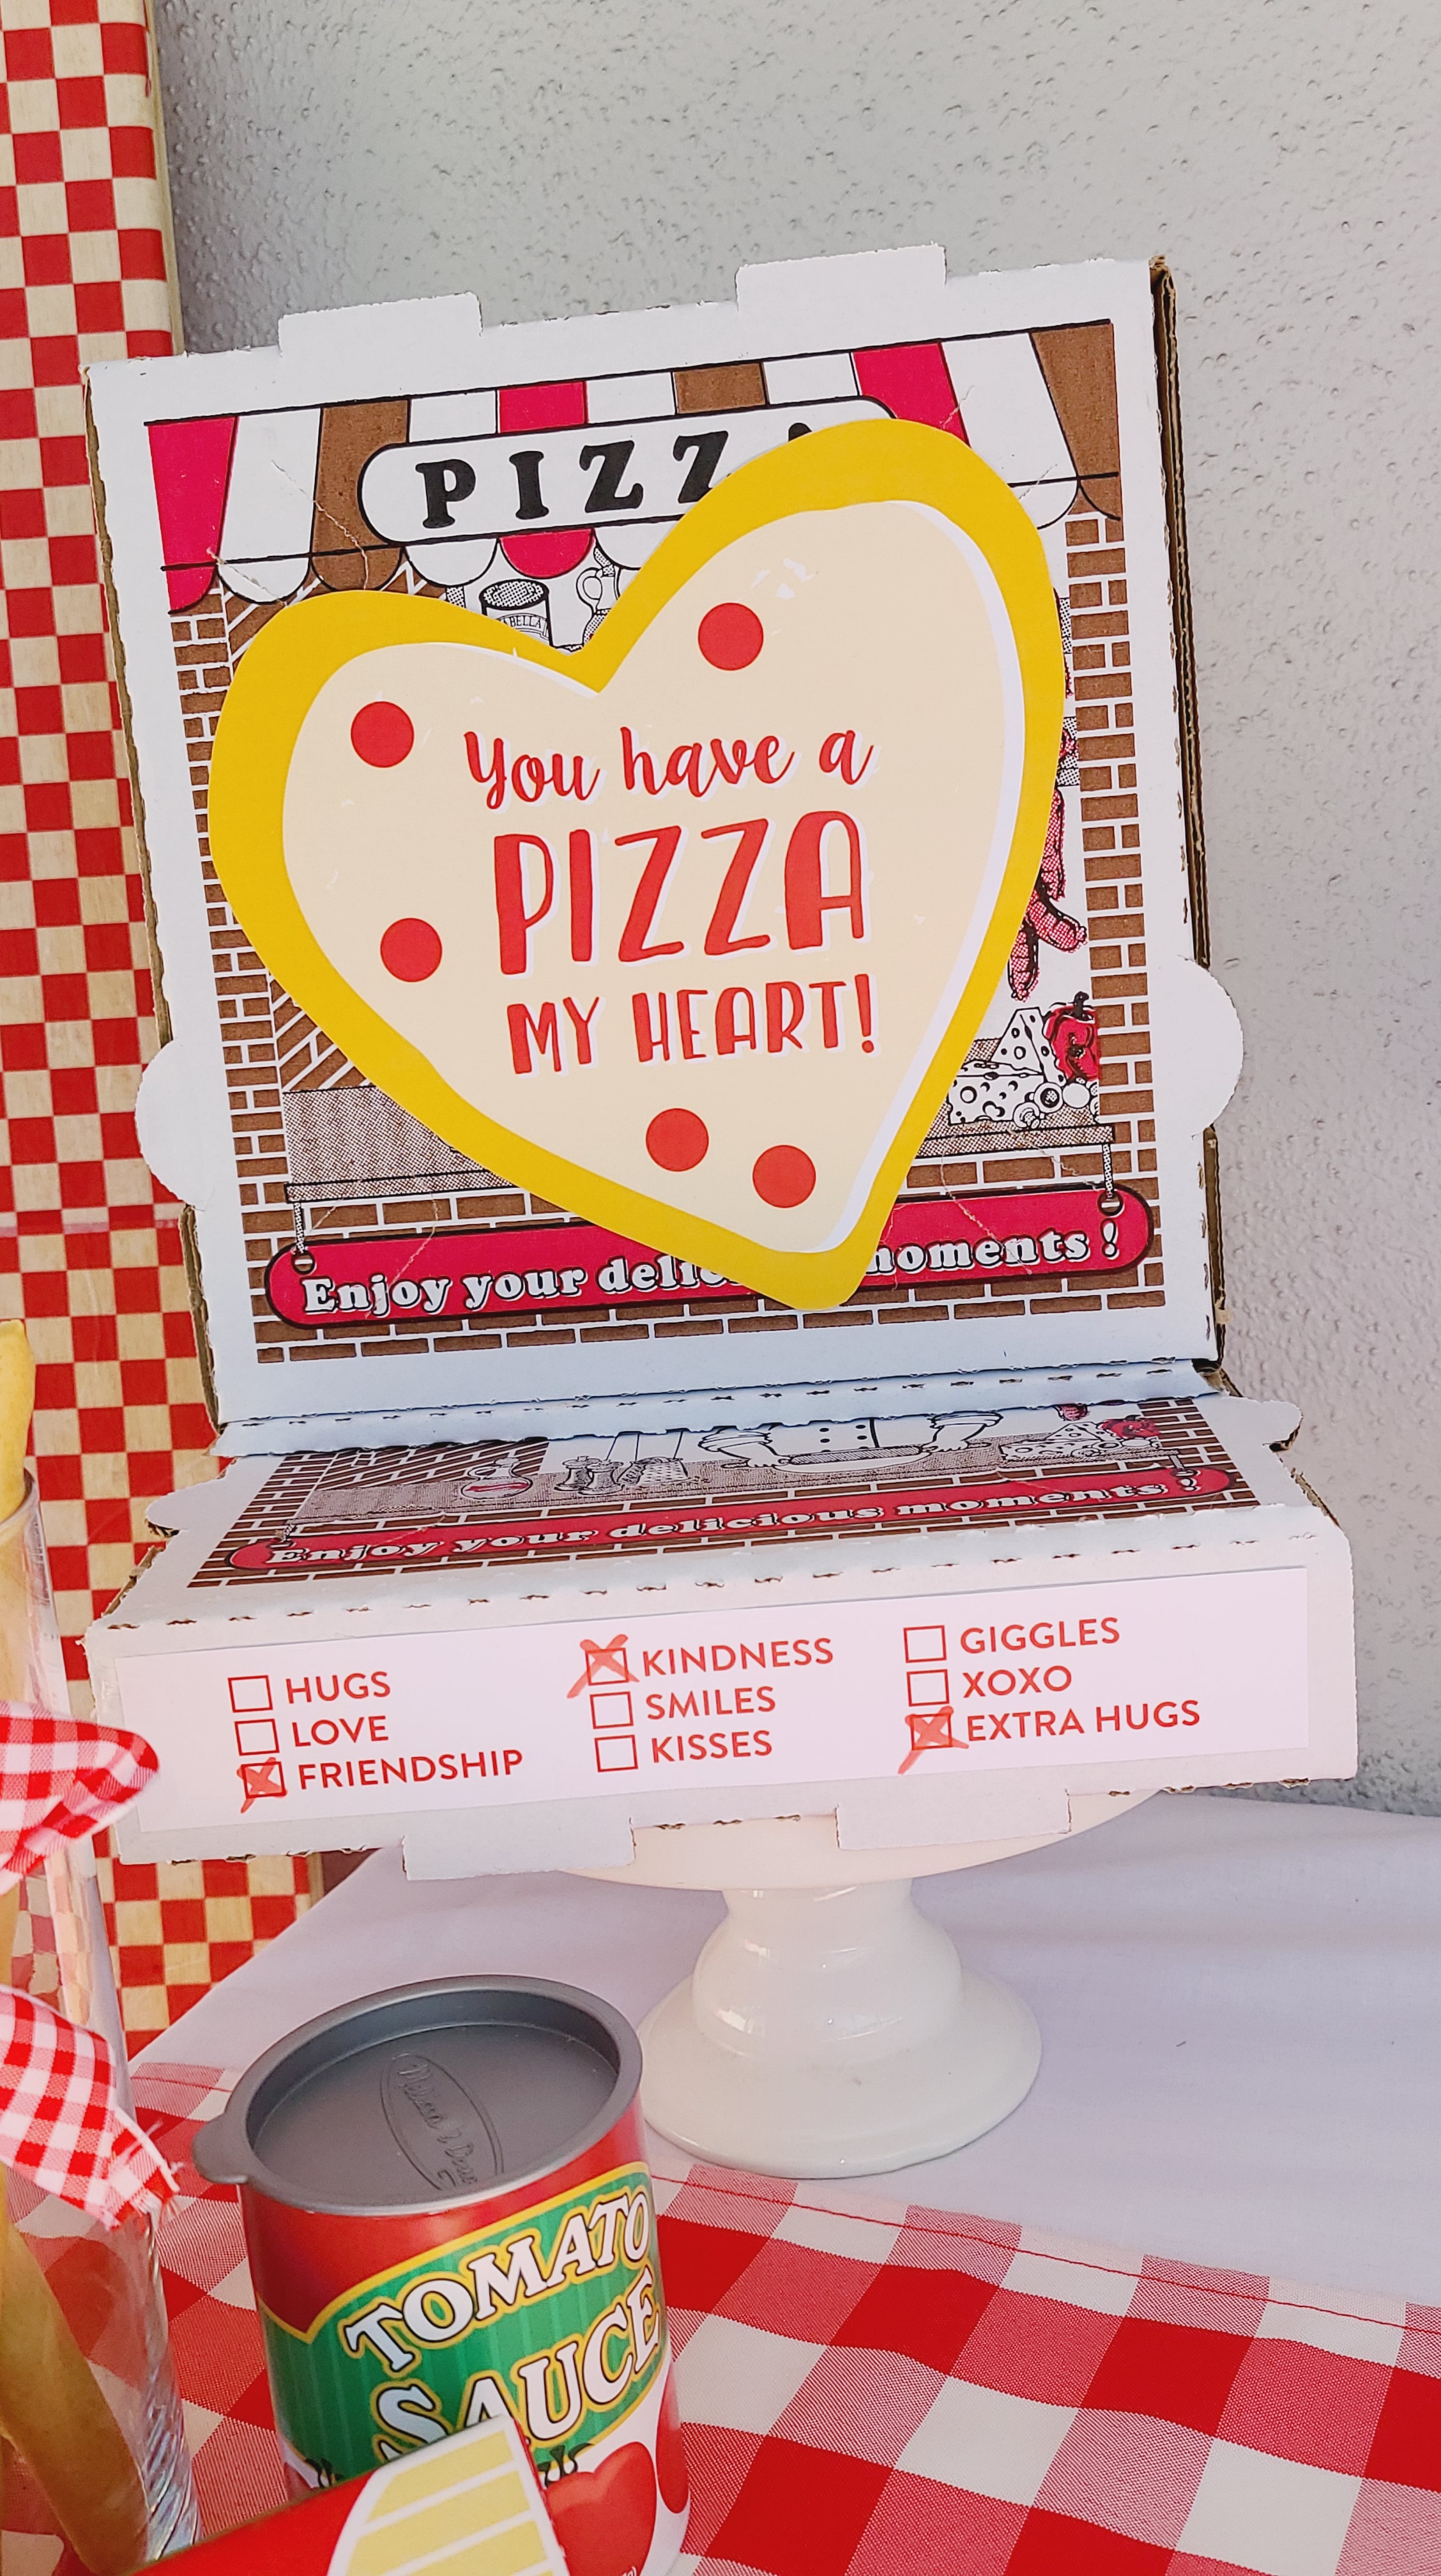
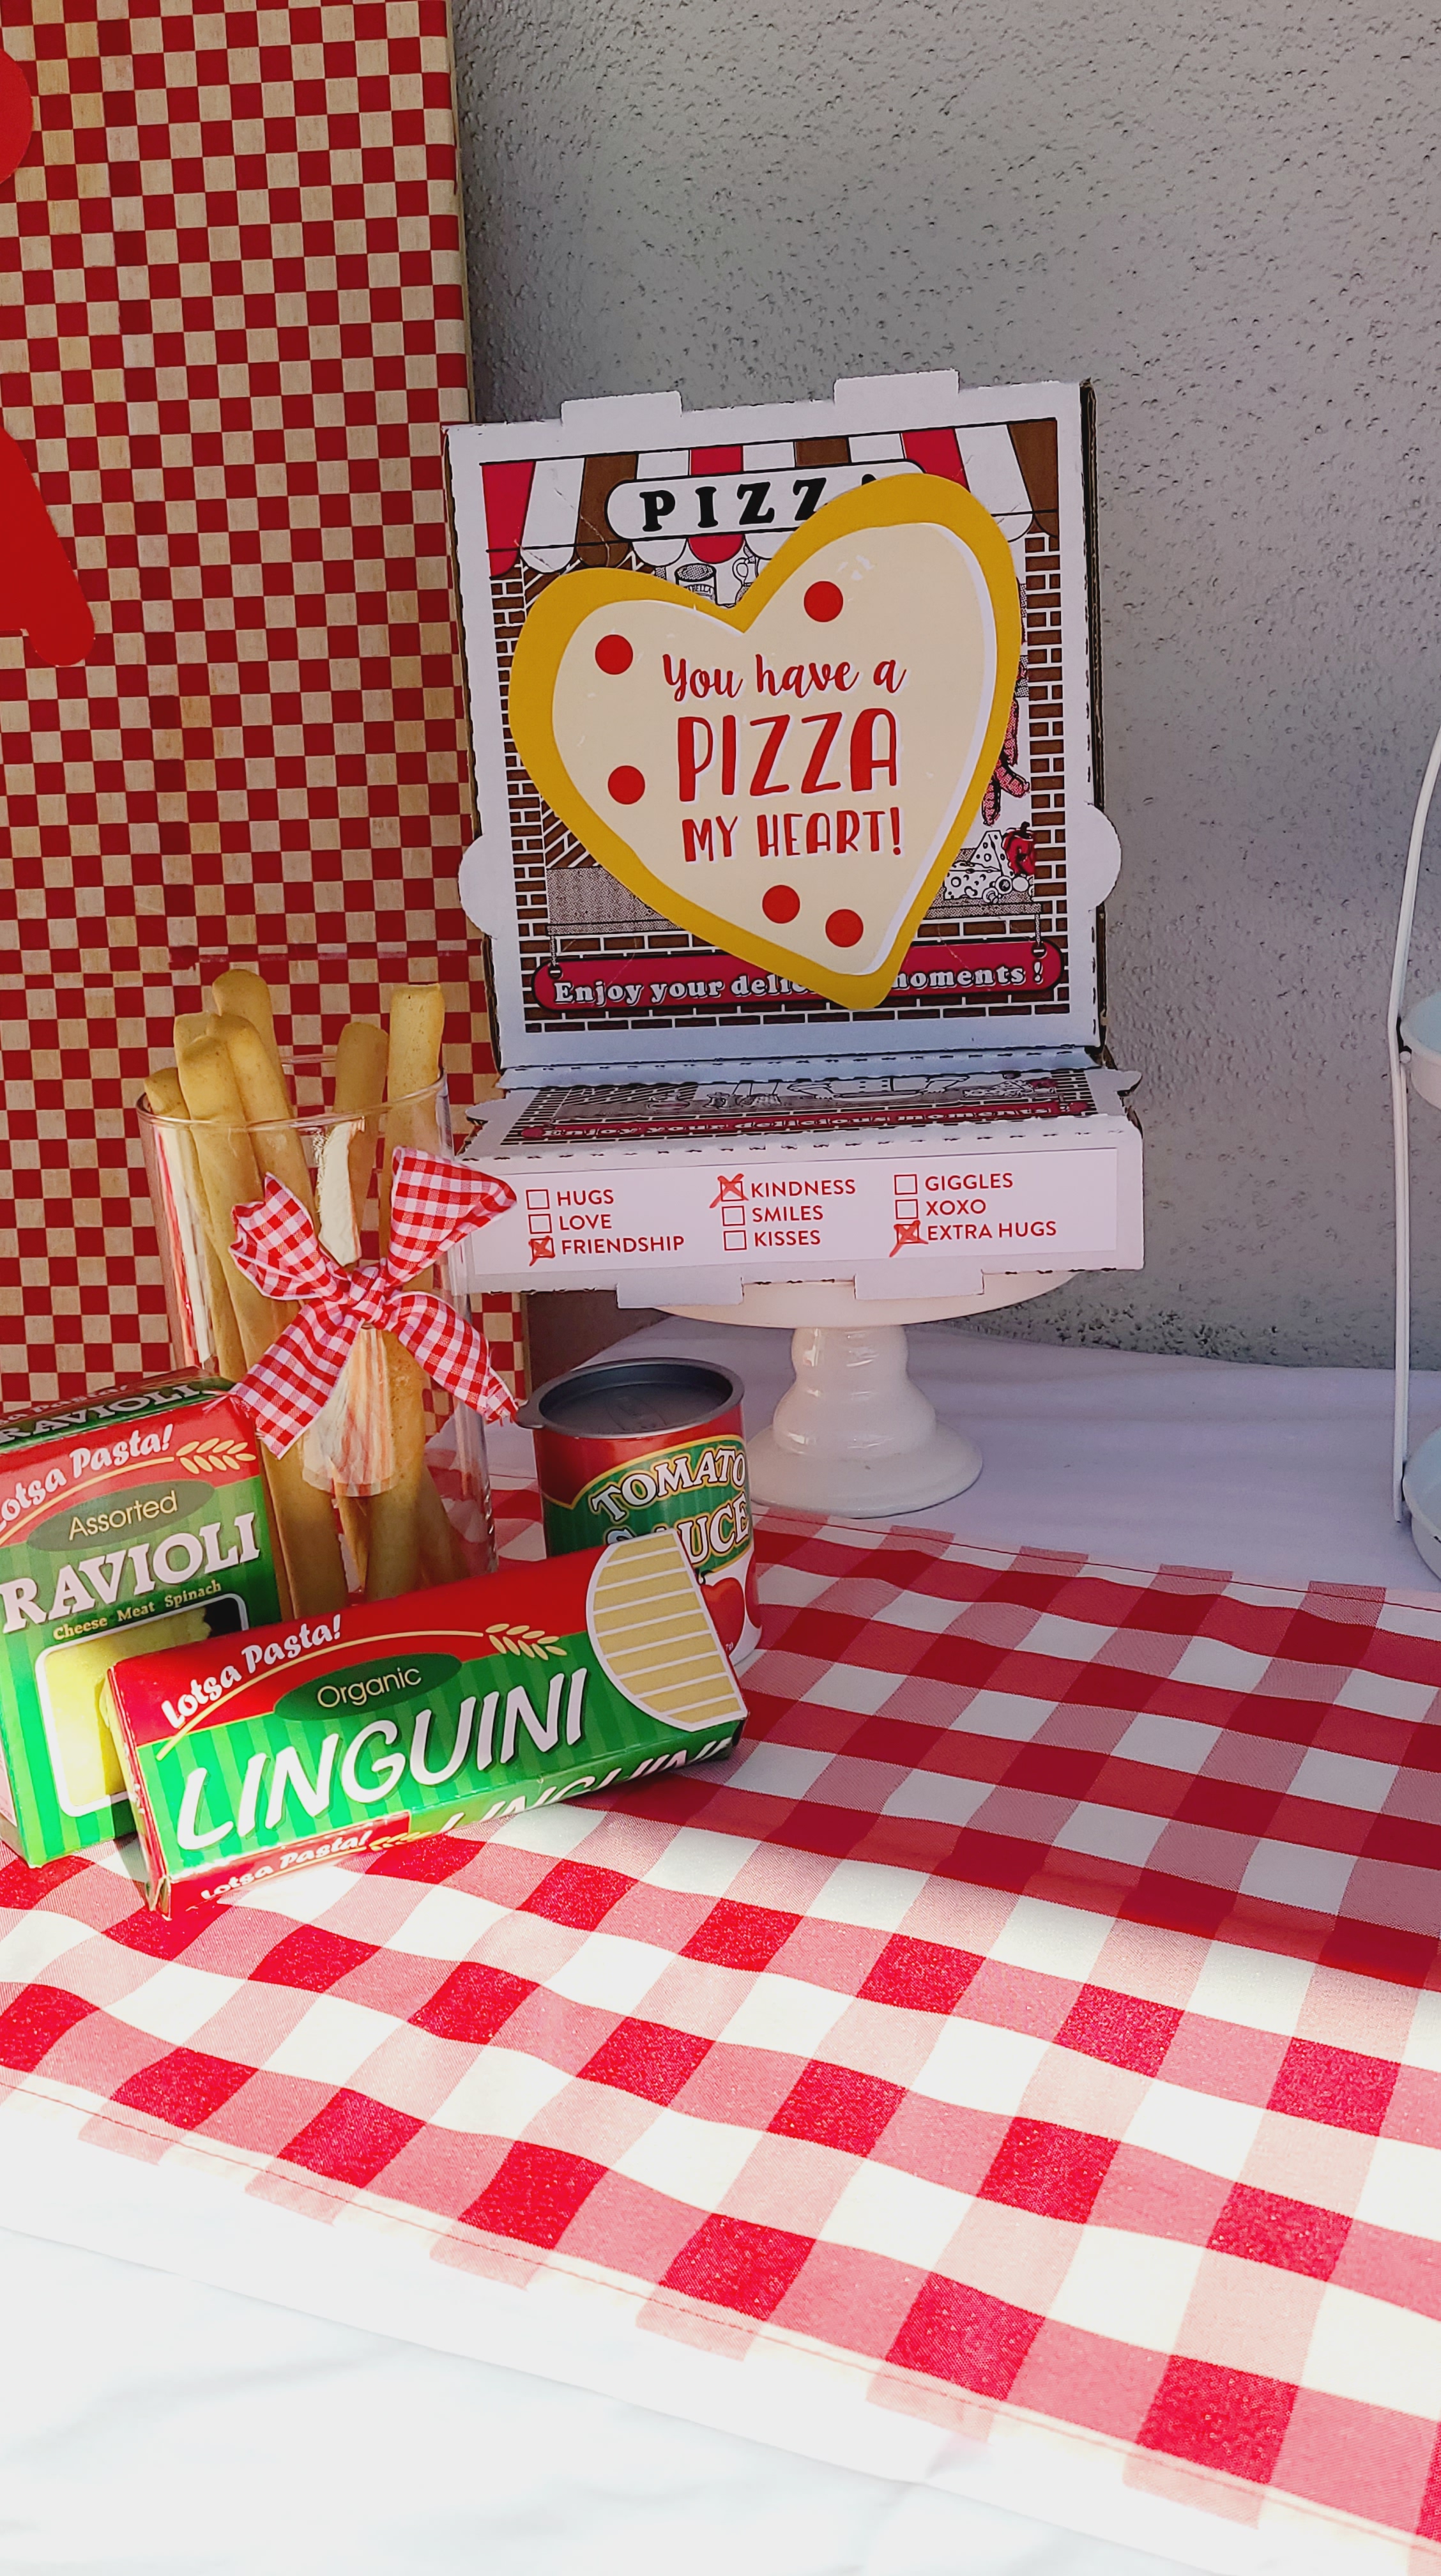
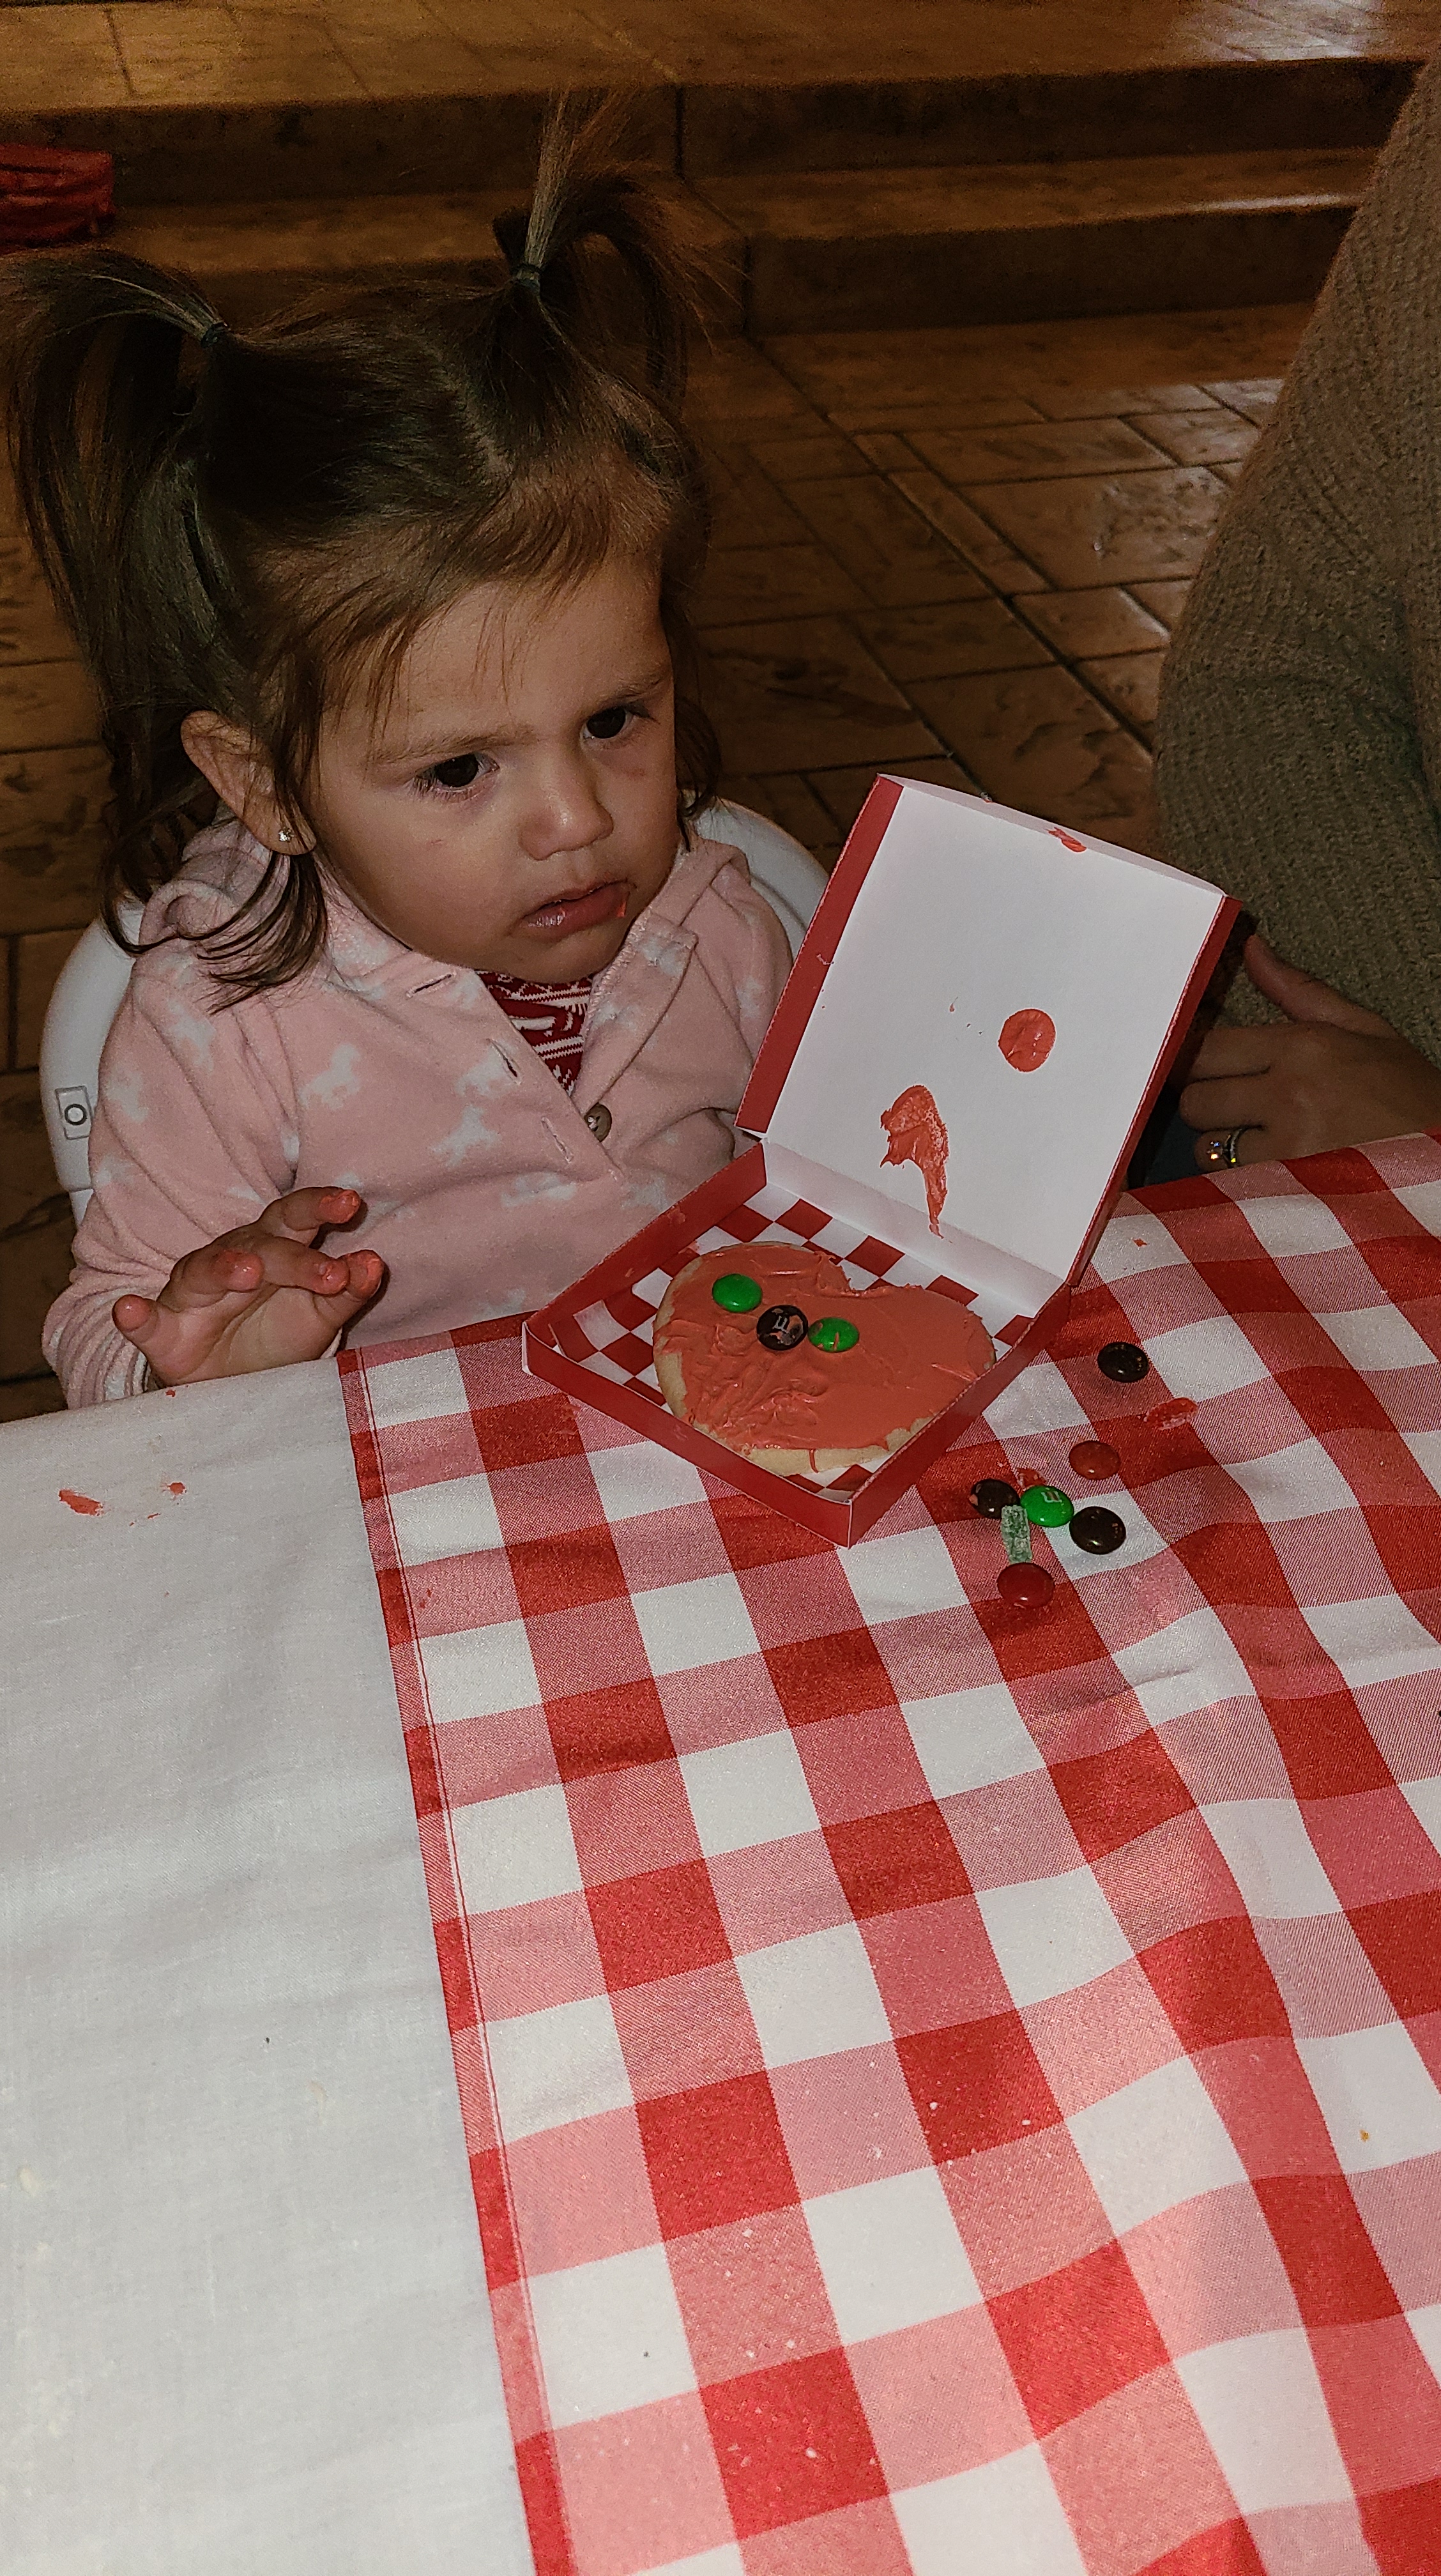
For the main table I created my own banner on WordDoc that said “I love you to Pizzas!” I made mine, but you can definitely buy it. There some really cute ones on Etsy. I also had a heart garland, so I printed heart pizzas and added them to it with some string. (Tried to use what I had so that the cost was minimal.) I also grabbed two pizza boxes from our local pizza place and glued one of Ashley’s printables to it. They are all so cute! Another activity for the kids was to decorate cookies. I found heart cookies at my local grocery store. I decided to place them in a mini pizza box, again one of Ashley’s printables. Adorable! I did have to make the boxes a little bigger before I printed them so the cookies could fit inside.

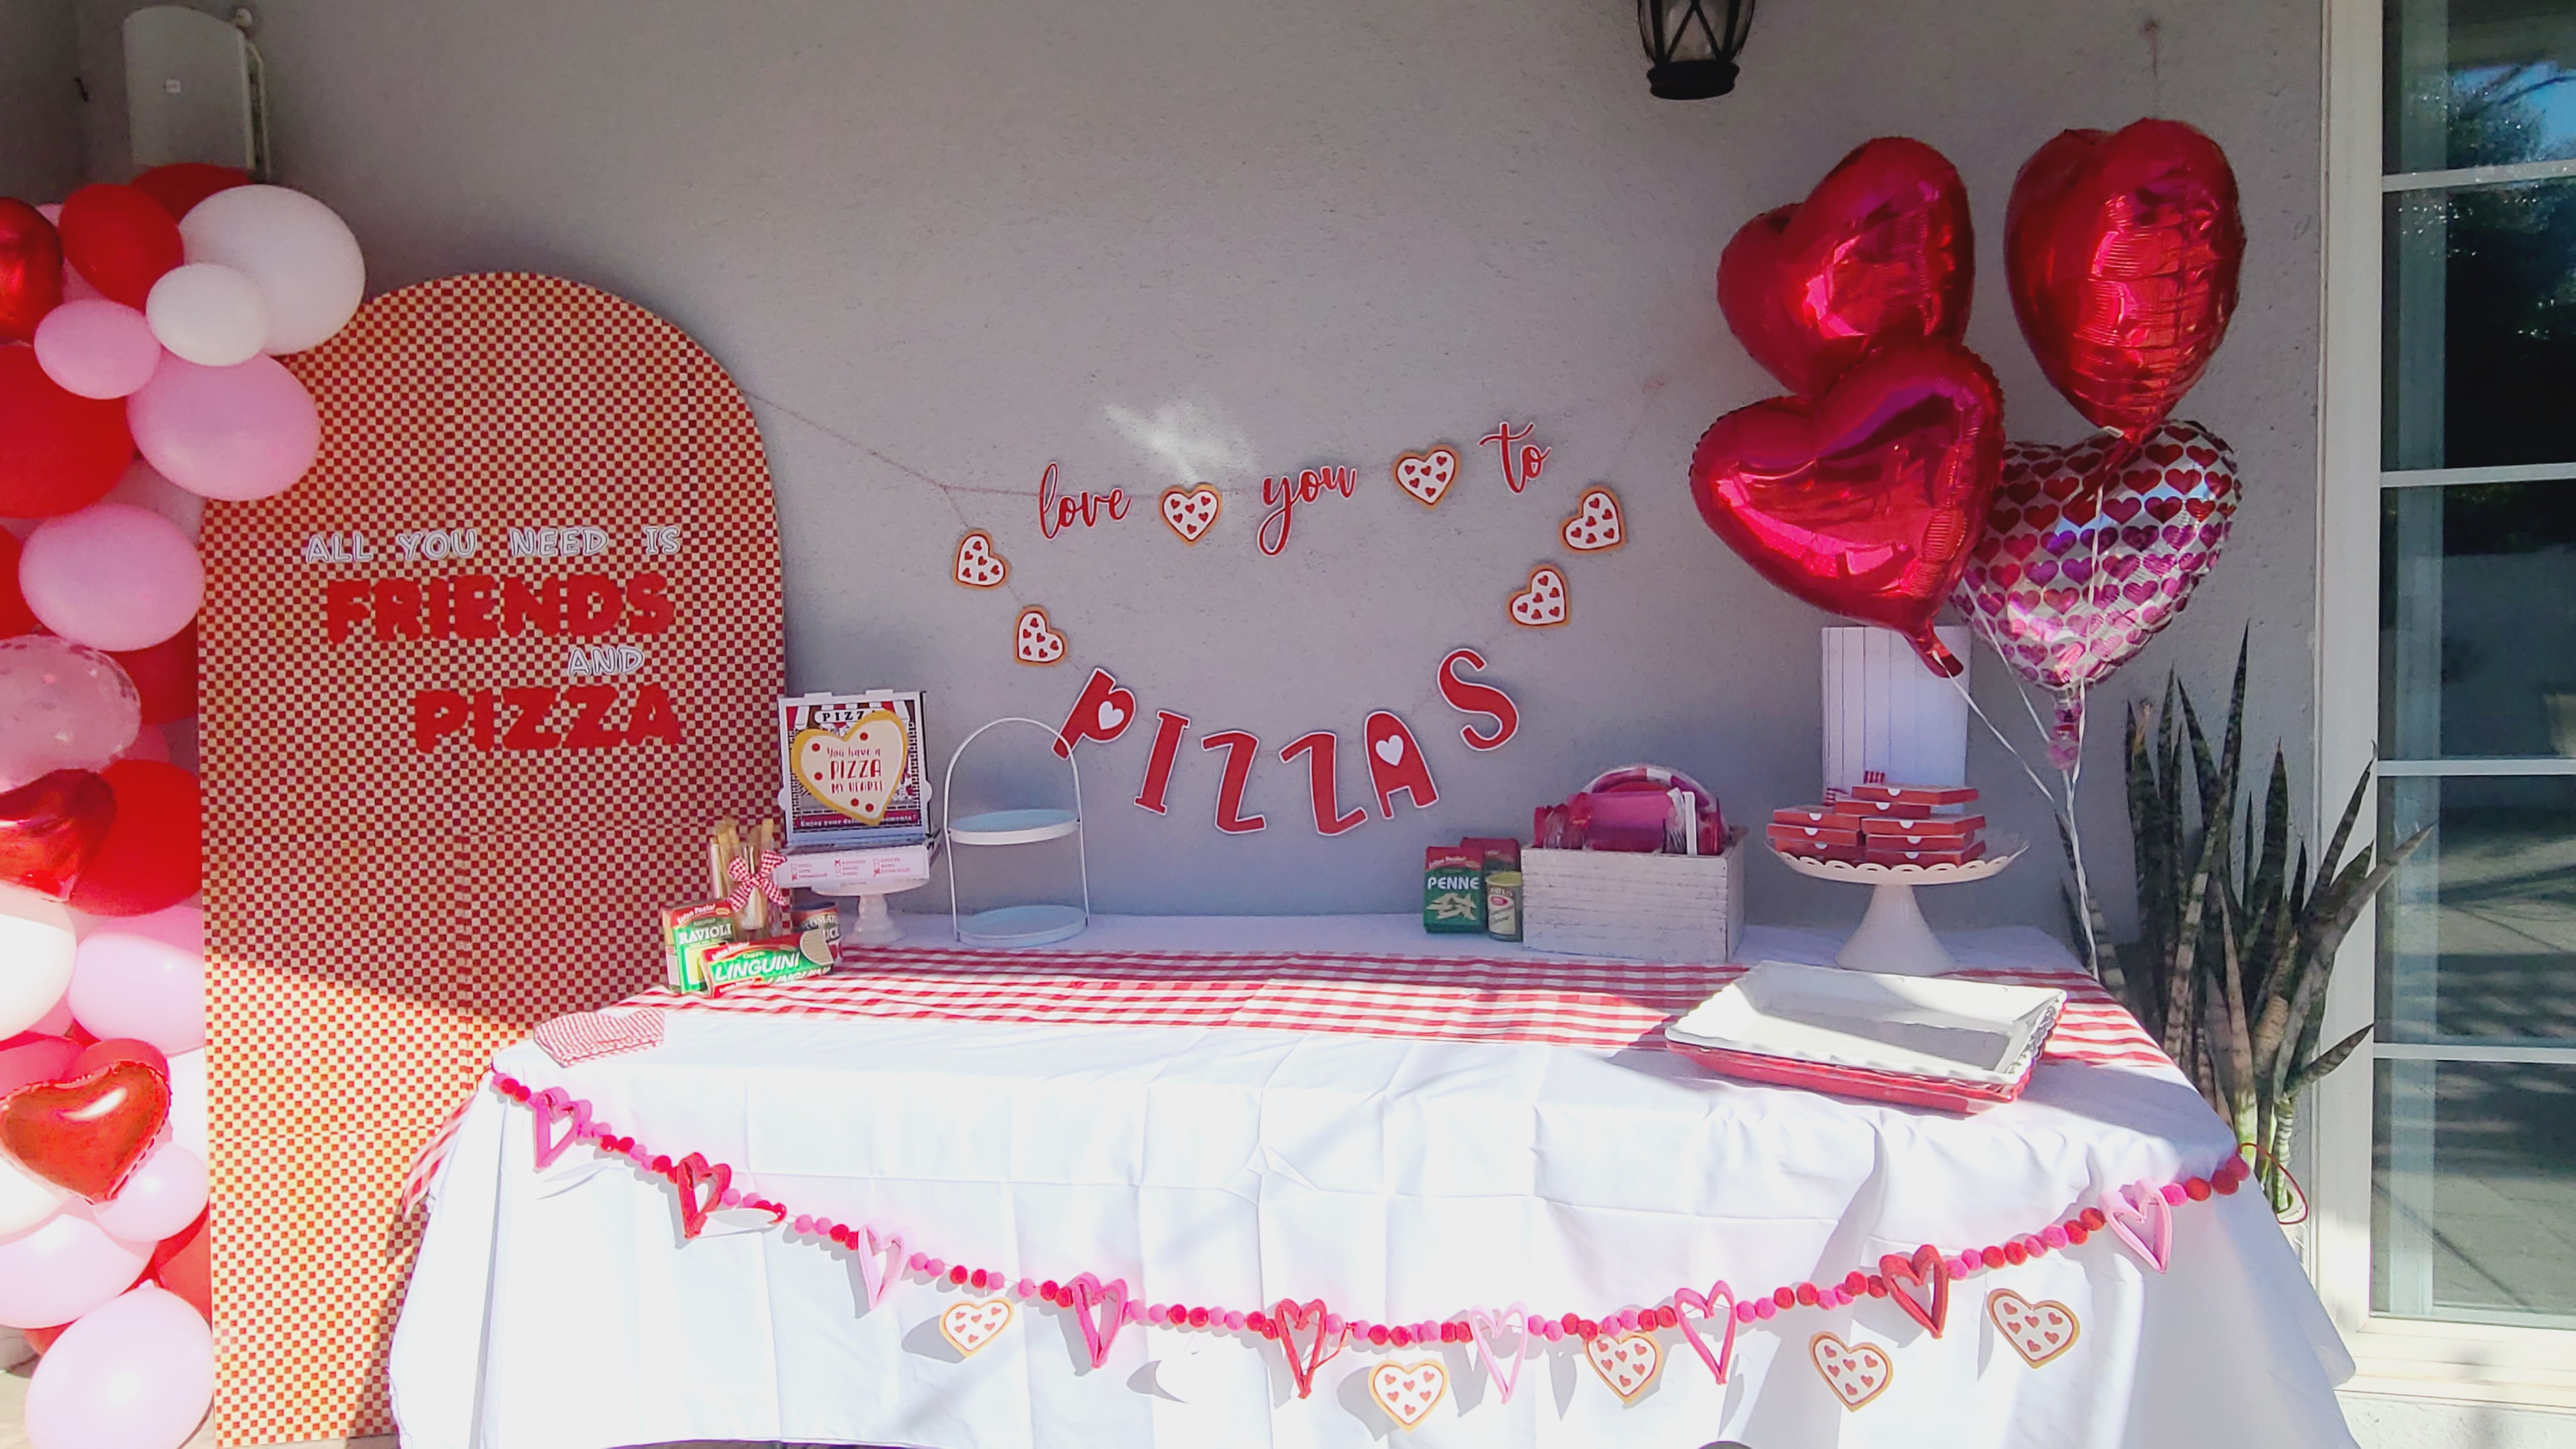
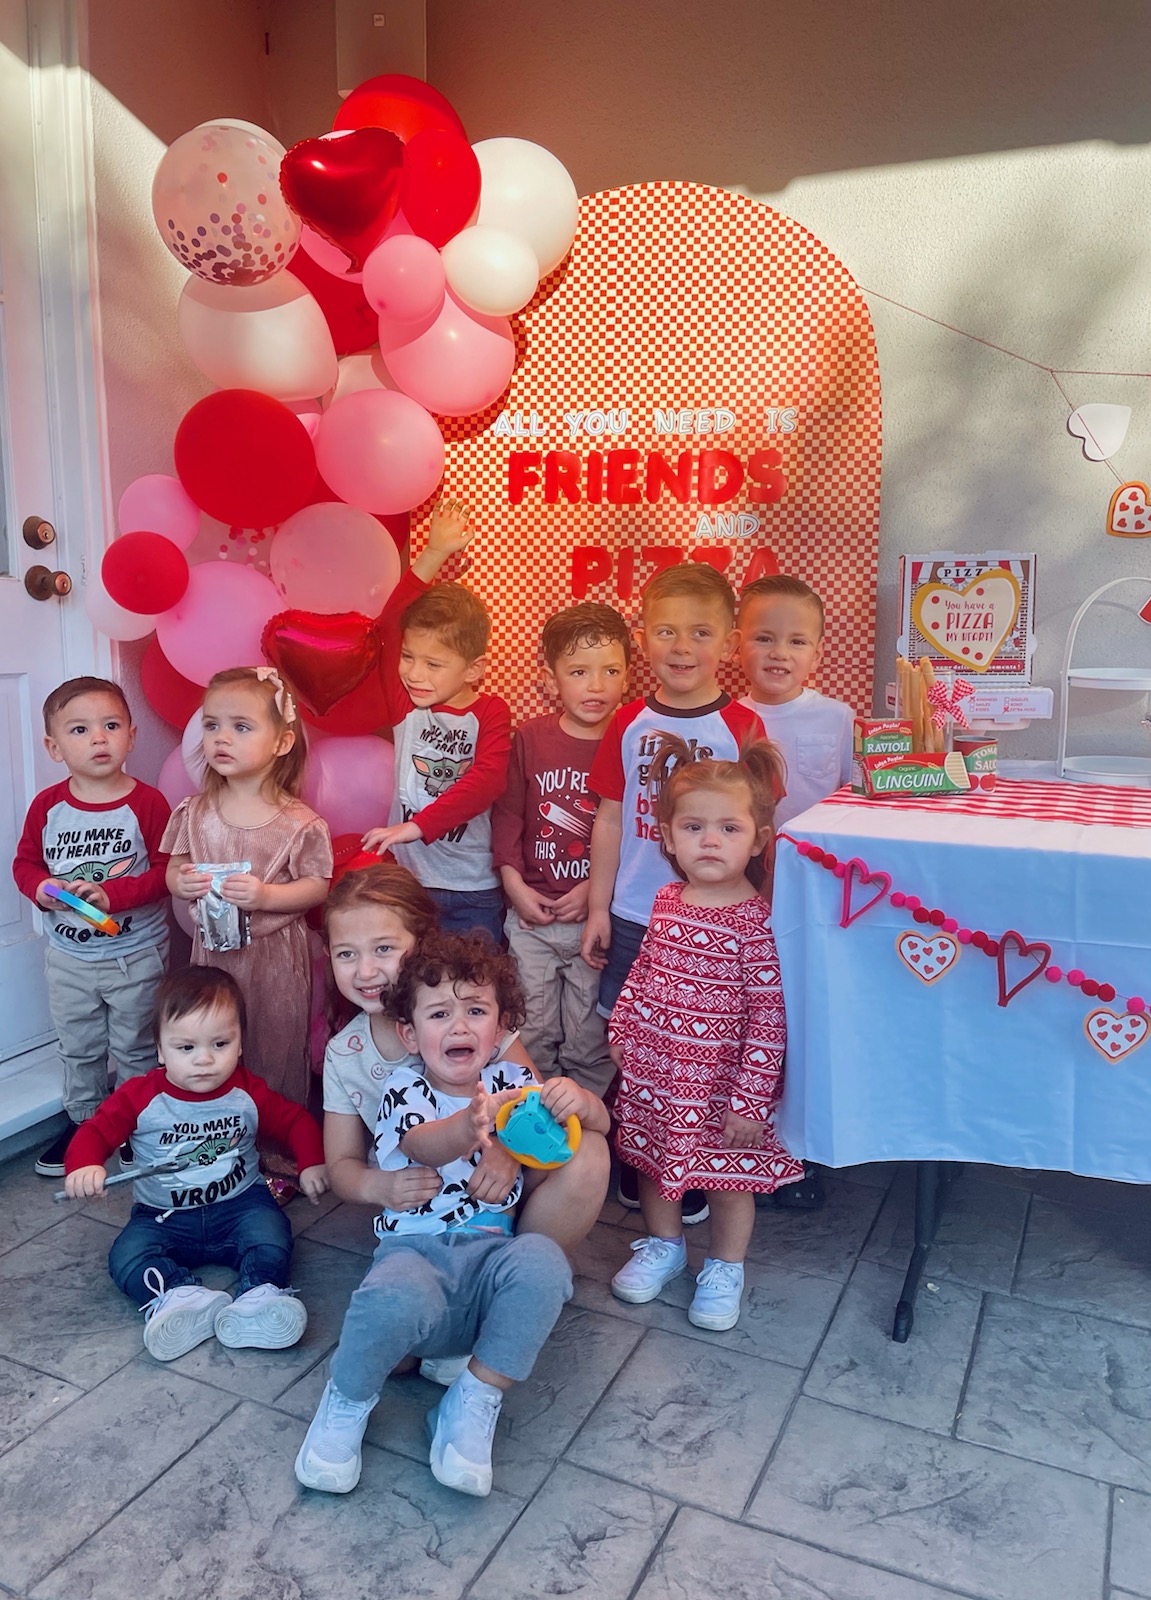
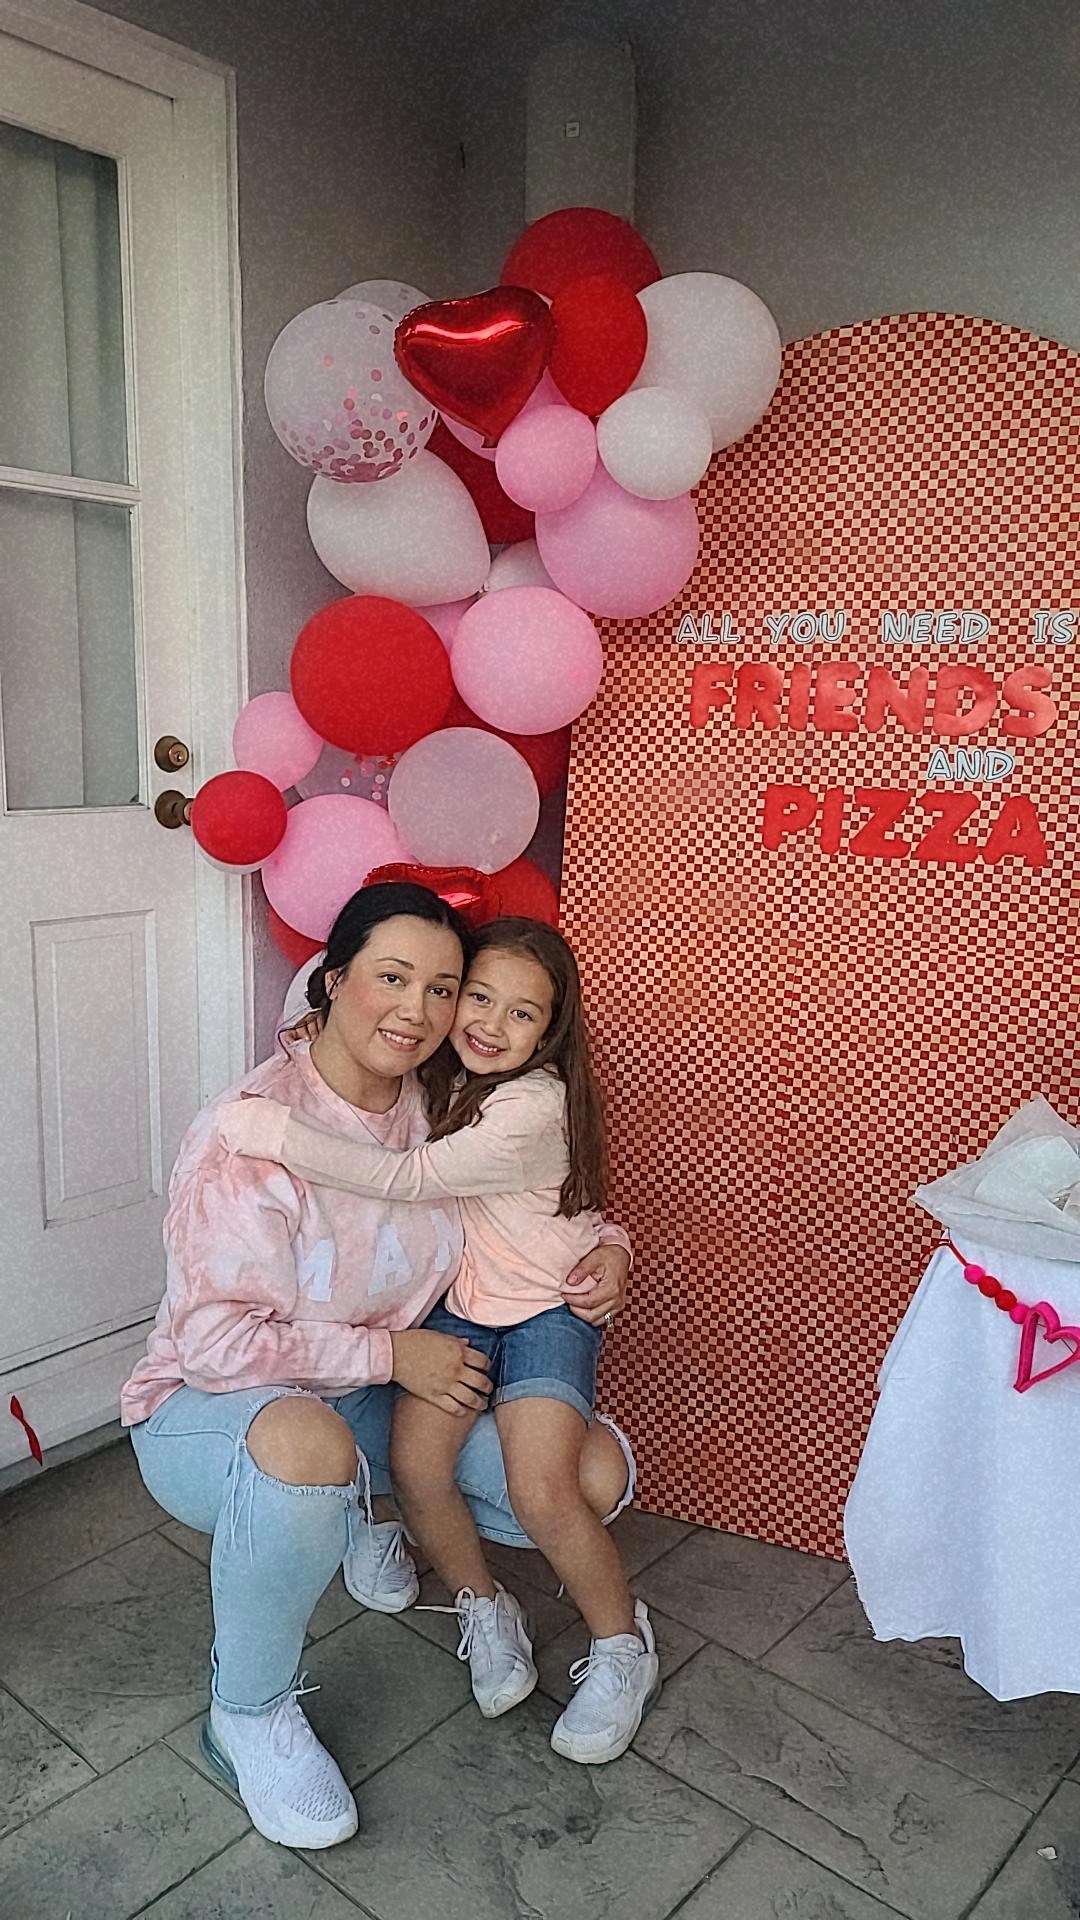
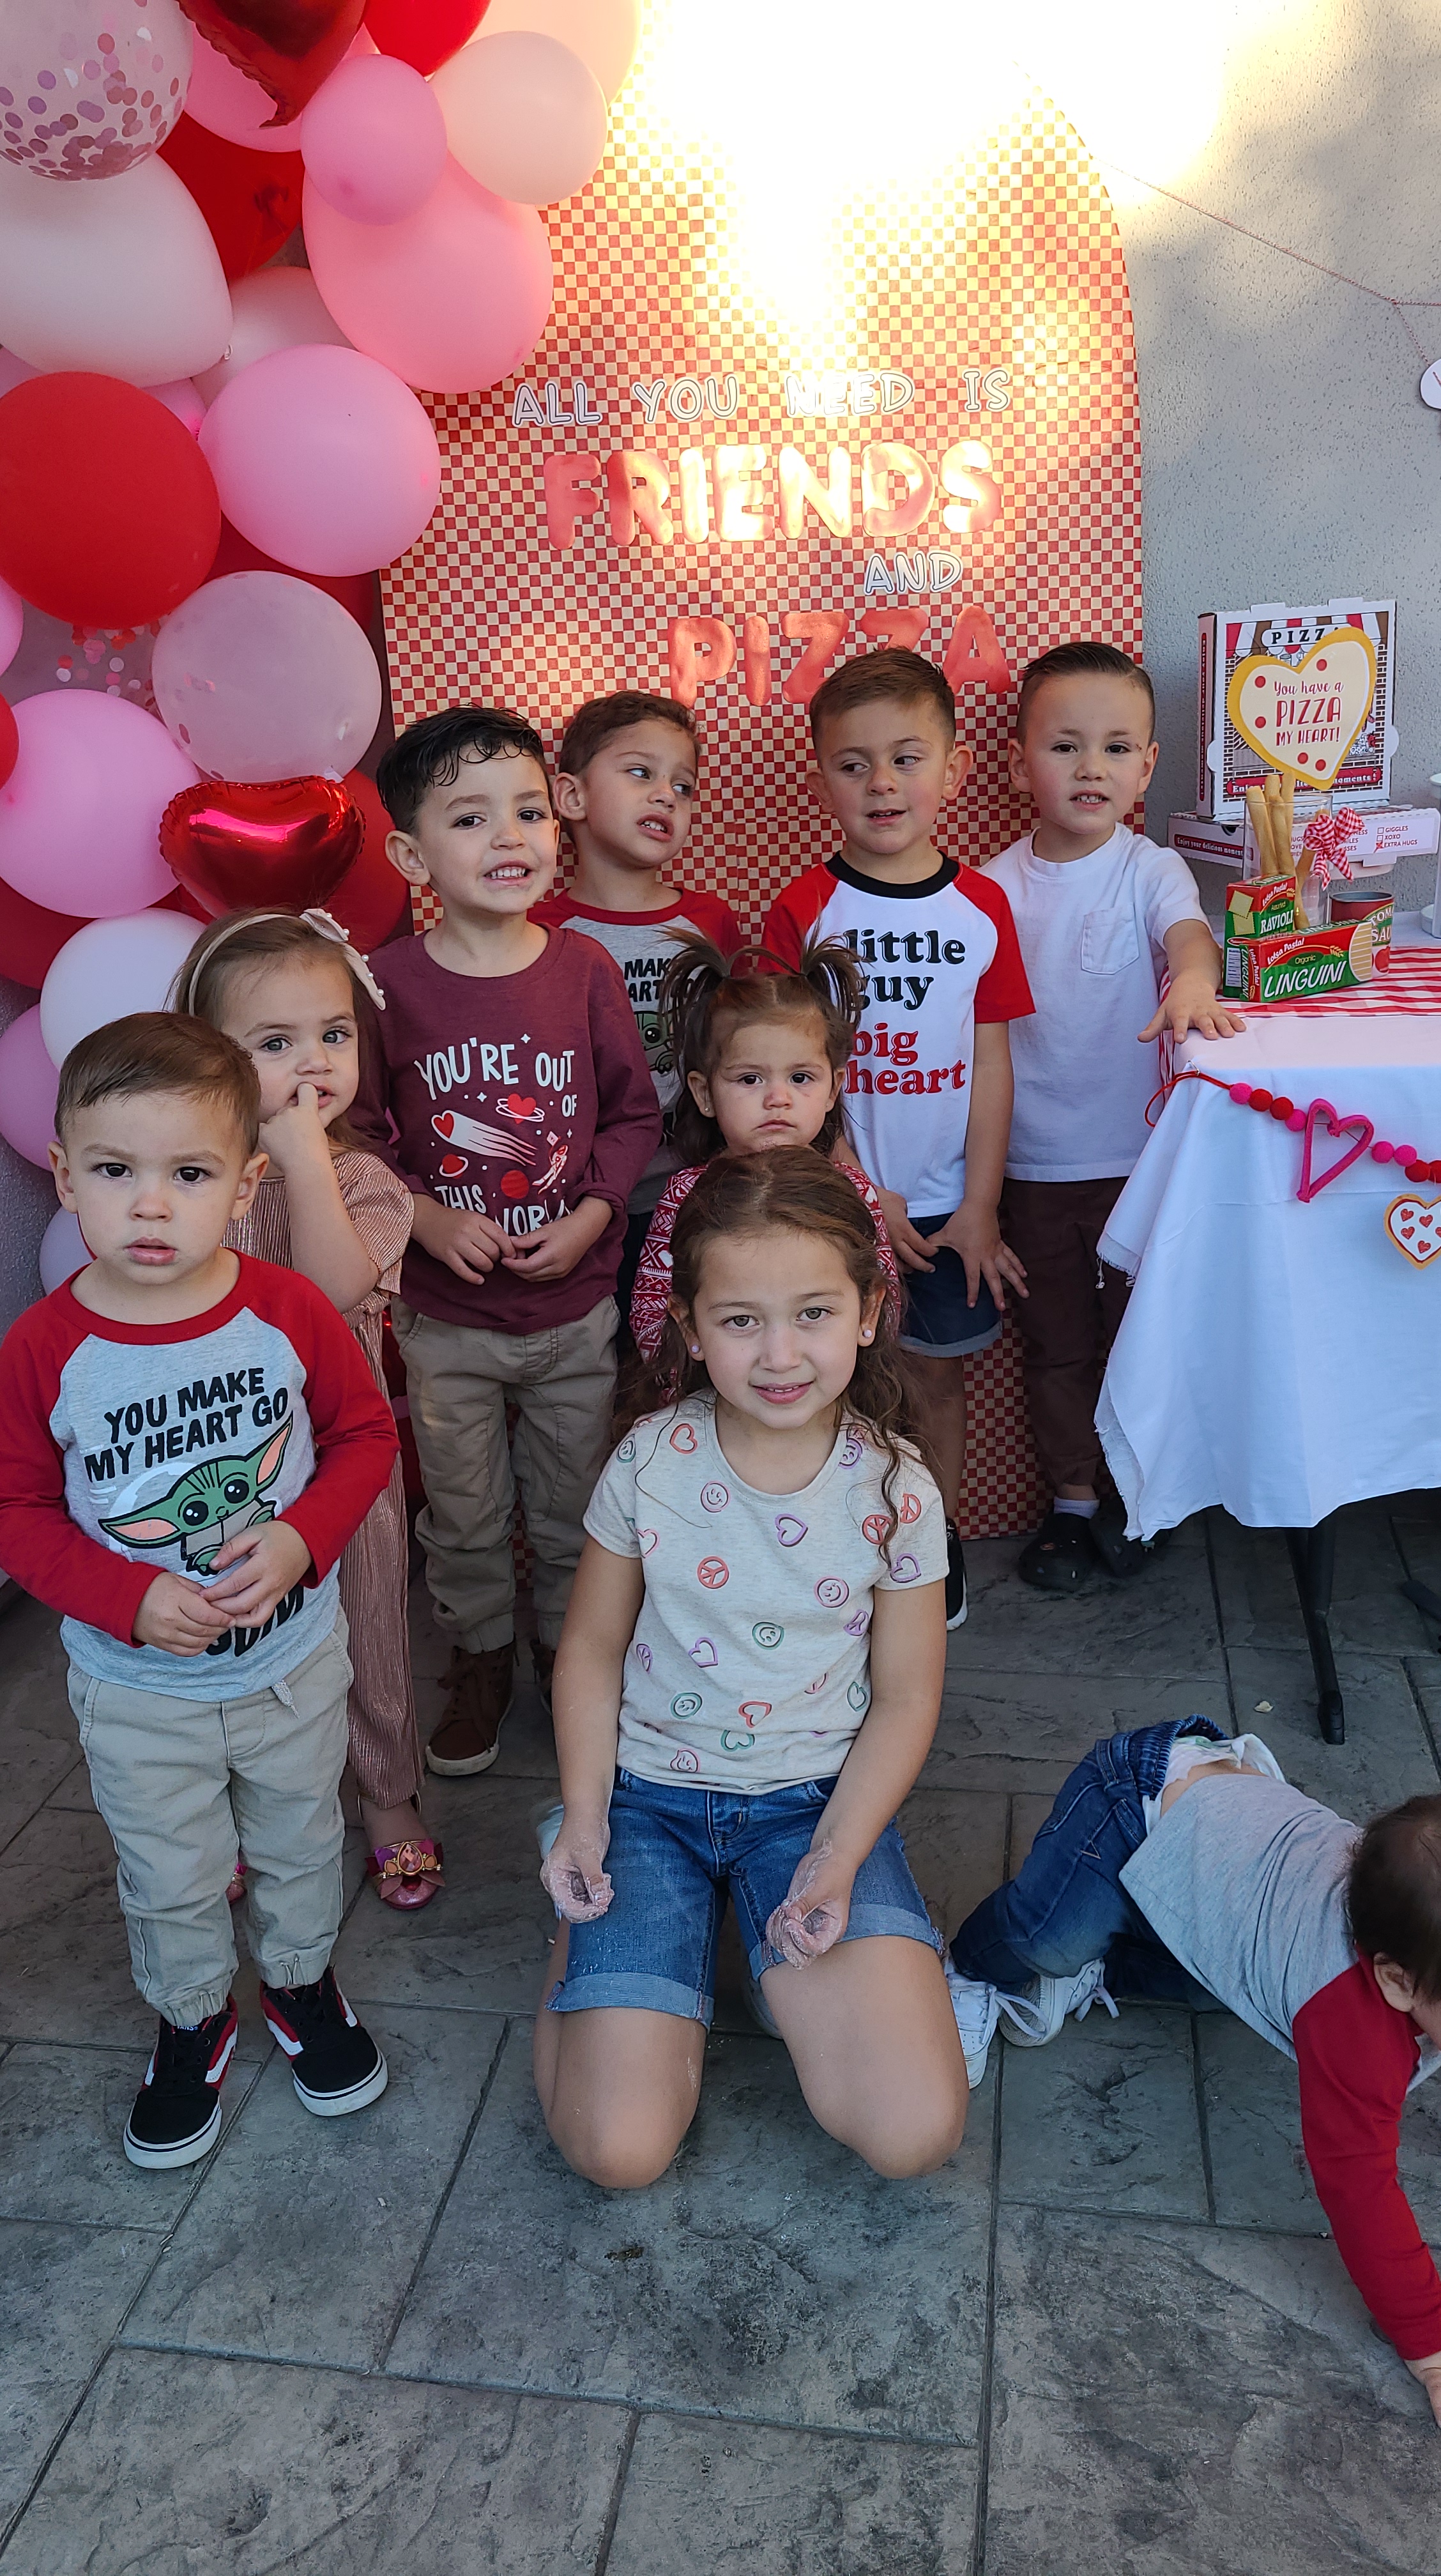
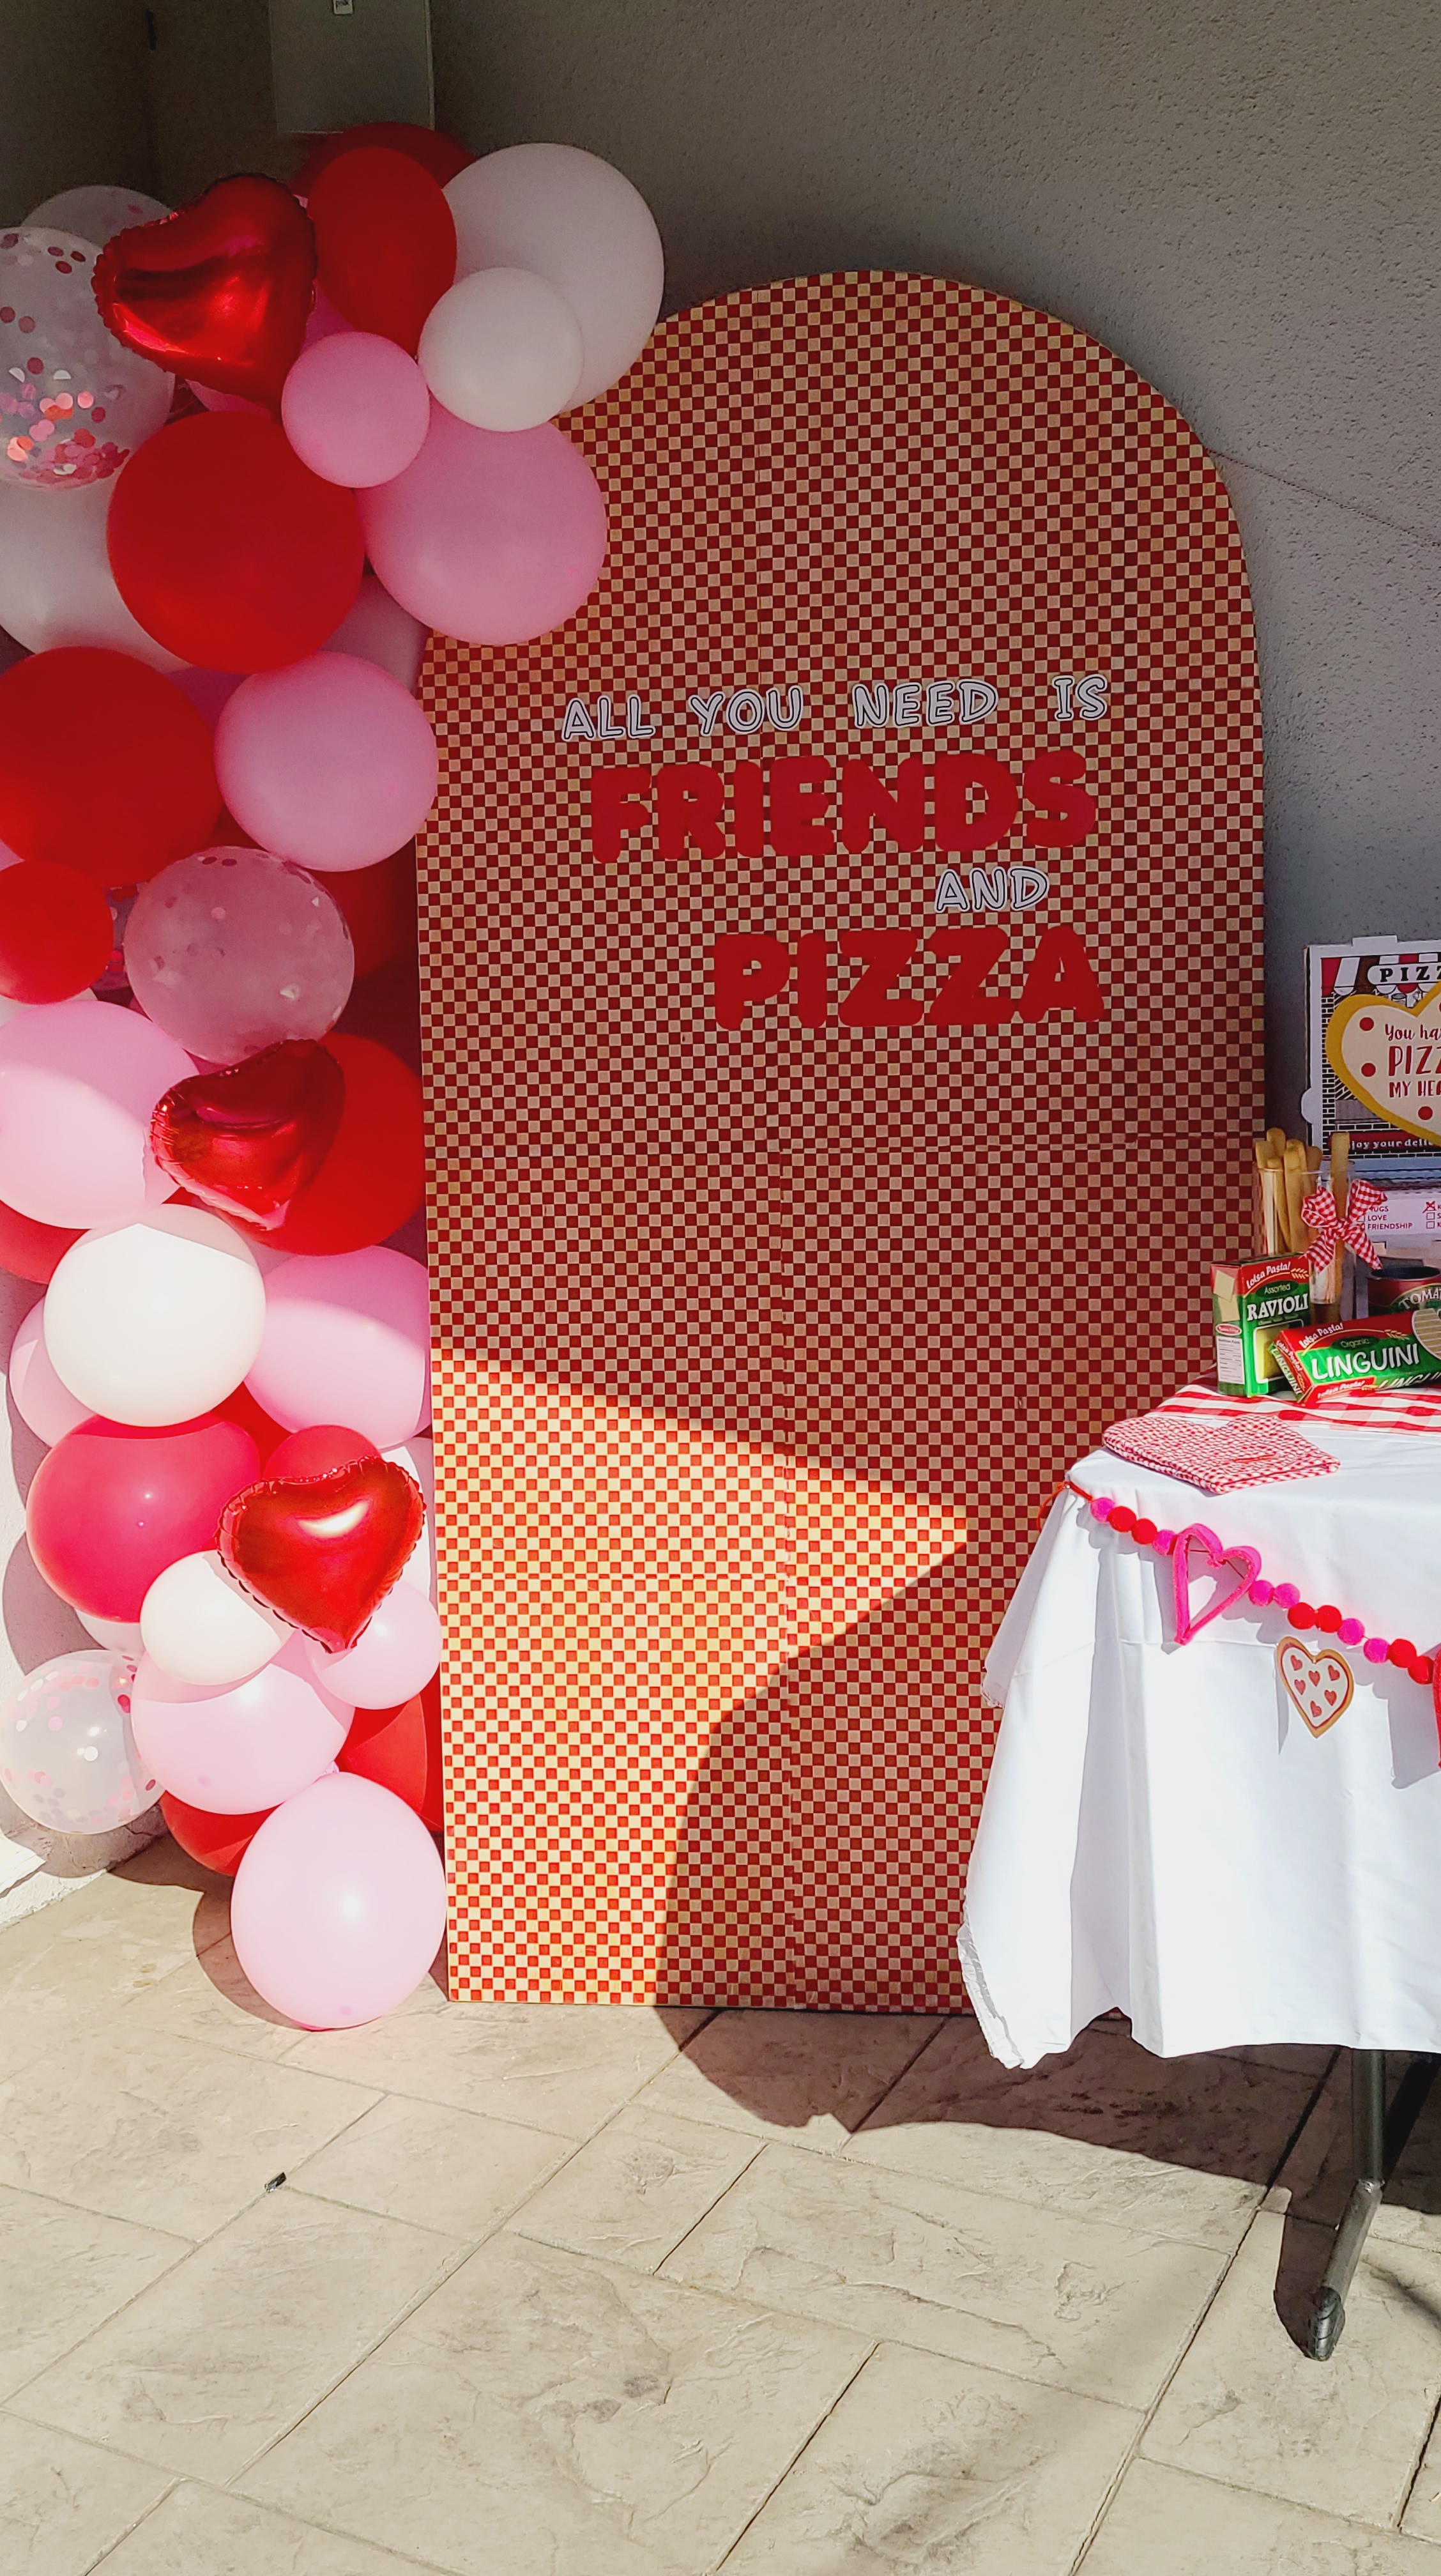
I also wanted a cute backdrop. Originally, I was going to just get craft paper or wrapping paper and use it as a backdrop. But I really wanted an arch. I was looking into renting one, but for this little party, i didn’t want to spend the money. When I showed my husband what I wanted he said we could make it. We had a piece of plywood that we were able to cut and sand. It was perfect.

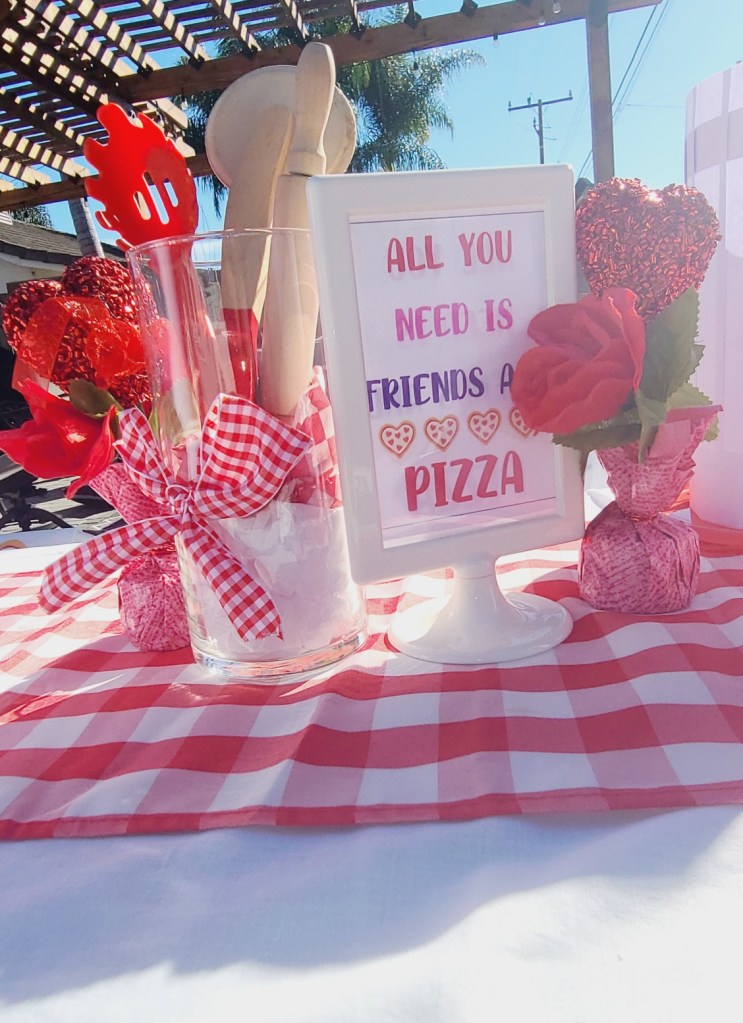
I wanted a gingham wrap on it and I thought wallpaper would work. But the shipping was too long and the price was too high. I thought about Mod Podge and when I went to Dollar Tree I found a red and white checker tissue paper. I wasn’t sure of how it would work but it ended up working out perfectly. I placed Mod podge on the wood, then placed the tissue paper, and then topped with more Mod podge. Worked so good! Then I came up with a little phrase for it. All the pizza related phrases I came across were about Love and Pizza. But I changed it to “All you need is Friends & Pizza” I added that phrase to the arch with some letter stickers I had. This is where a Cricut machine would come in handy 😁 I topped the arch with a few balloons and it was perfect!

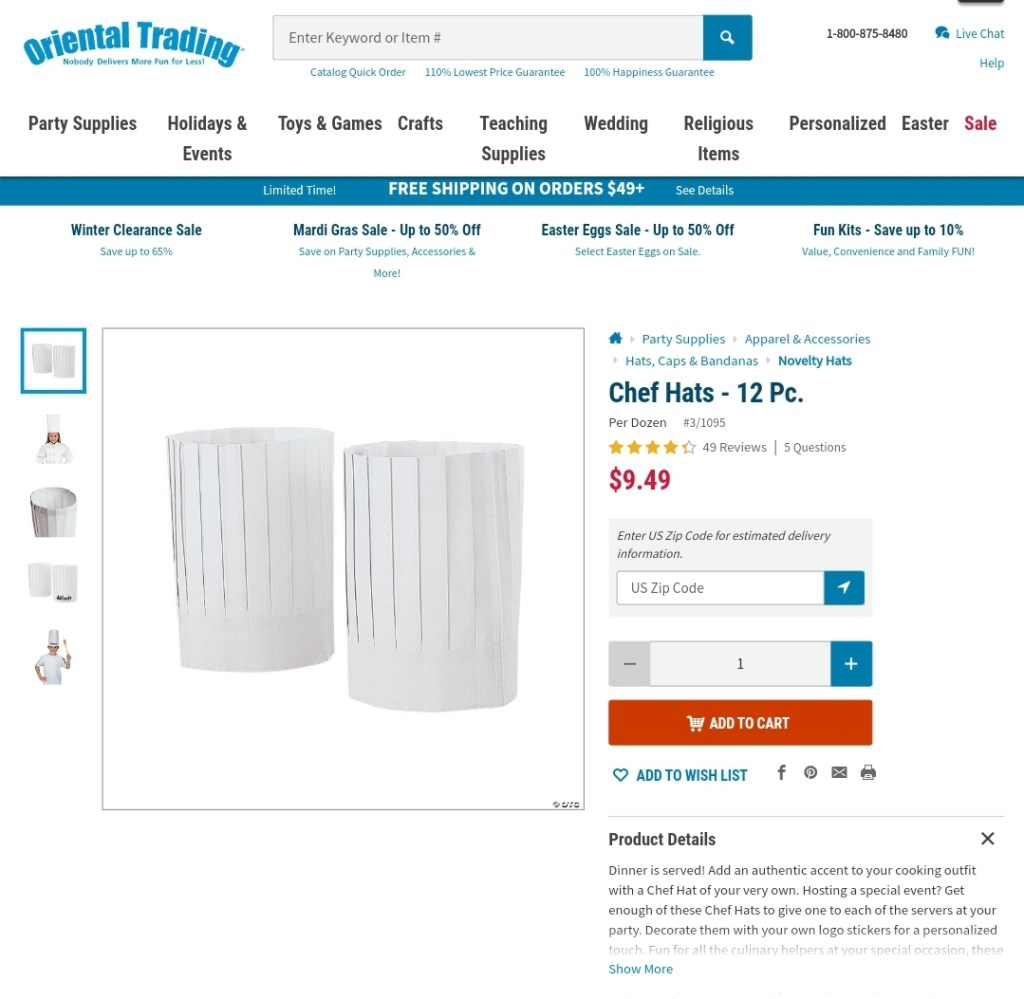
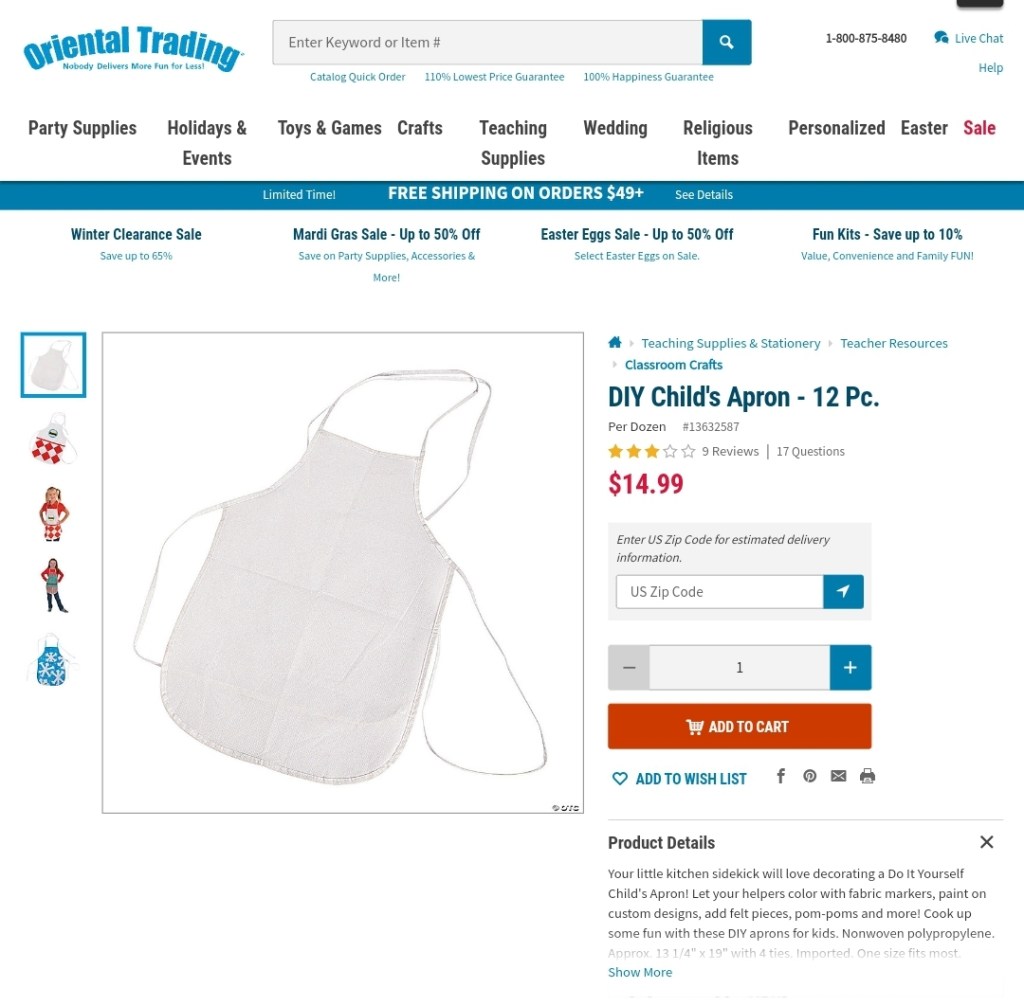
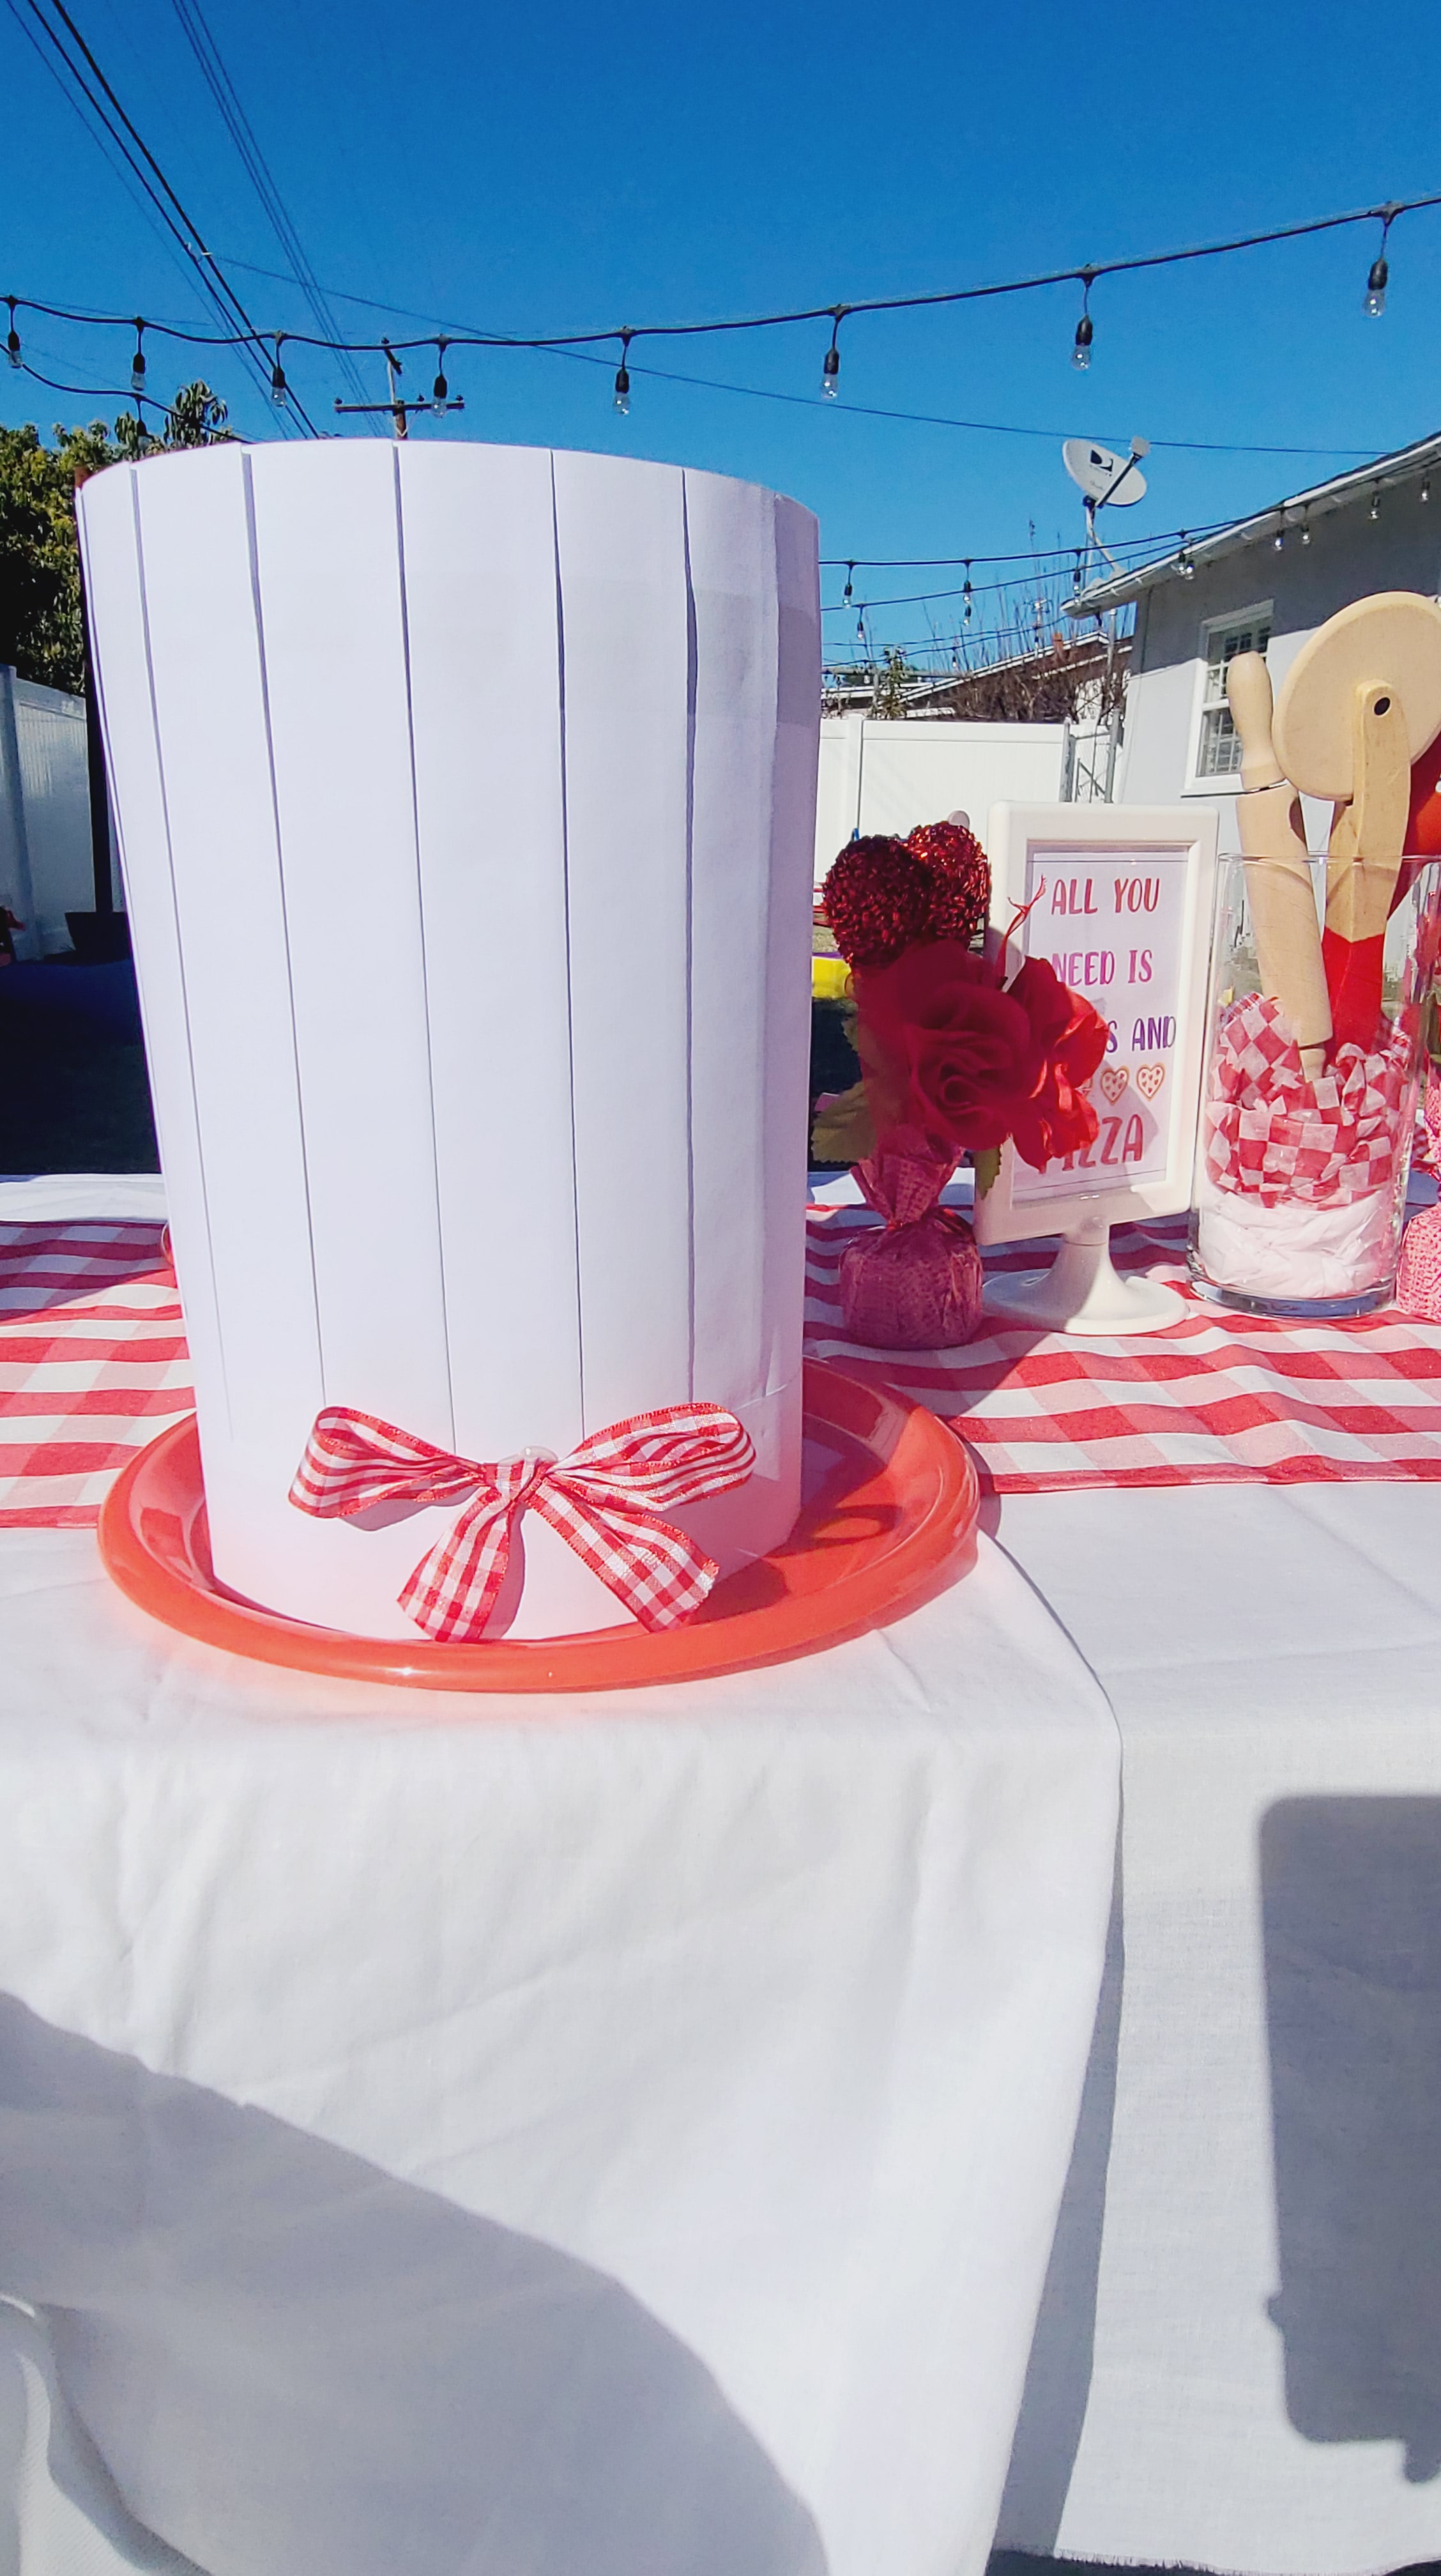
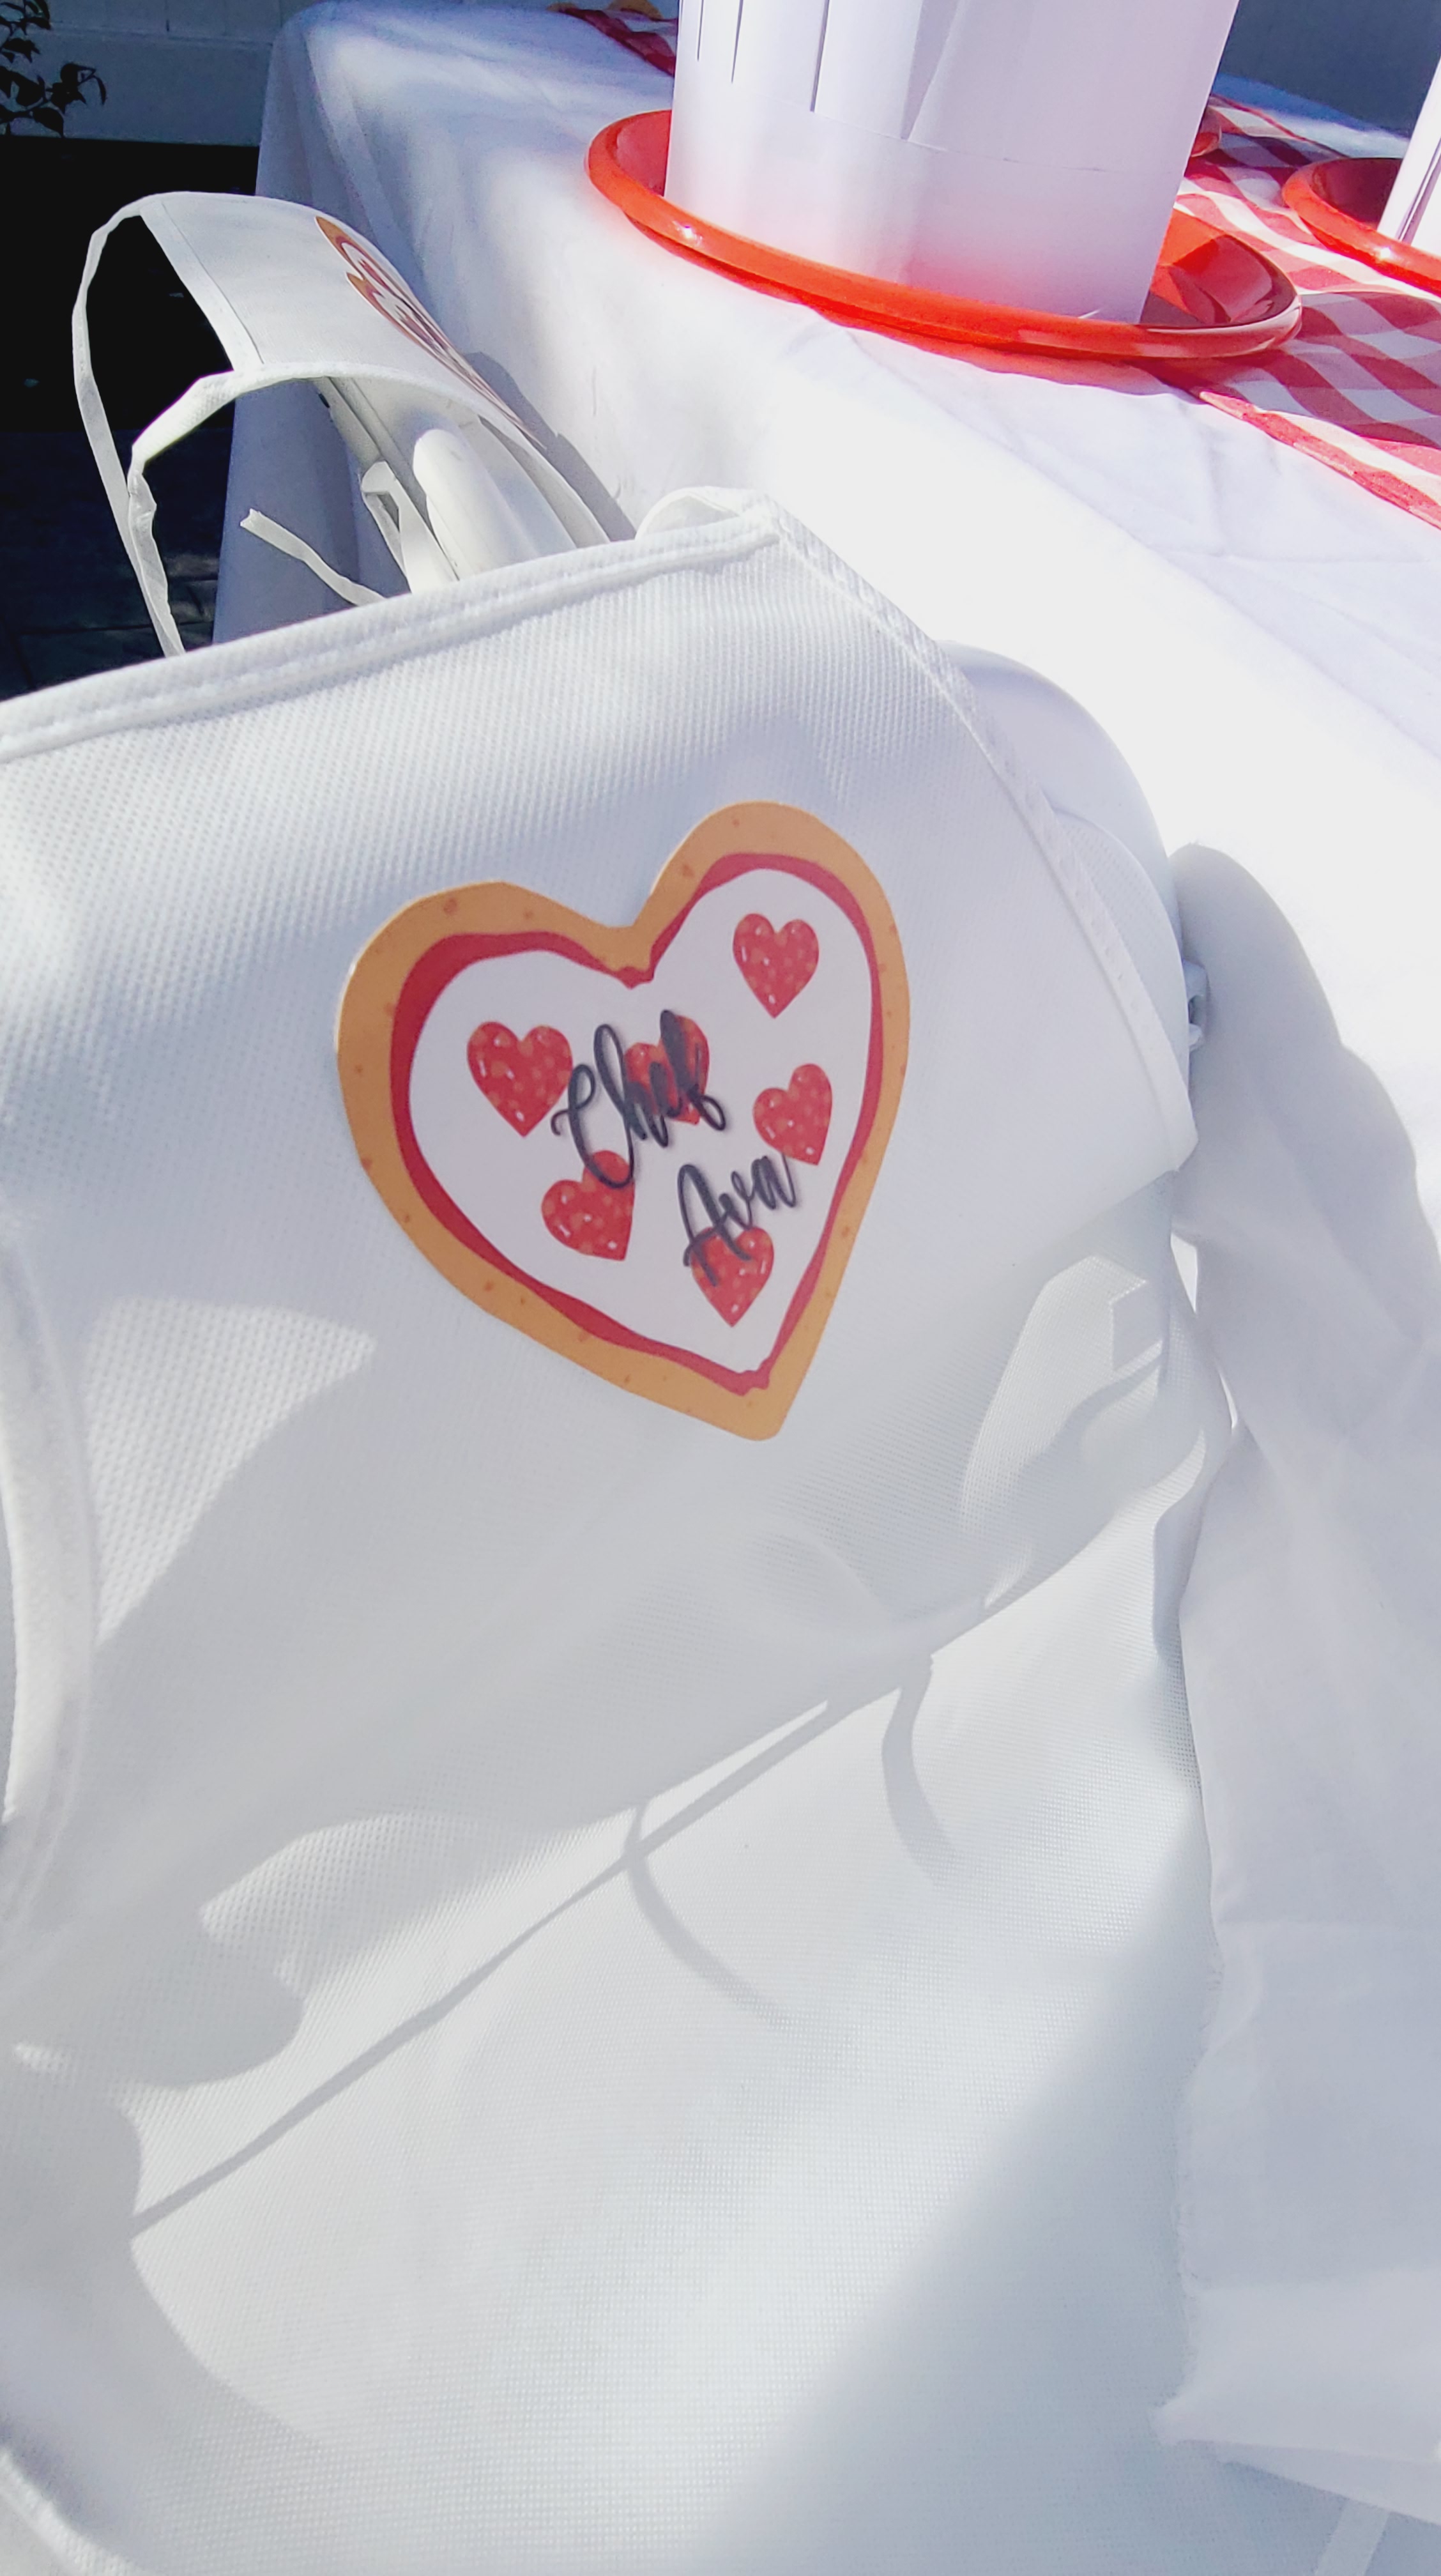
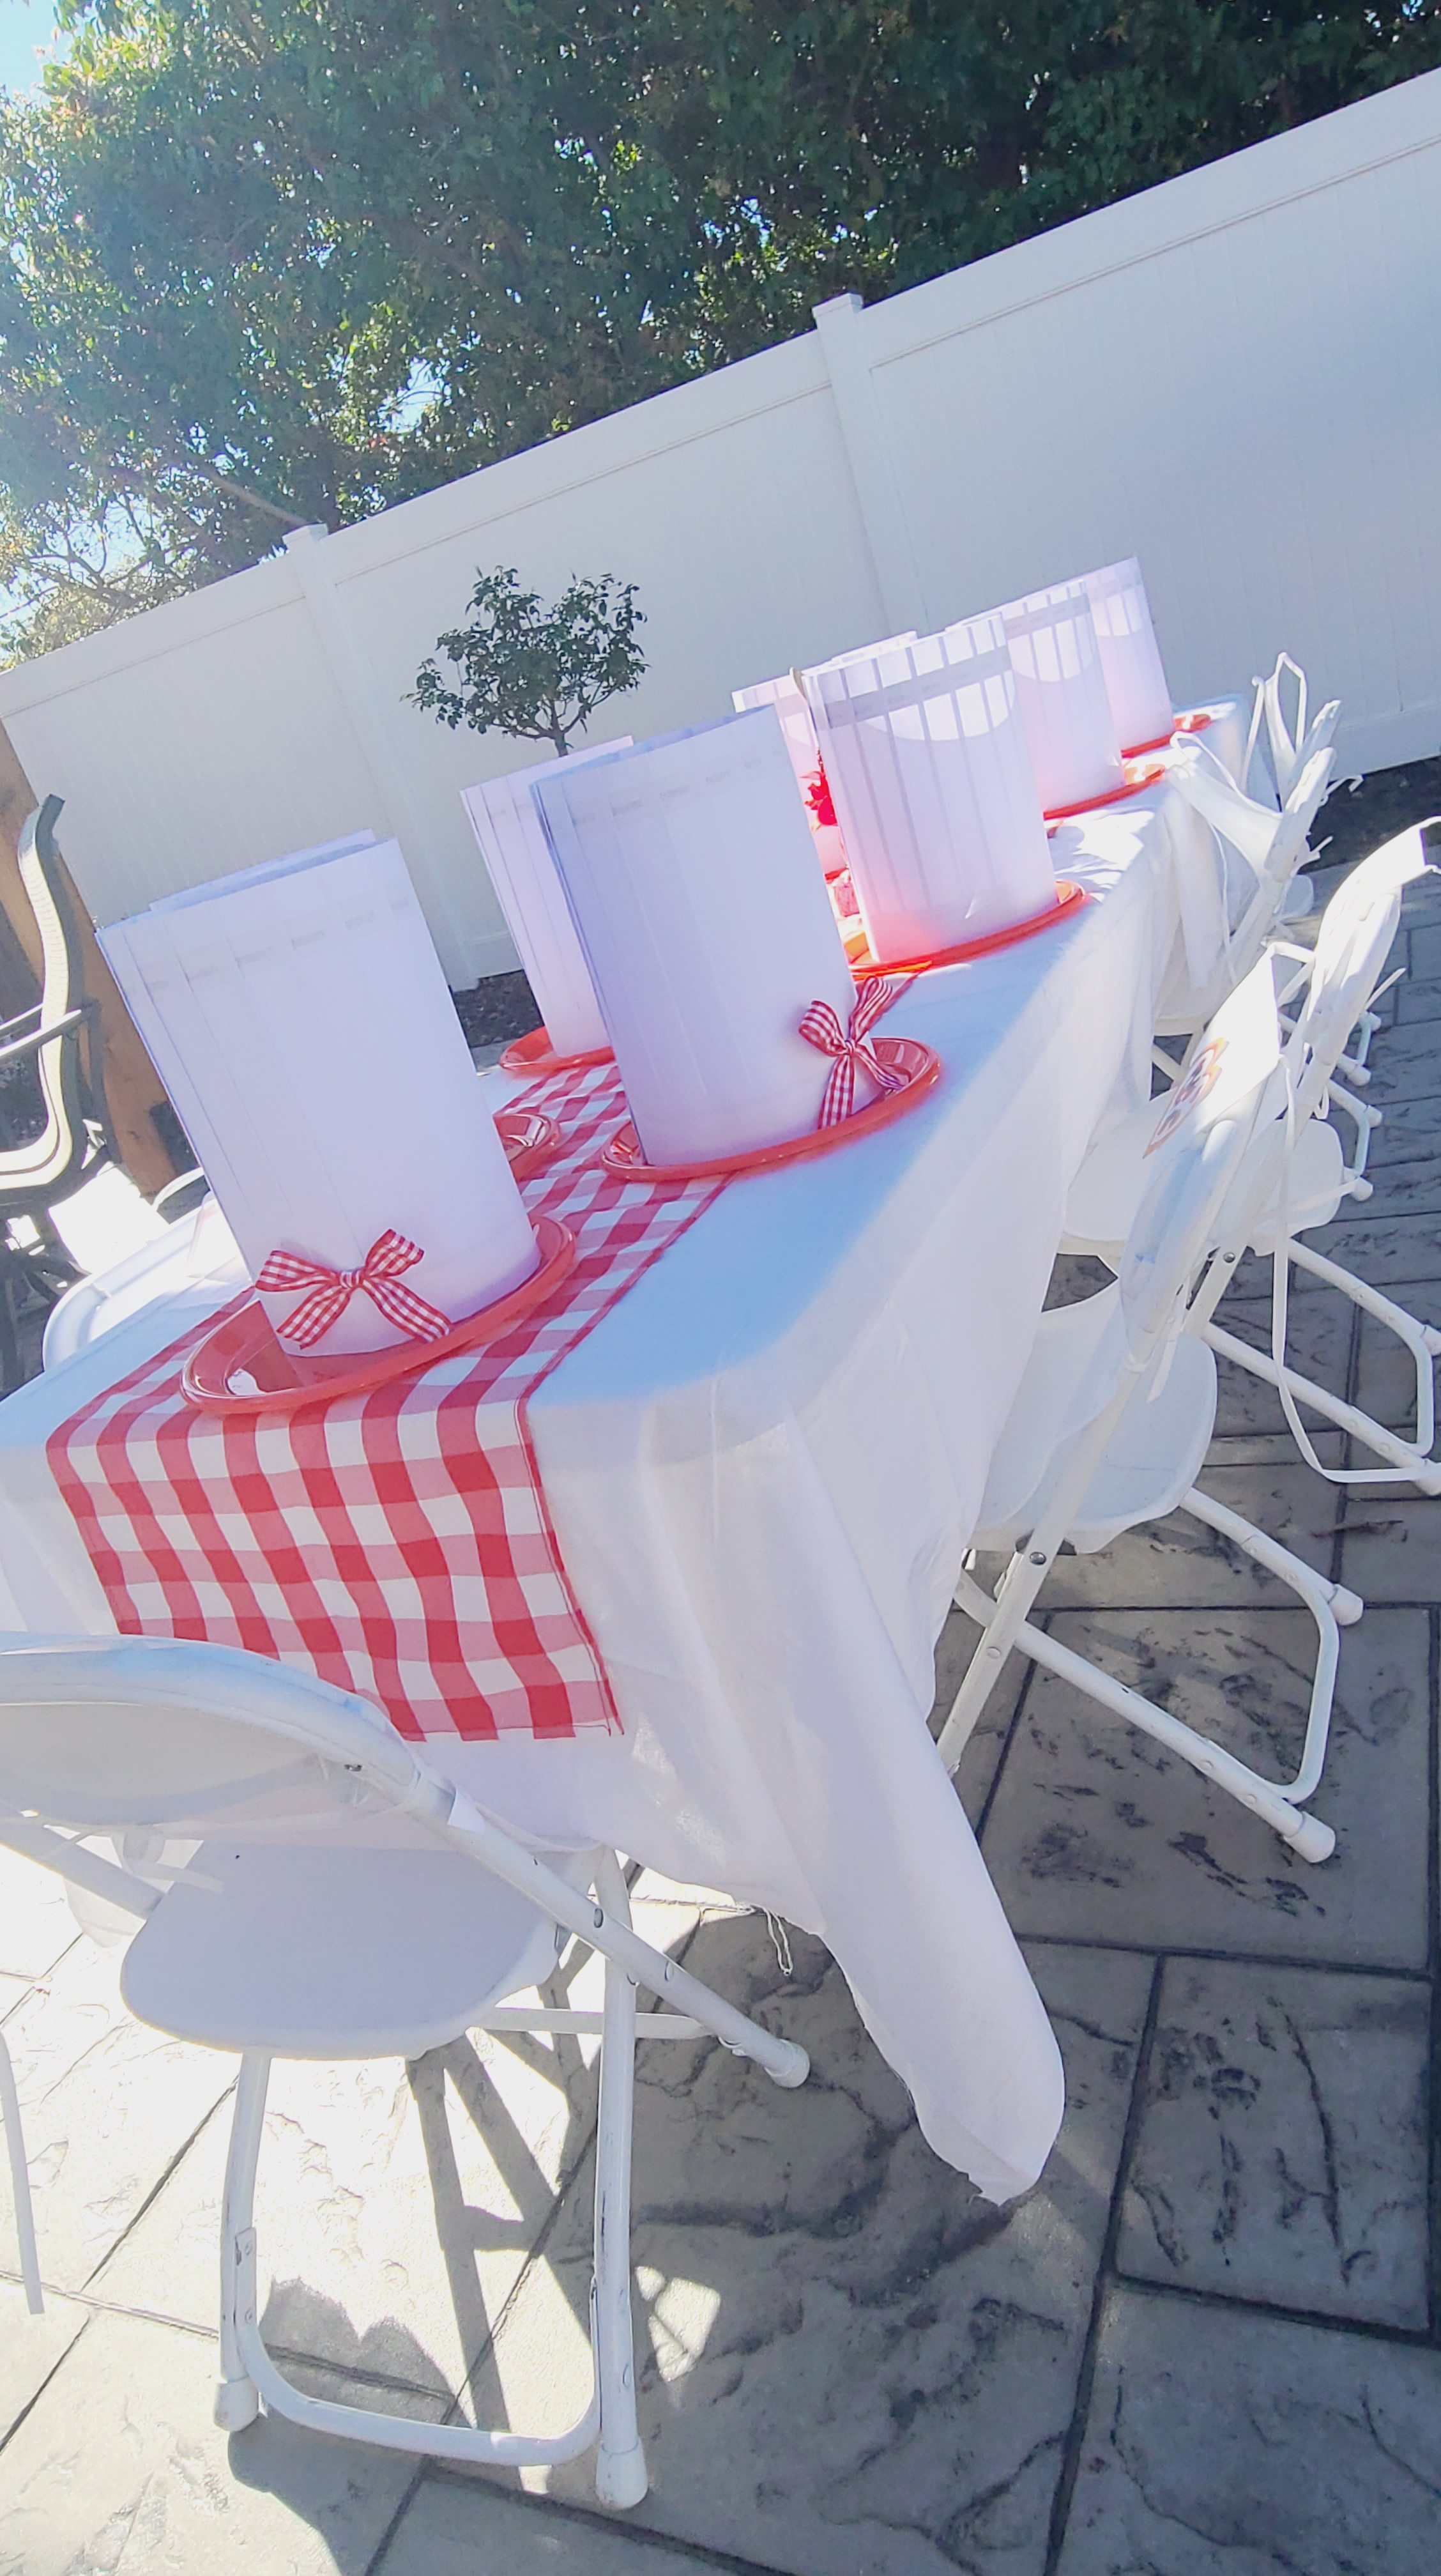
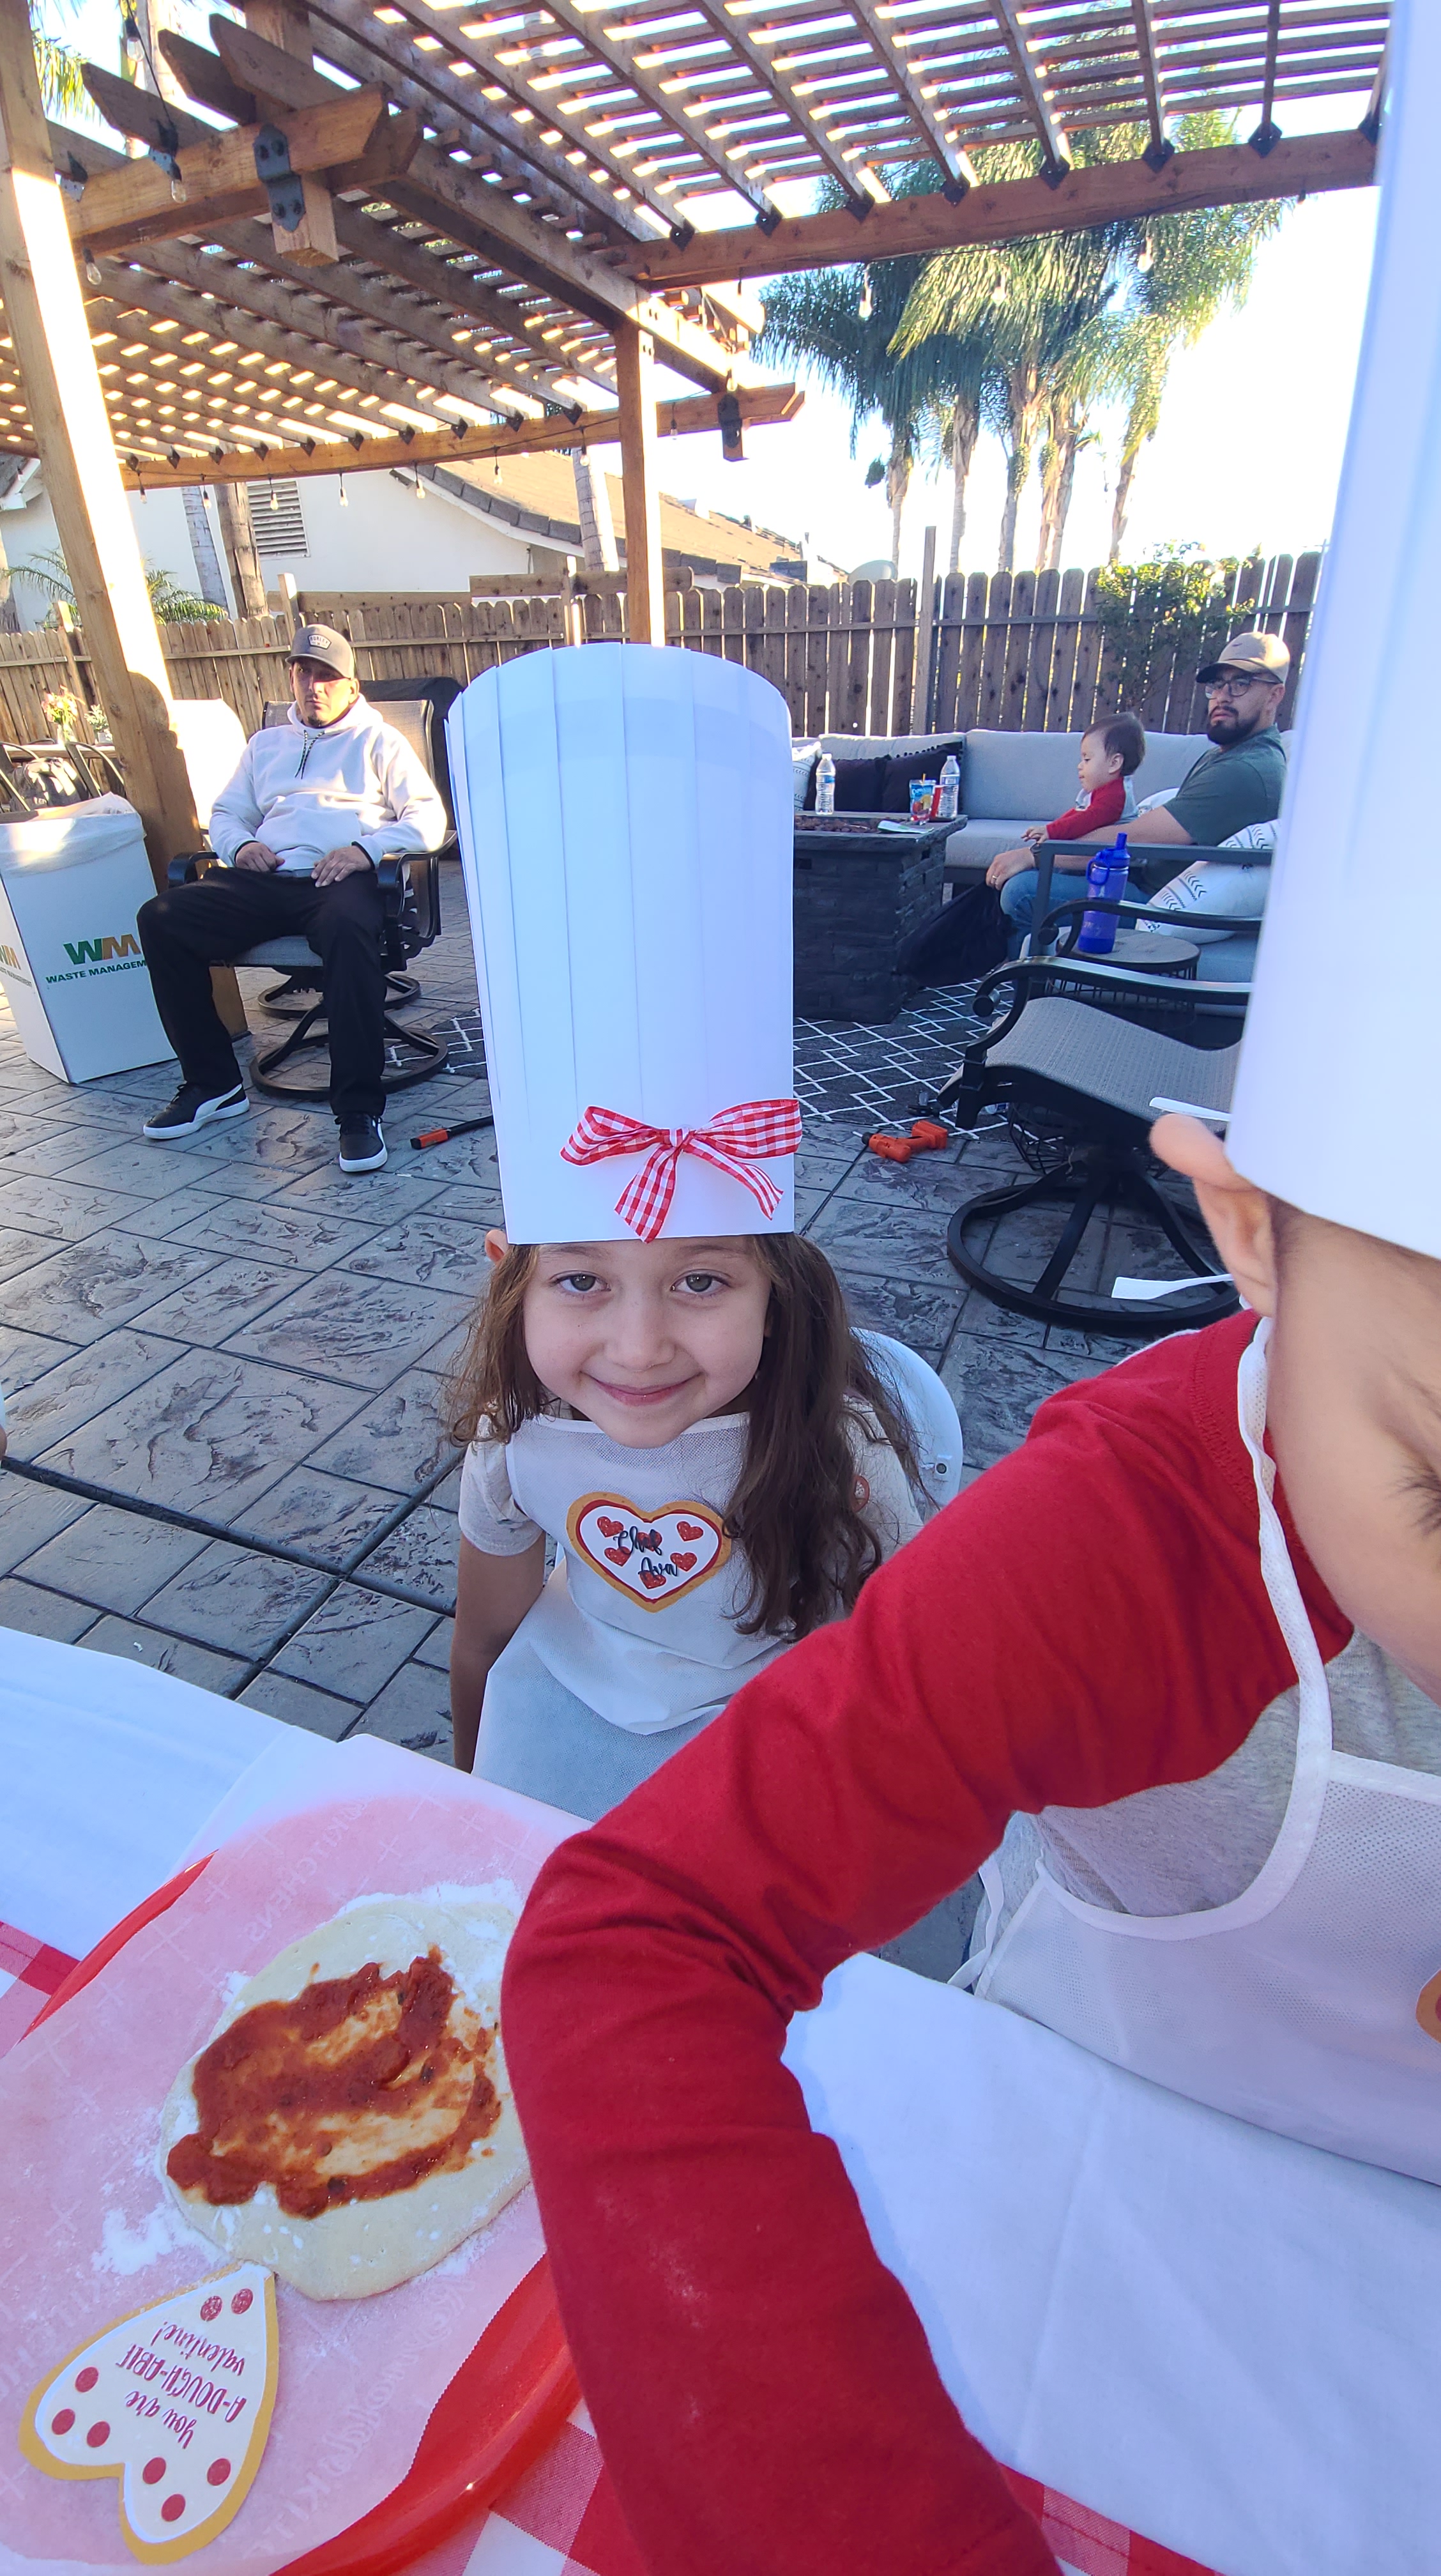
For the kids table I just ordered some chef aprons and hats from Oriental Trading to place on the table. I added a simple bow to the girls hats. And for the apron, I put their names on a heart pizza and glued it to the front. It was a cute touch. I will add that not many kids wanted to wear the hat. But it’s ok, they looked cute in their aprons. Sharing the links for those below.

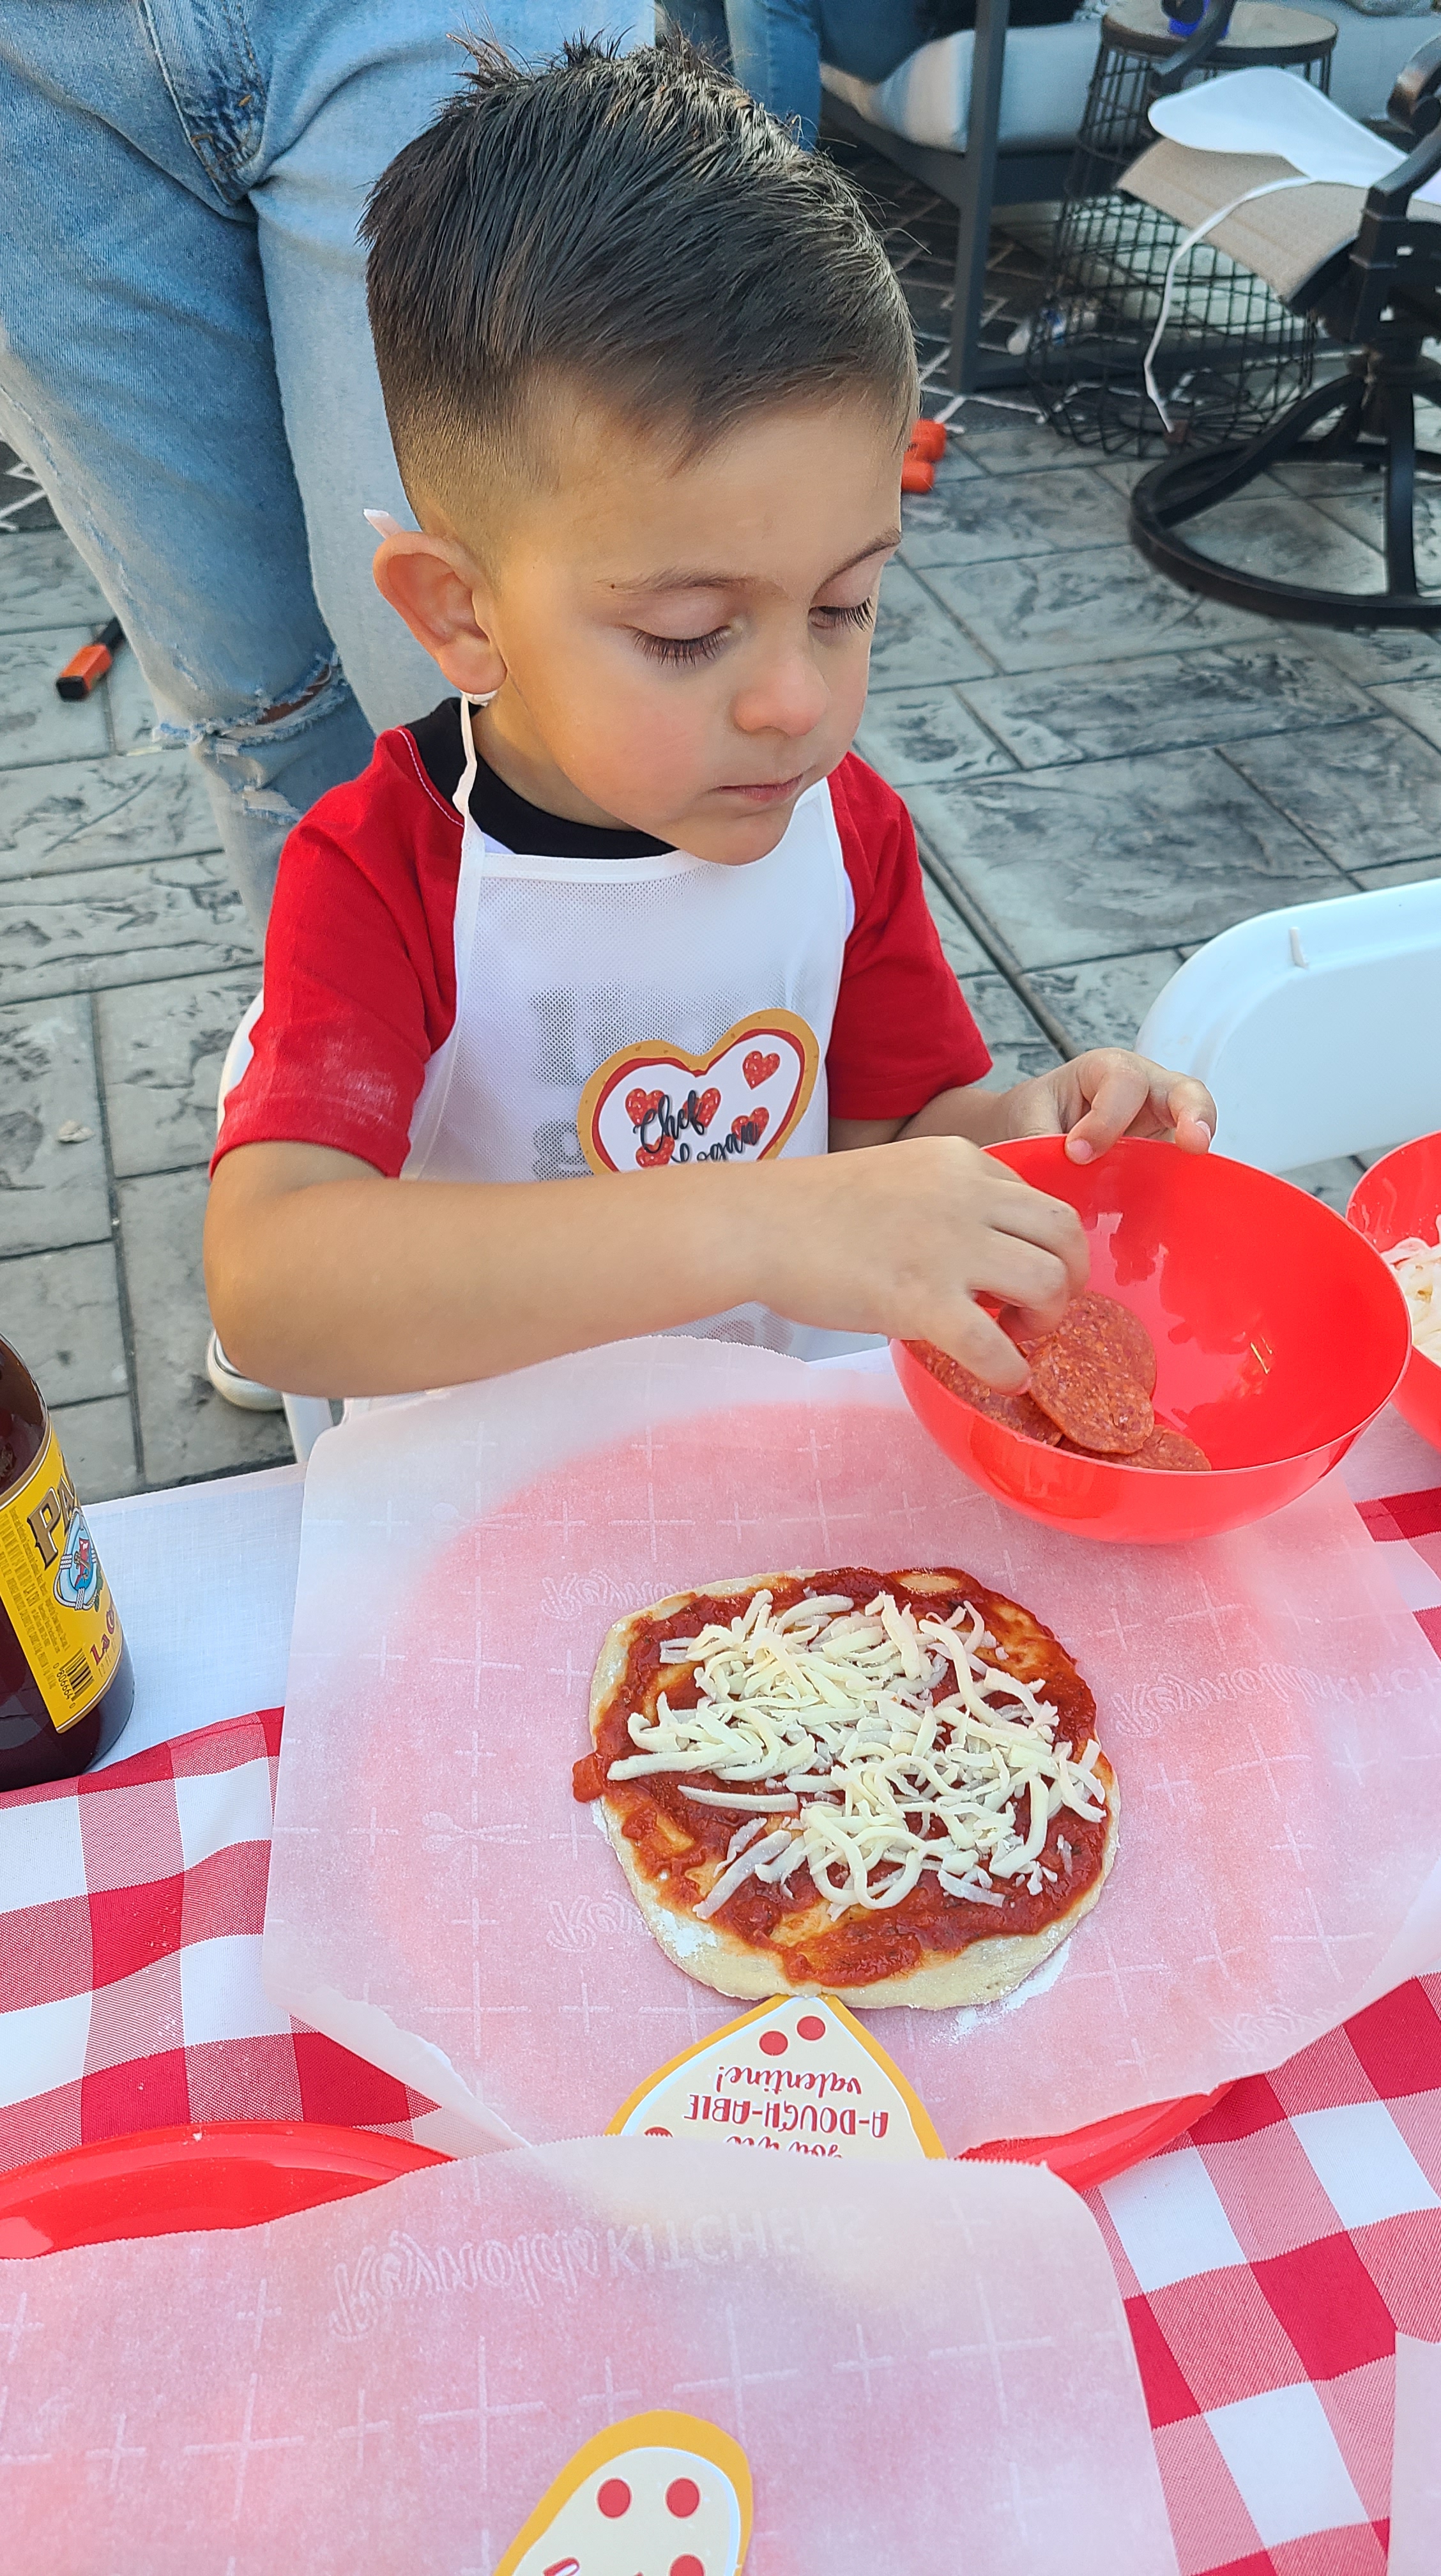
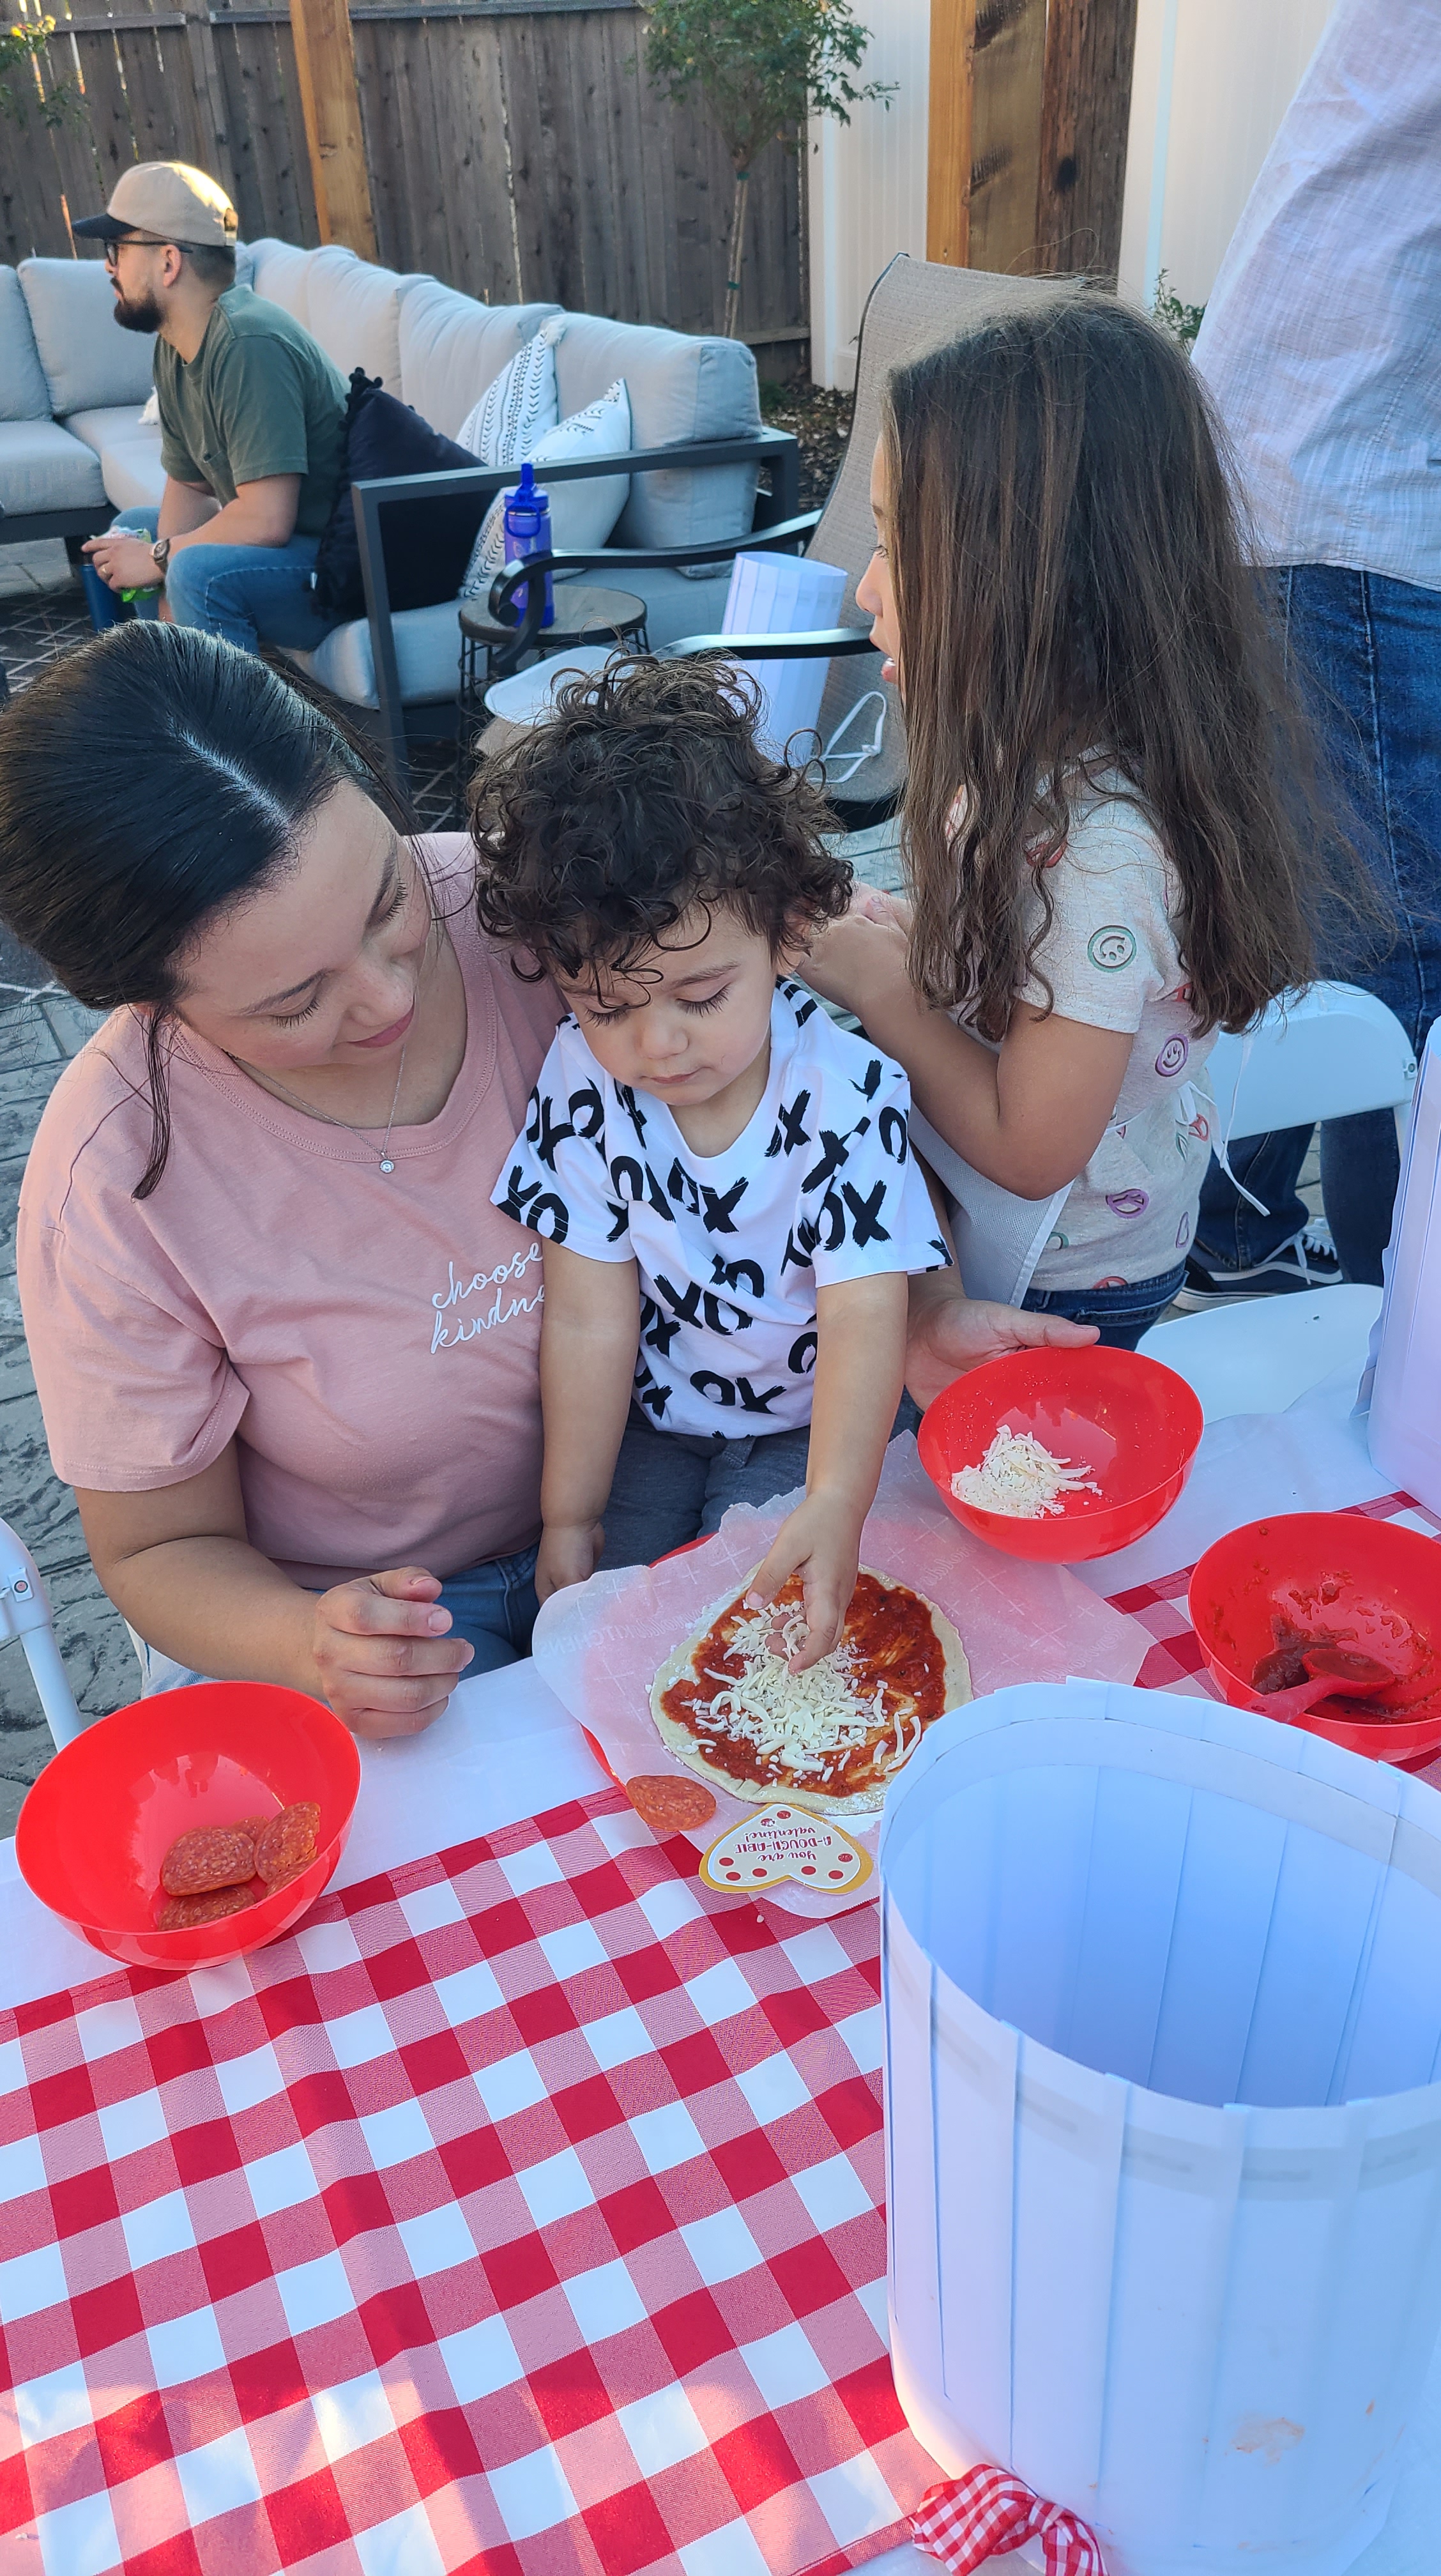
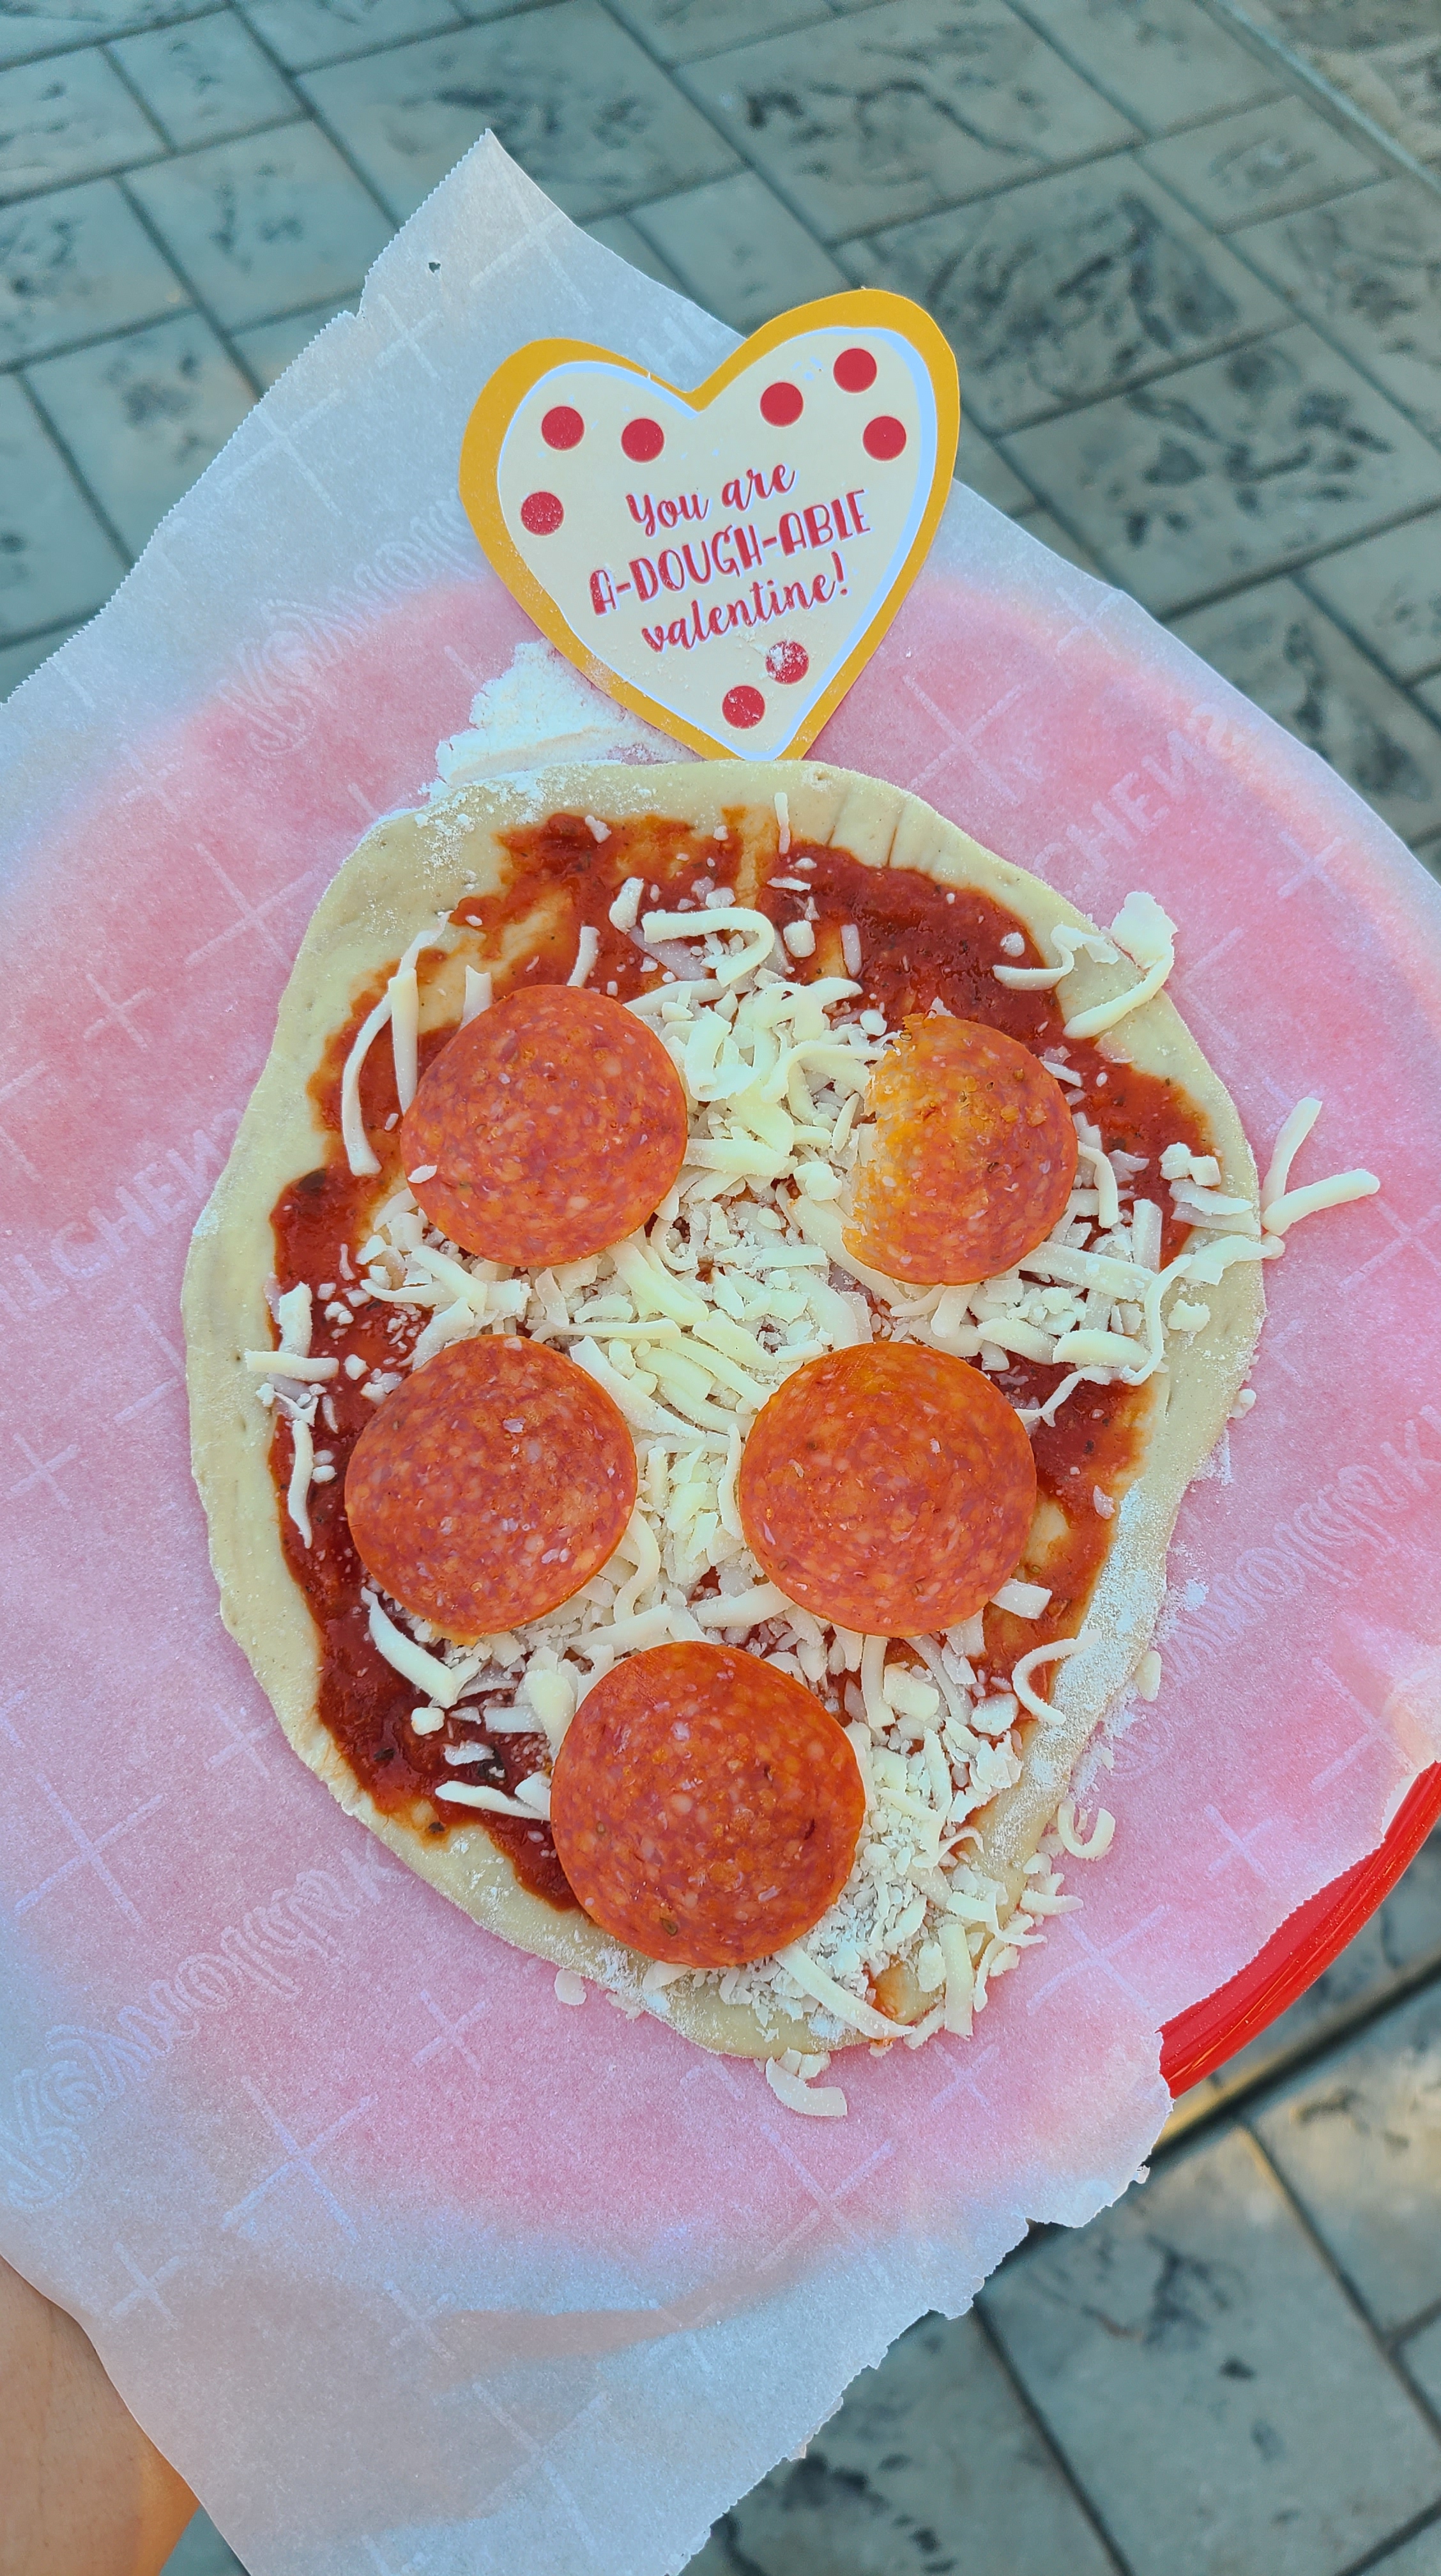
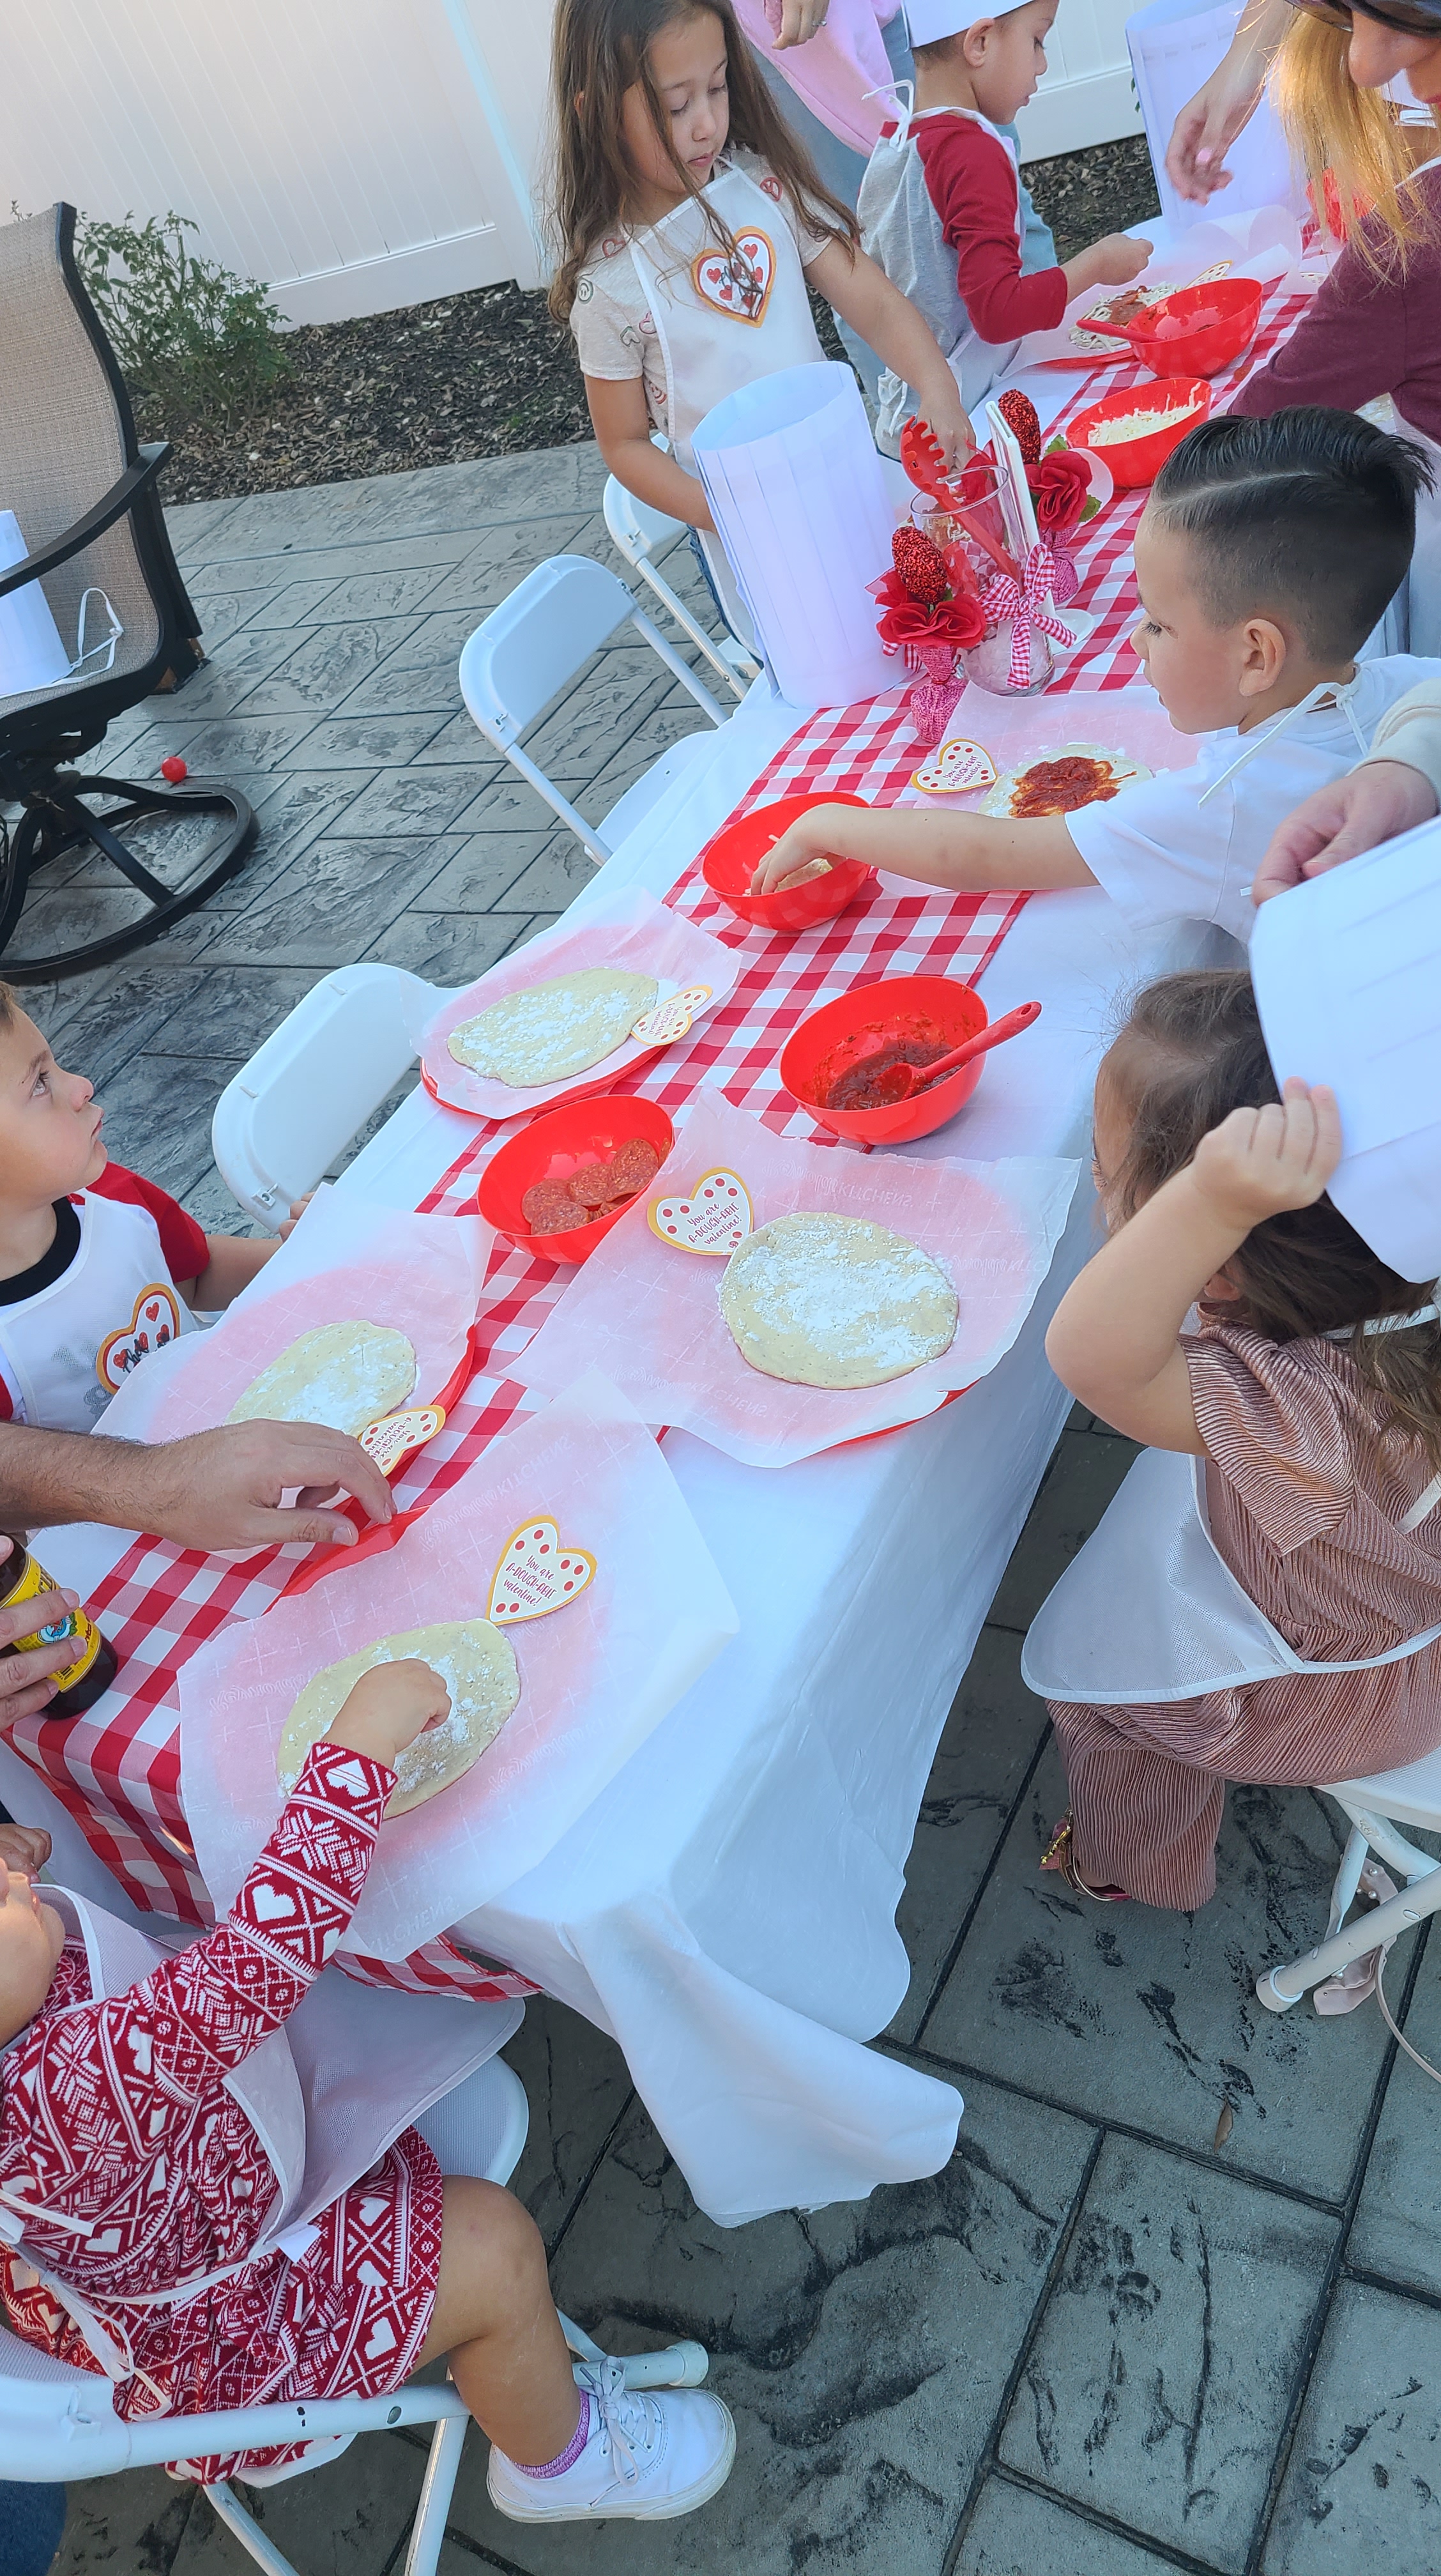
The kids had fun making their own pizzas. We kept toppings simple for them. Sauce, cheese and pepperoni. The dough was purchased at our local Trader Joe’s. We pre rolled it for them so all they needed to do was top it. We used a pizza oven to cook them but you can always use an oven and it works just fine.

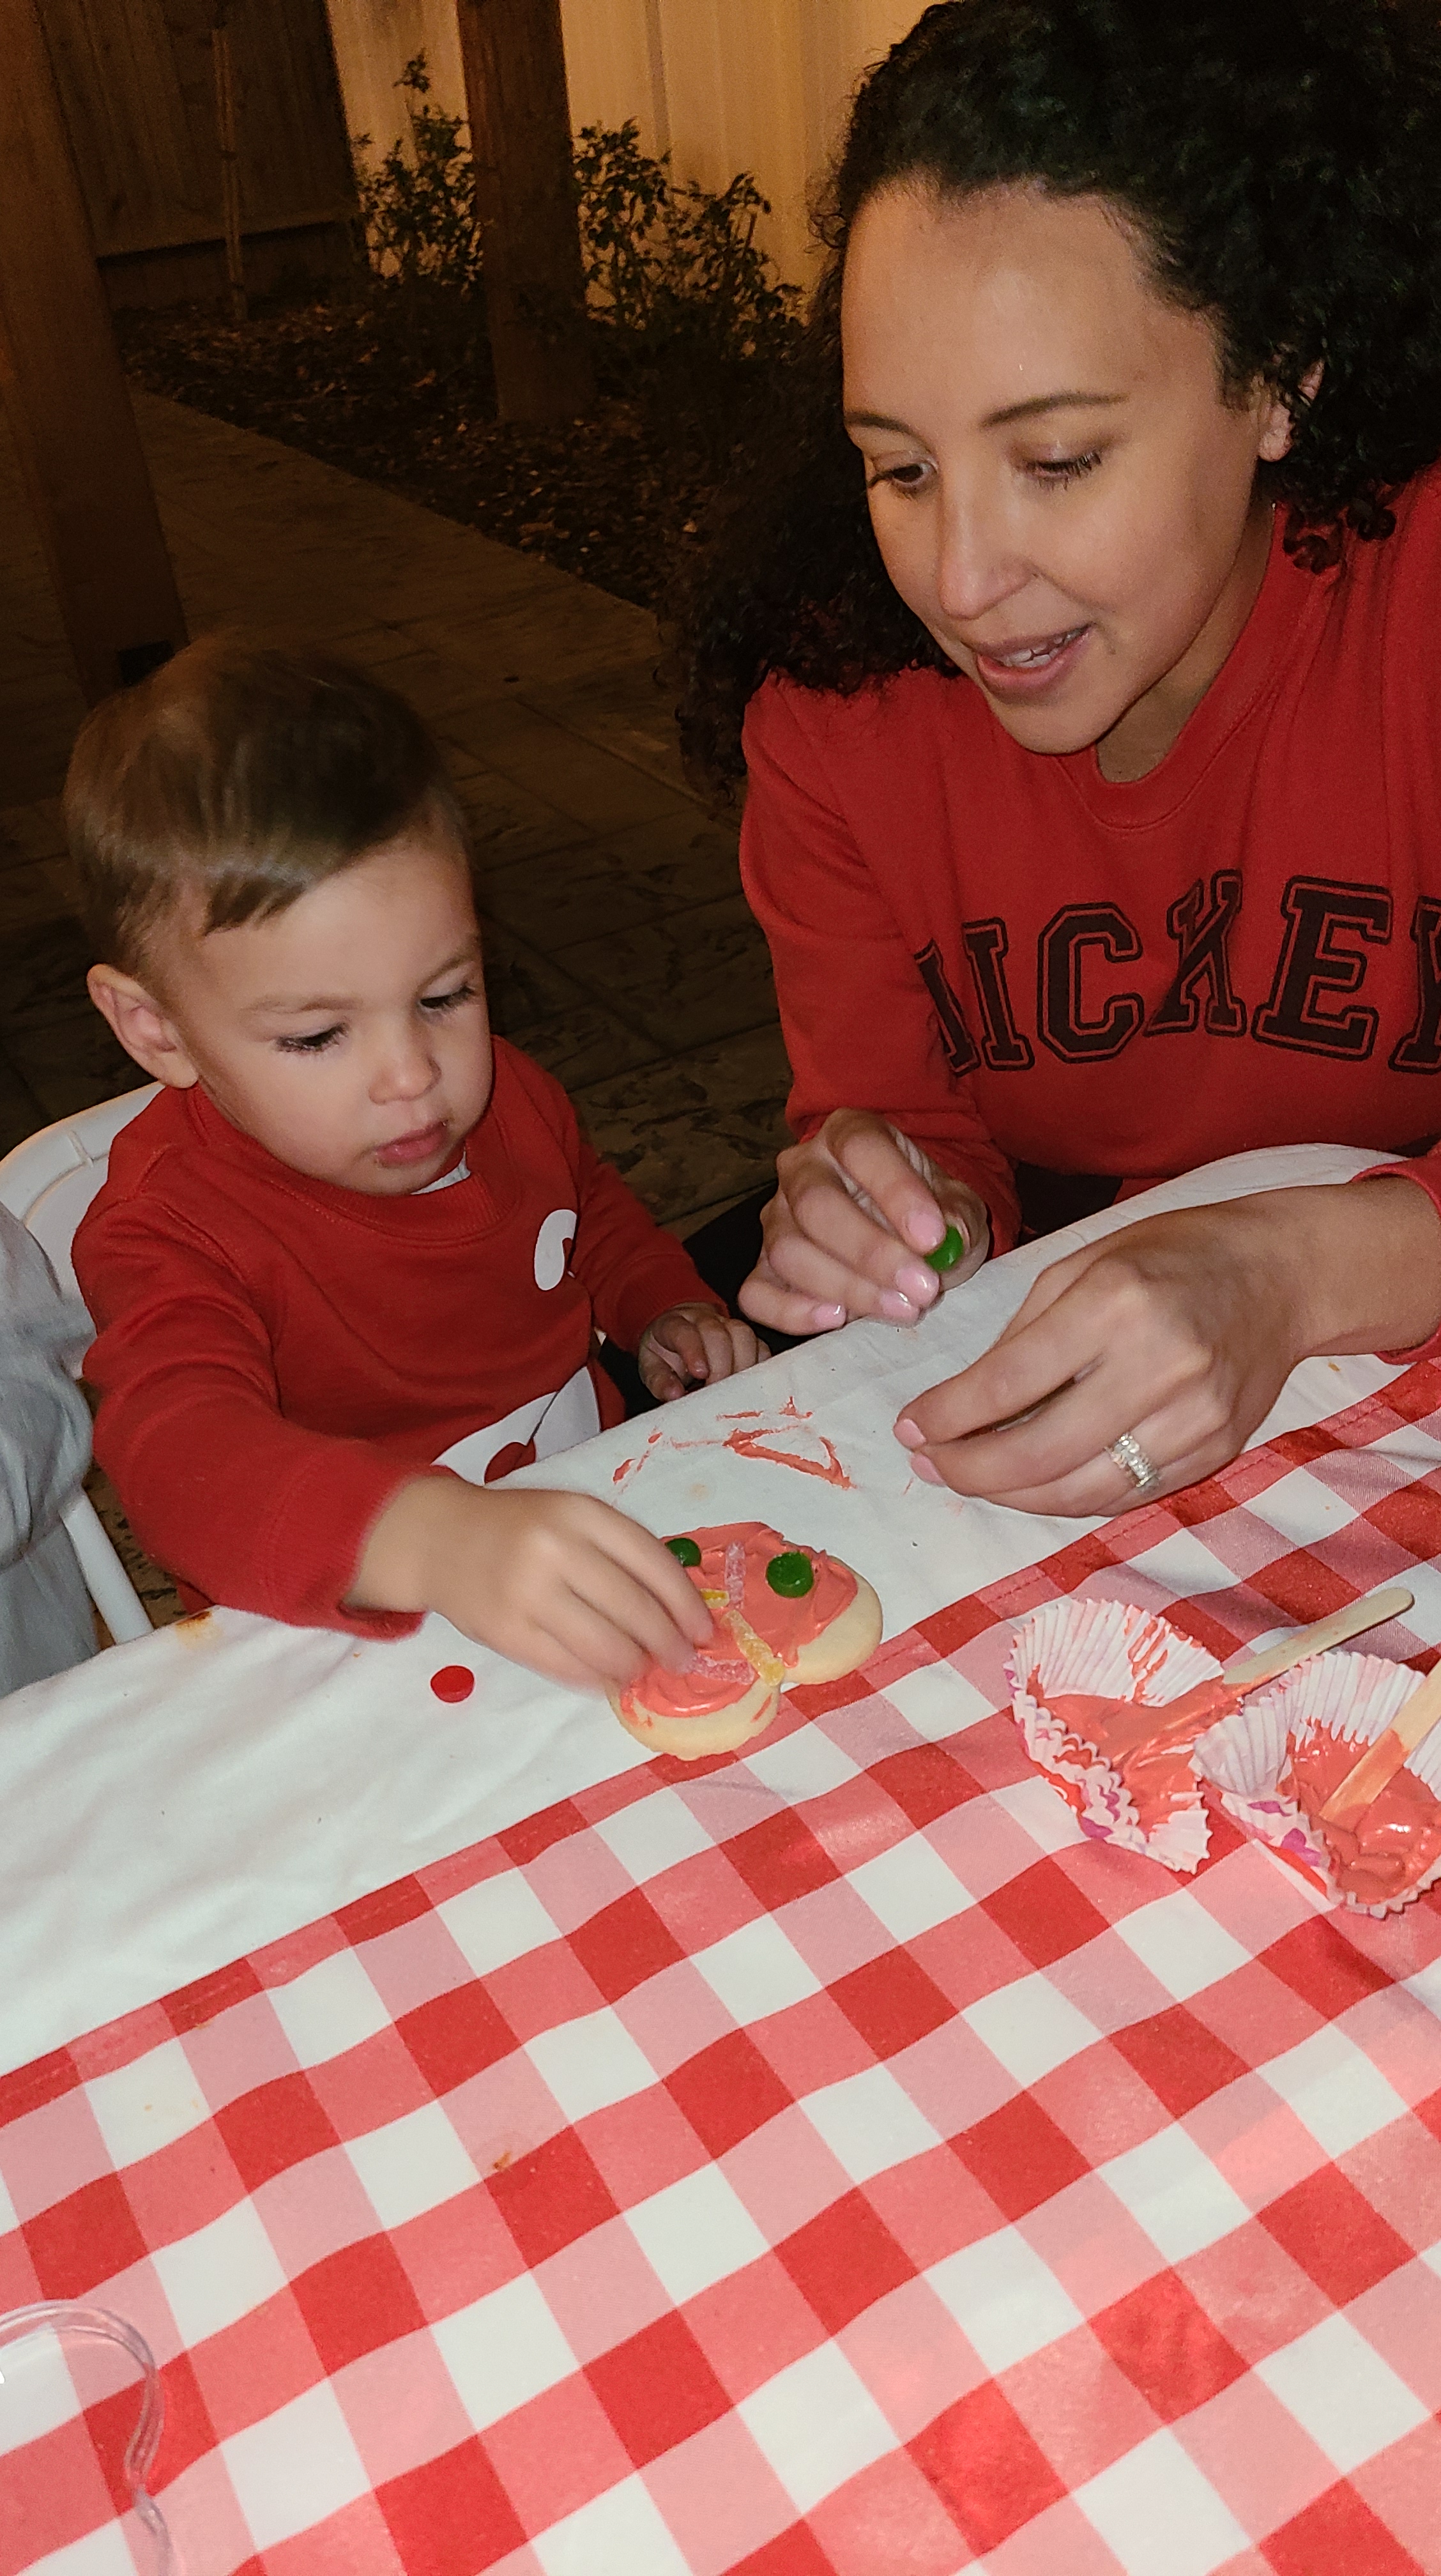
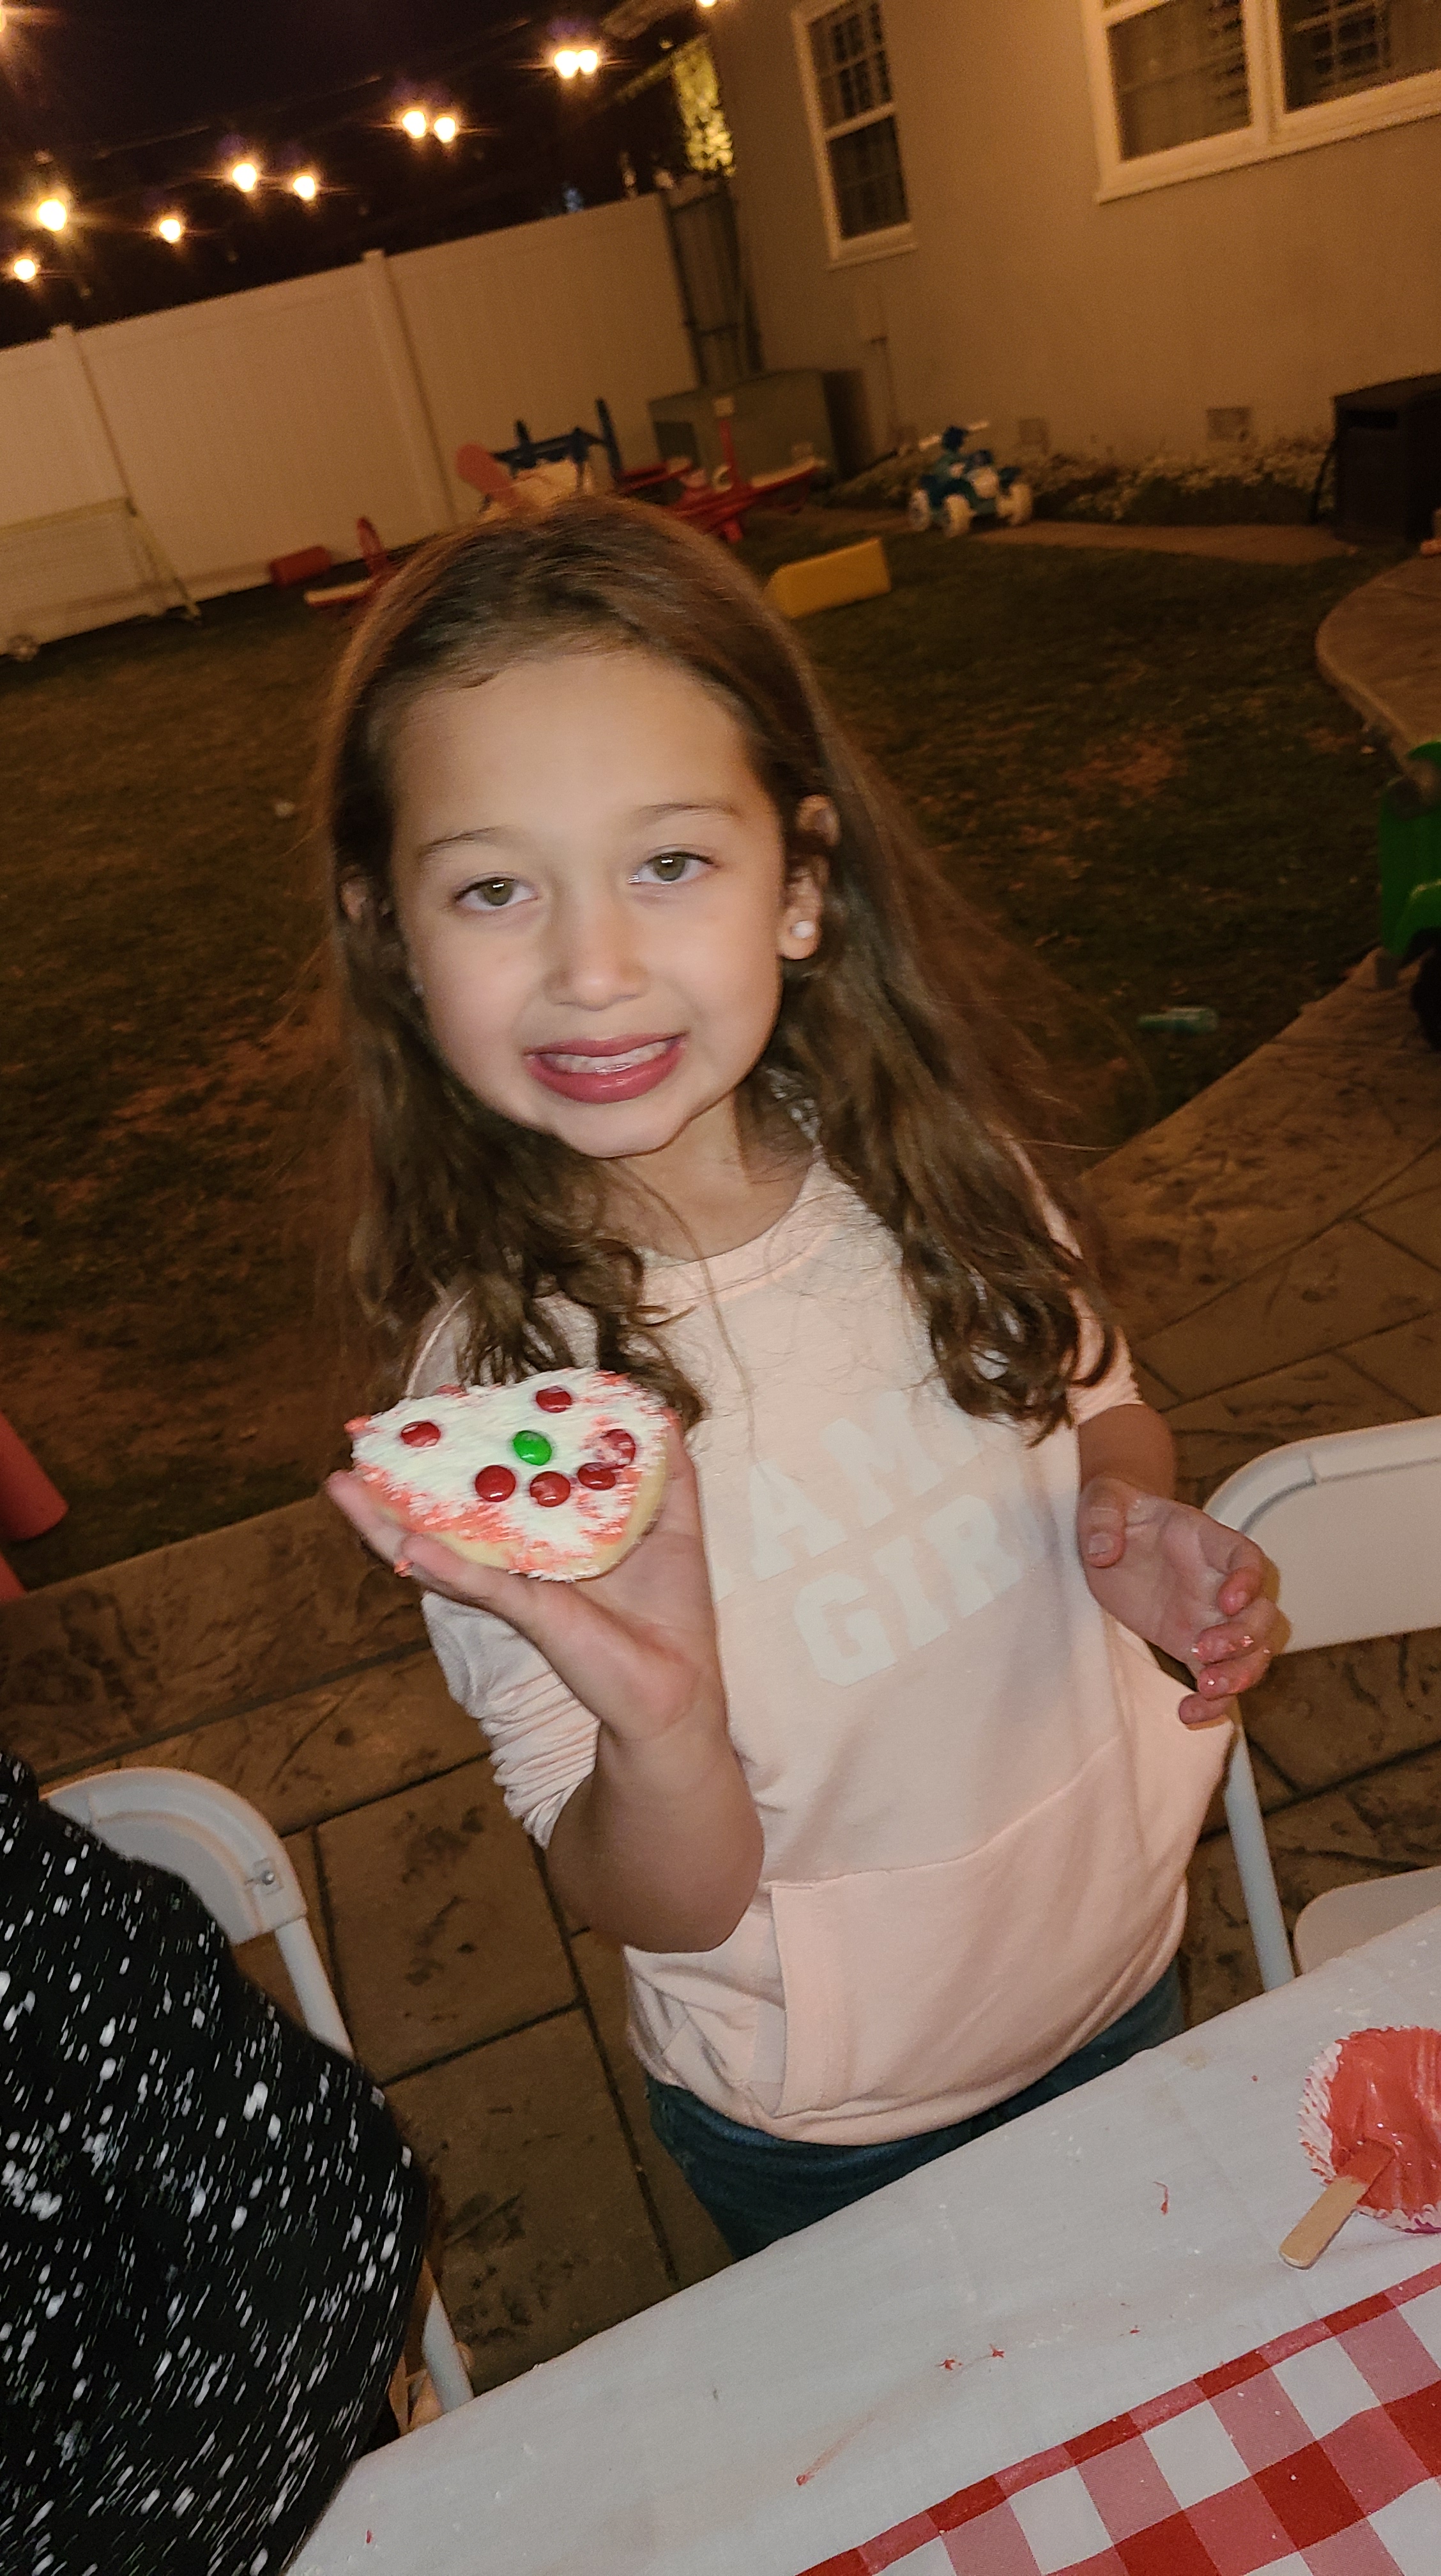
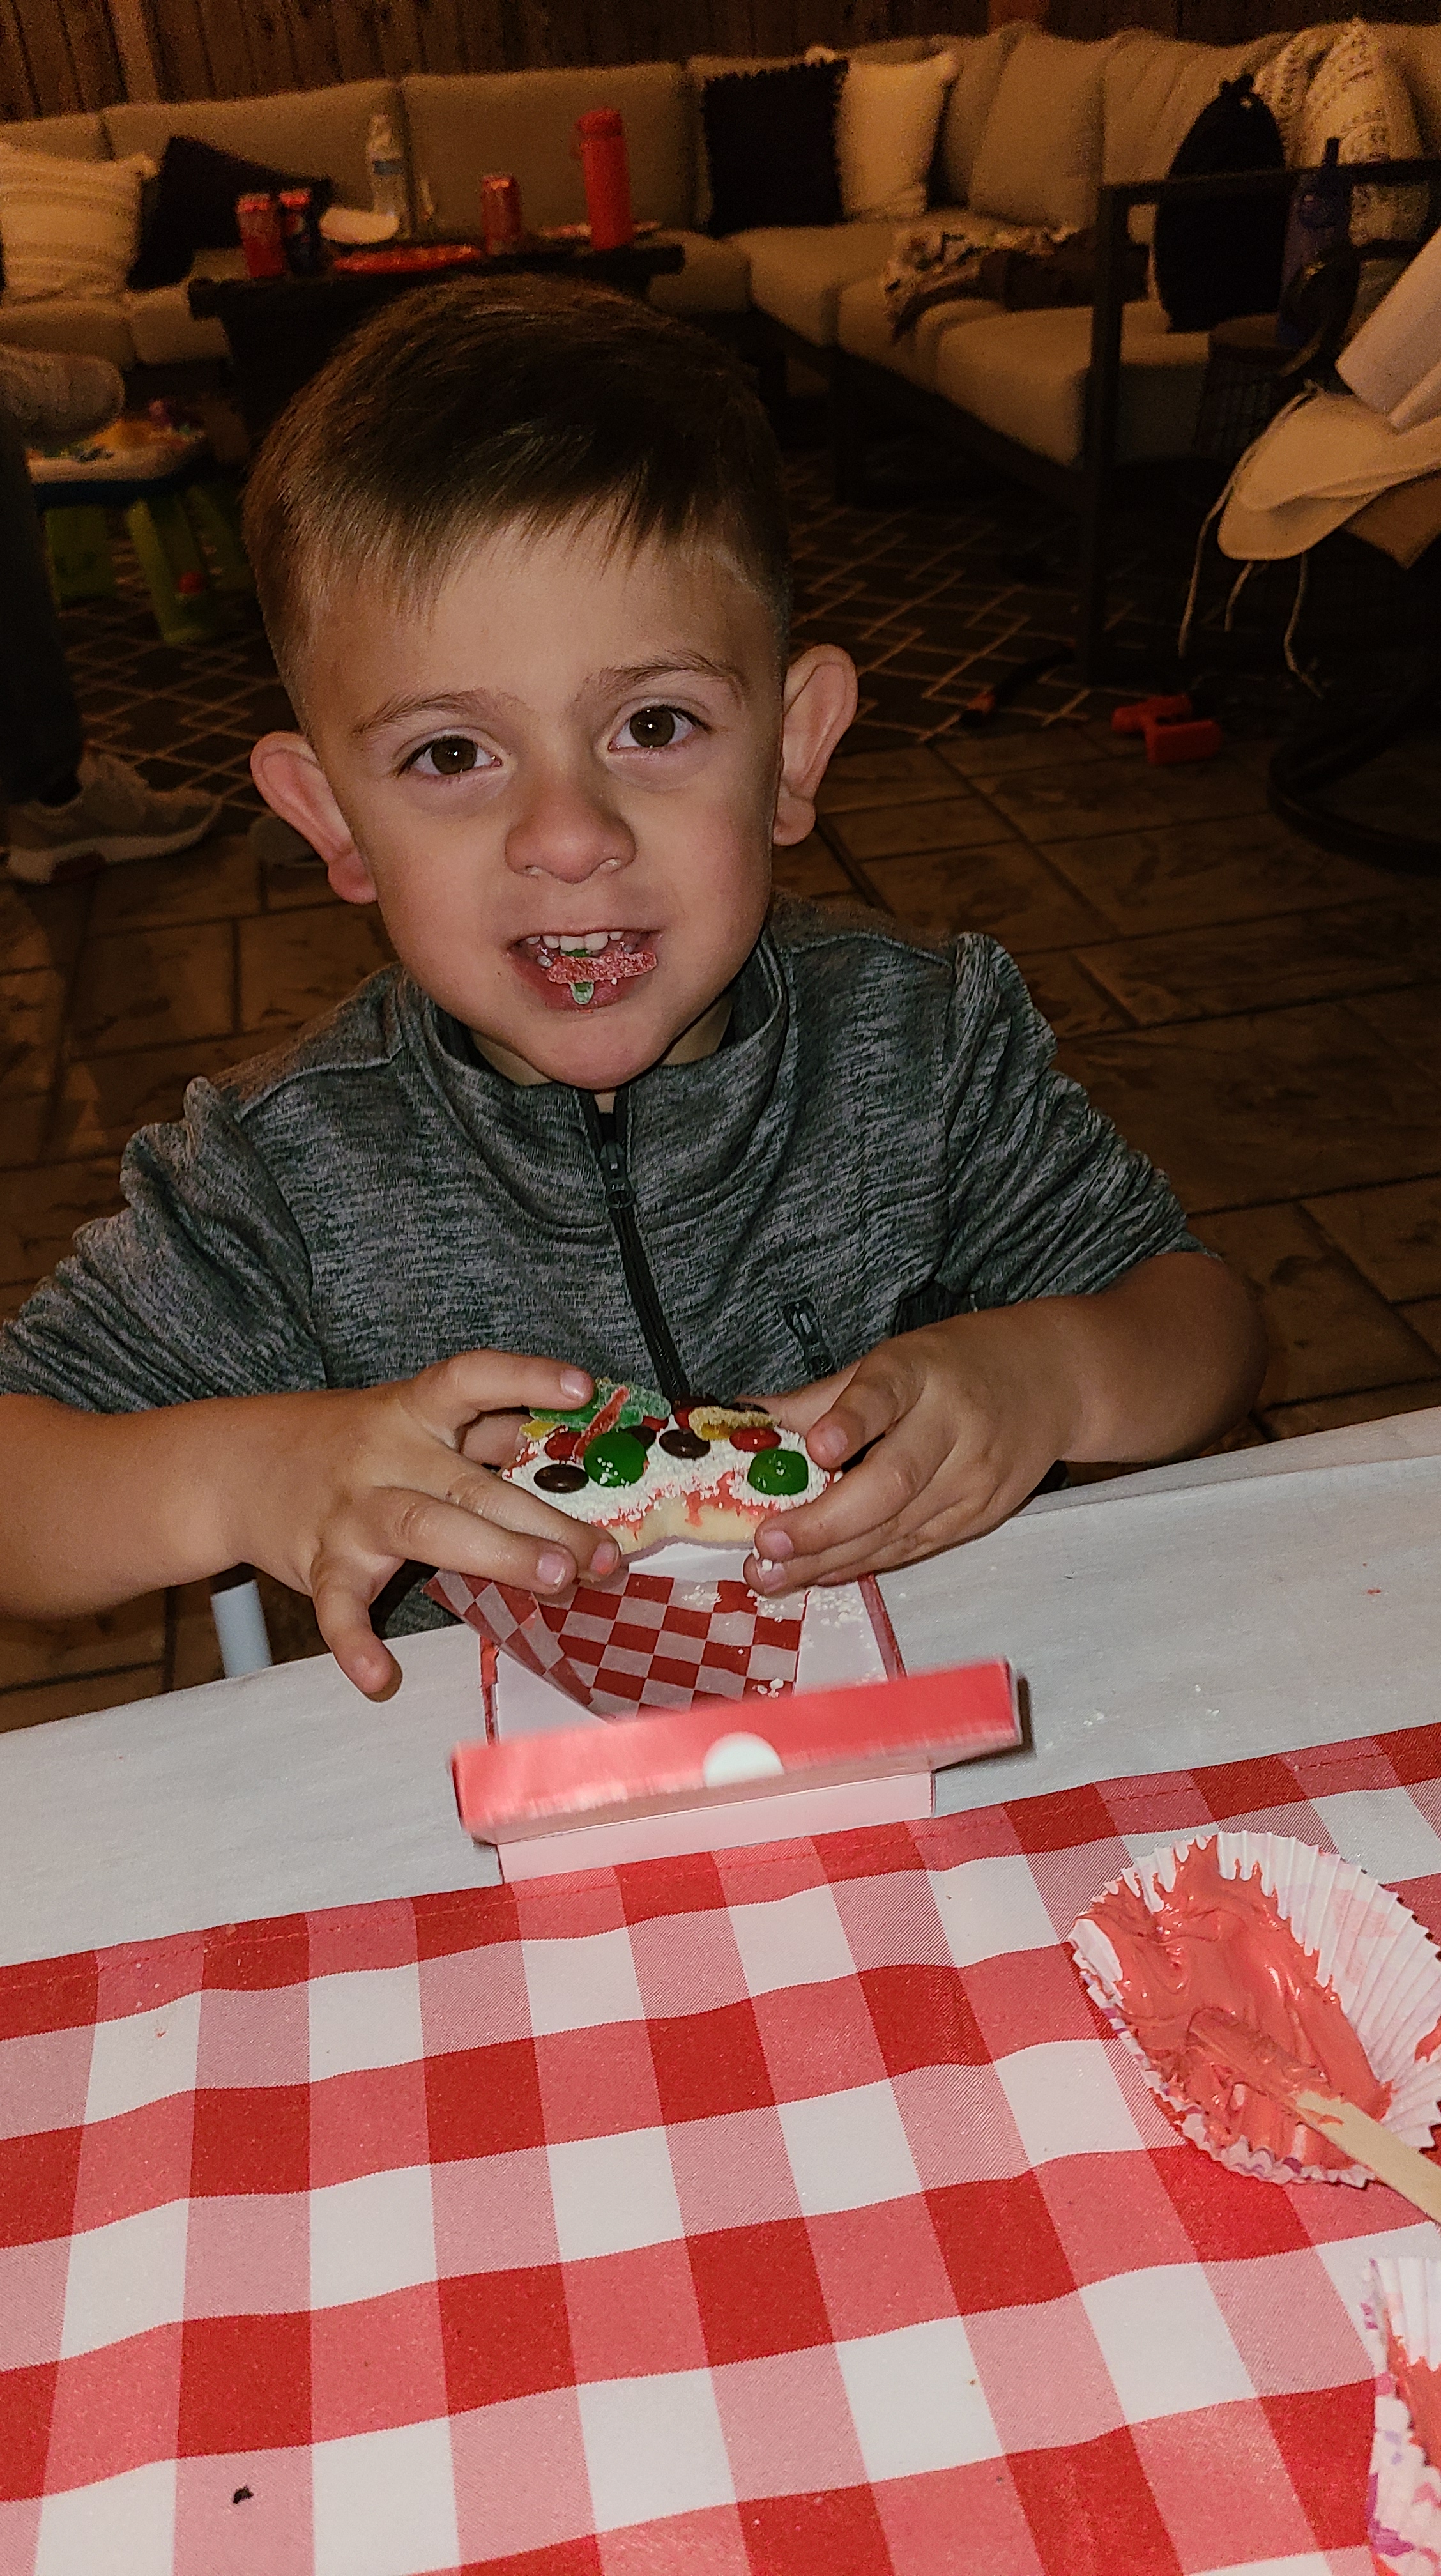
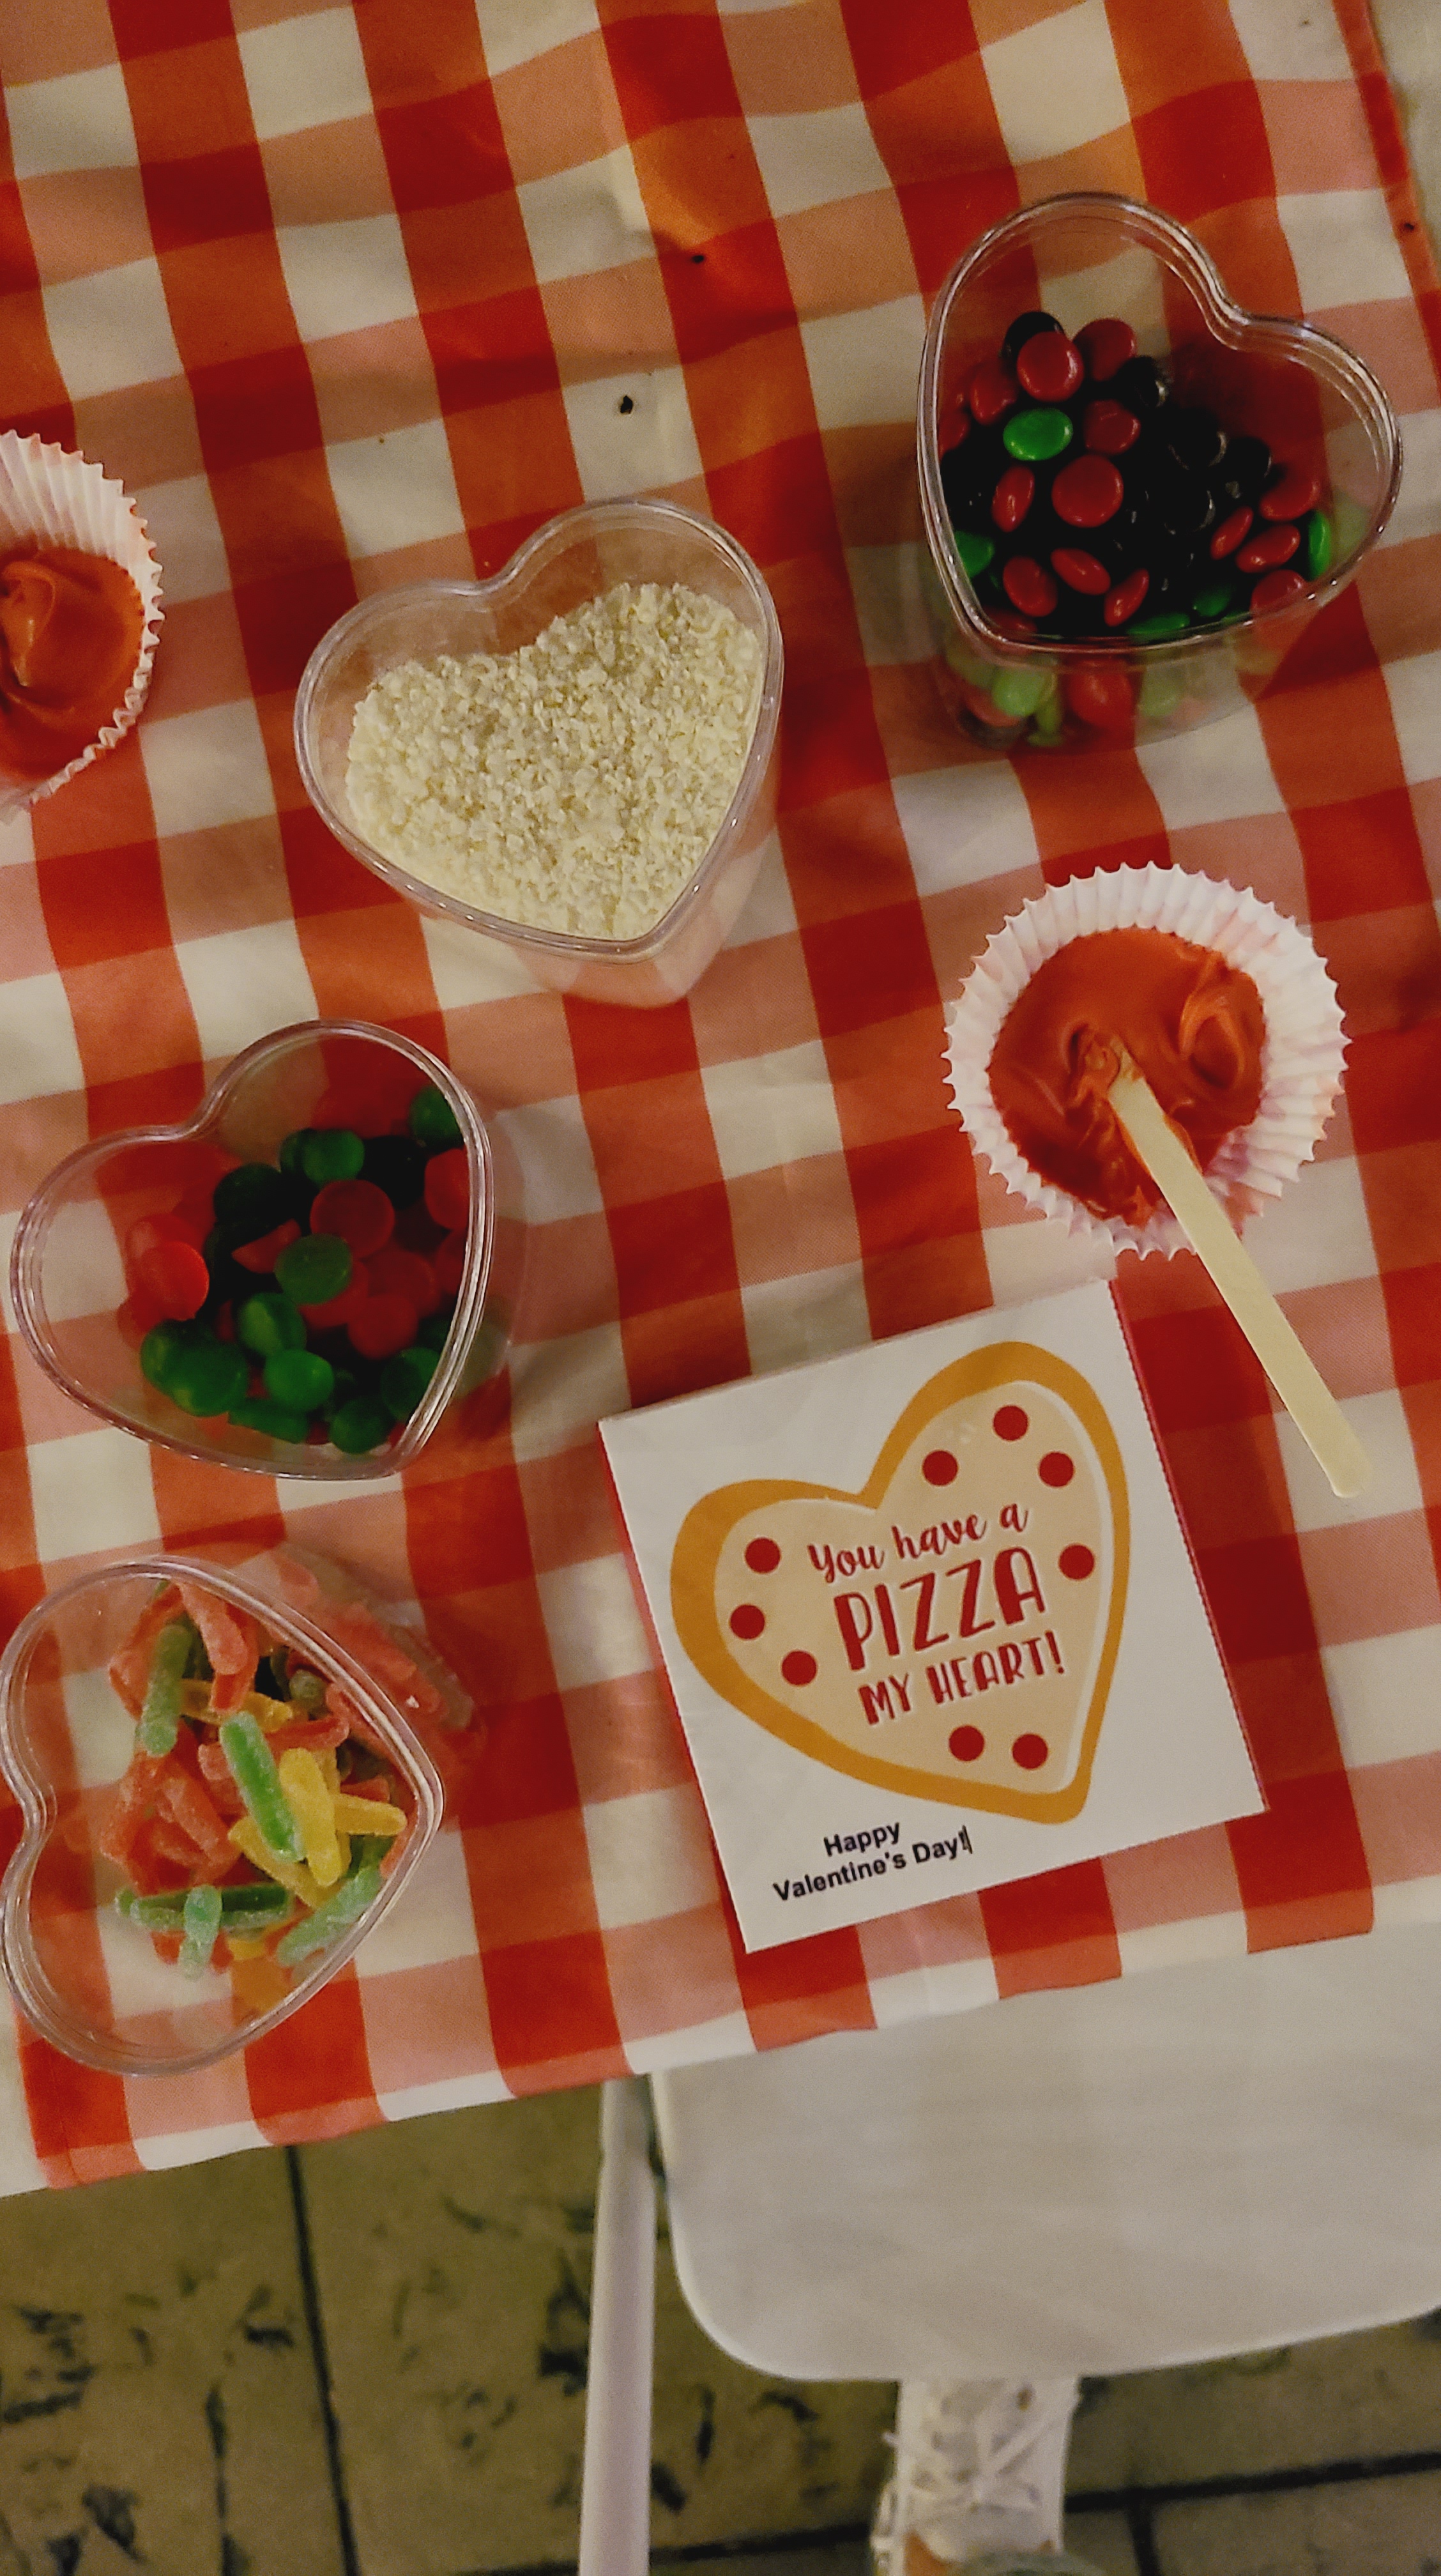
We had two other activities planned for the kids. One was decorating cookies. I thought it would be fun to make a pizza with our heart shaped cookies. The following is what we used but you can use any candy of choice. For the sauce we used red icing. For the cheese I grated white chocolate. For toppings, we used M&Ms, Sour Patches, and Dots.

This is the final result once it’s dry. You can use it as a vase for flowers or place a candle in it.

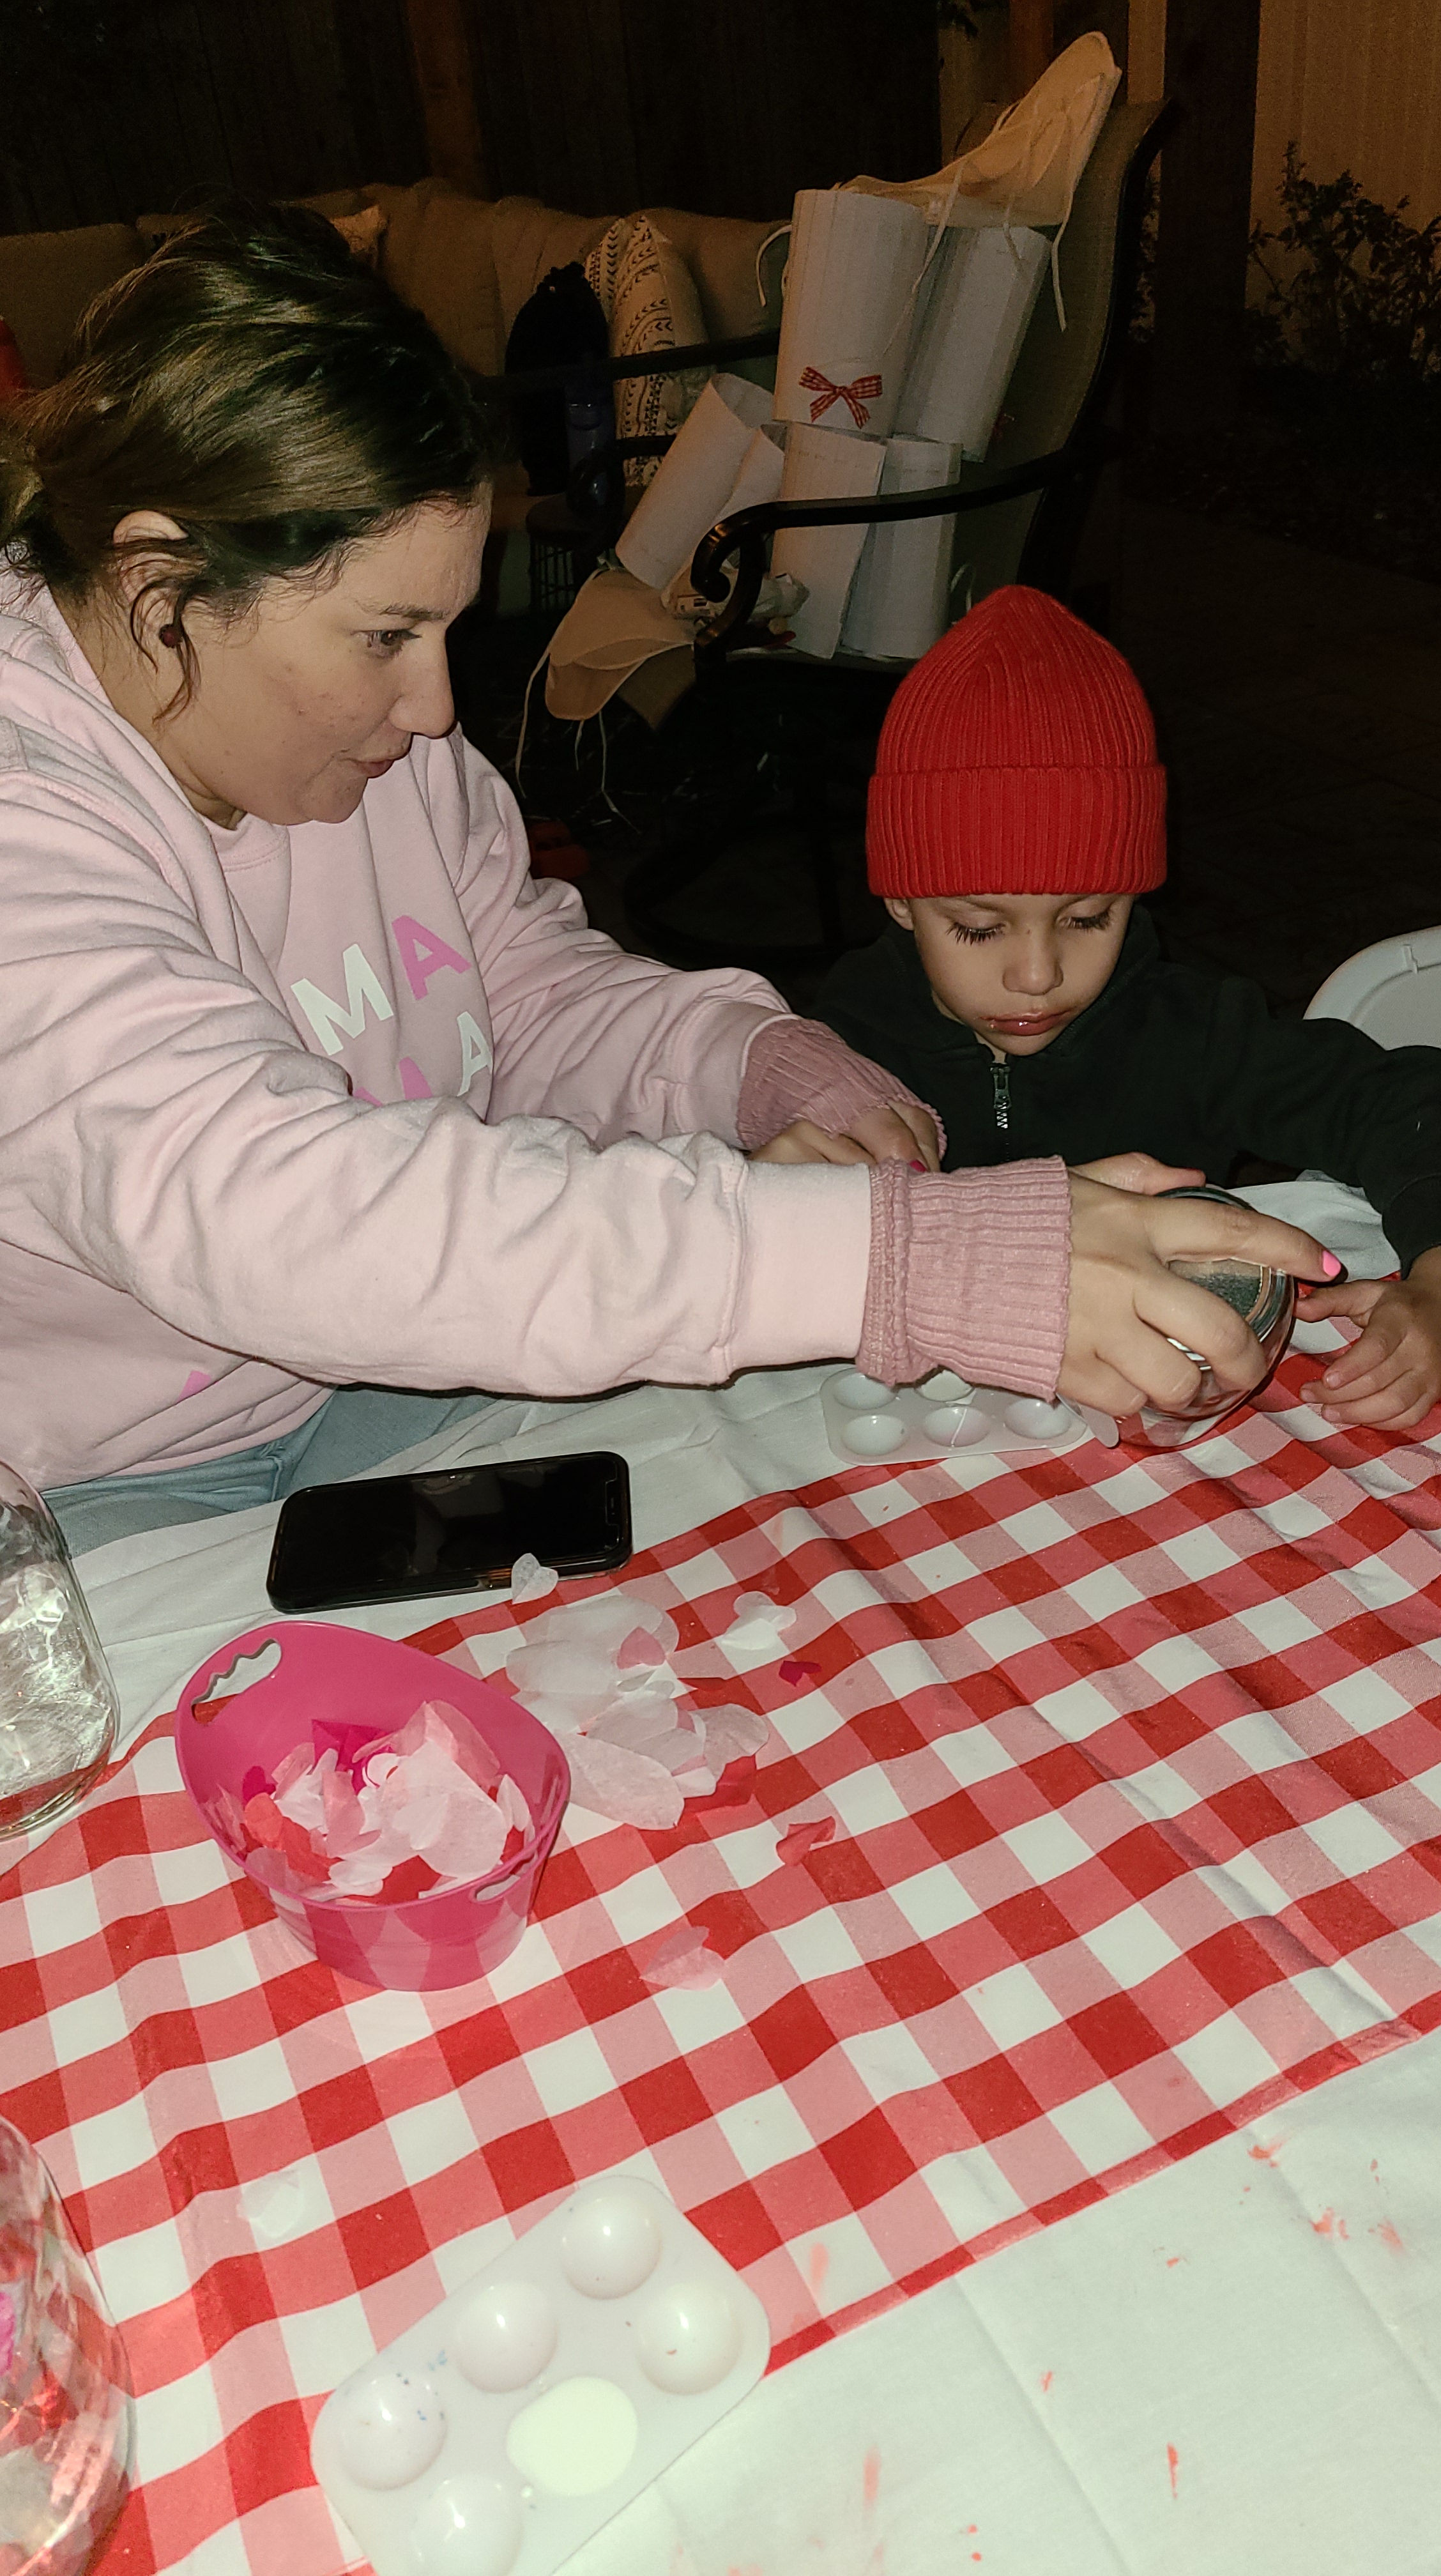
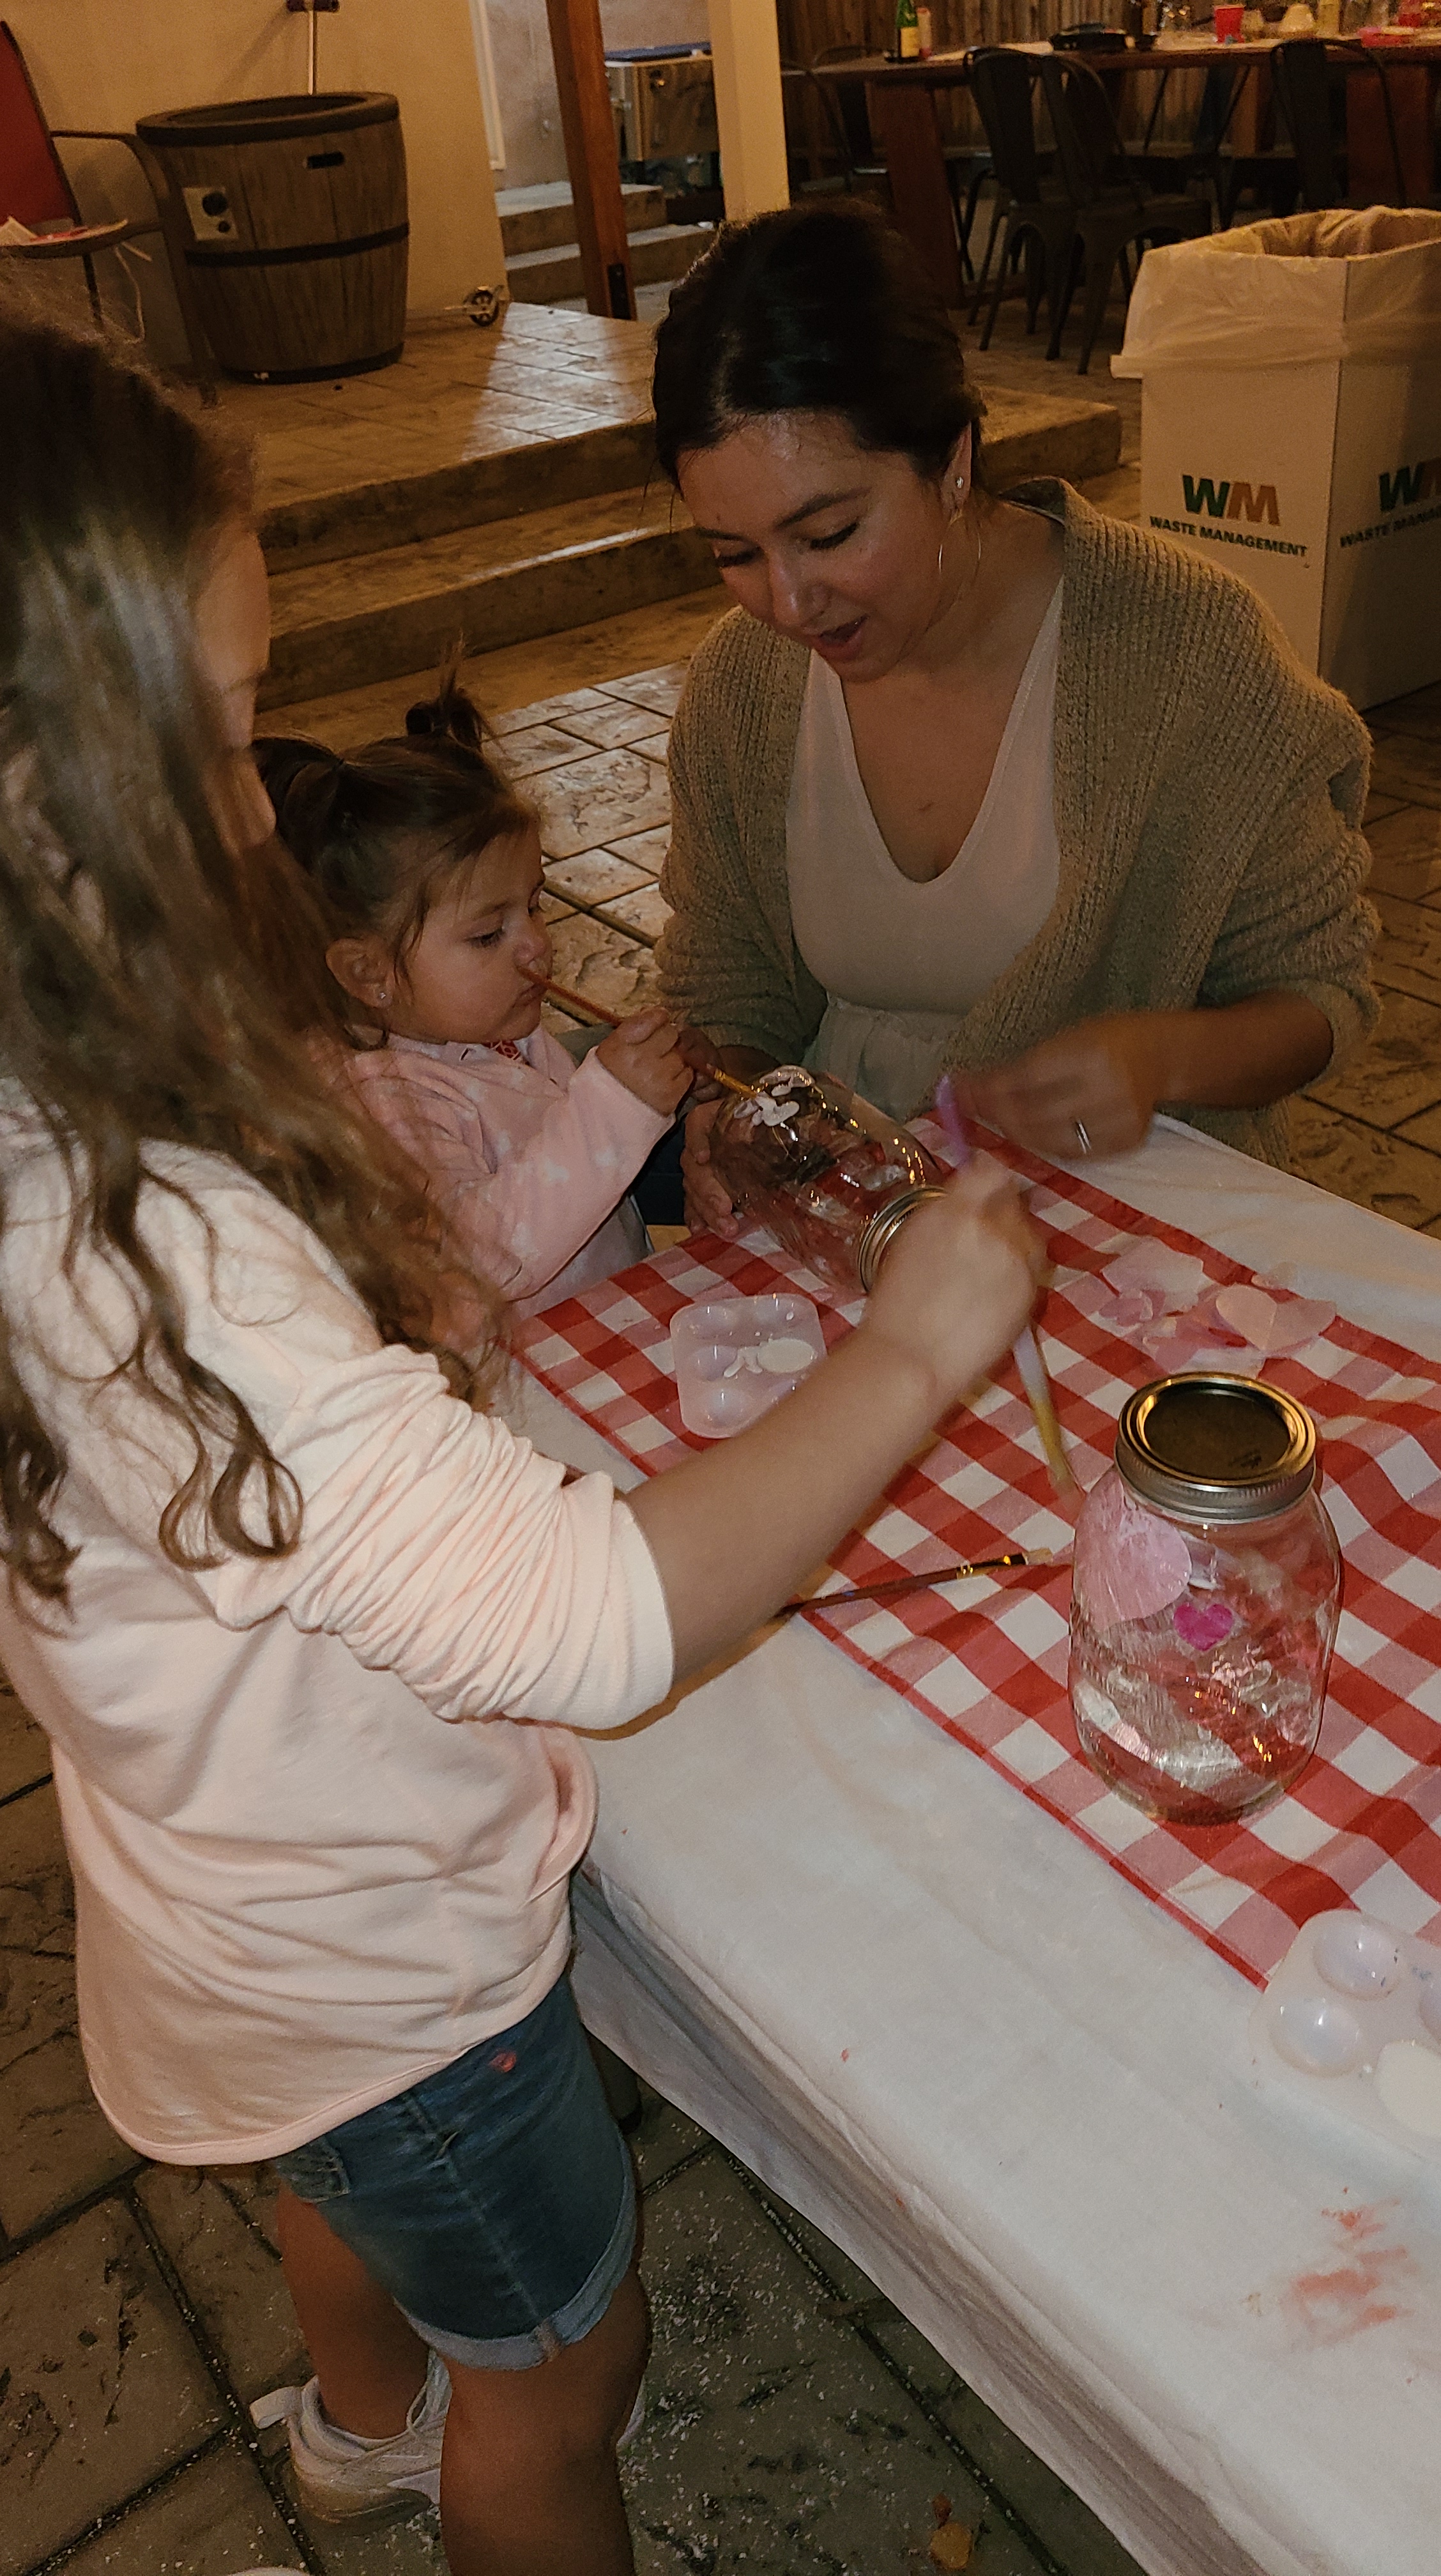
Overall this little party was so fun for the kiddos. And I, as always, enjoyed getting creative with the decor. I love to see my babies smile and have fun with their friends. They may not remember these days when they are older but it sure does bring such joy to my heart. These photo’s will show them how much effort their parents made to making sure they created some amazing memories.

Nightstand Transformation

I had this vision in my head of what I wanted a nightstand to look like for my daughters room. I couldn’t find it anywhere and if I did, it was a pretty penny. I began looking second hand, for something I could paint. Offer up had a few options, but once I decided to buy, they were gone. Don’t sleep on OfferUp! If you see something you like, buy it! 🤣

I ended up finding a natural wood nightstand on the HomeDepot website. It was $45 which I think it was a great deal! Especially because I was going to paint it. We bought the color I wanted. It was interior paint in a semi gloss finish. We also bought fluted trim that we were going to cut to the size we needed. We used two pieces and they were about 6ft each.

There was no priming or sanding done to the dresser. I just started to paint. I knew this nightstand wasn’t going to get used very much. It was basically to fill the space, so prepping in my opinion, wasn’t necessary. If you are painting big furniture that will be used daily, then I would recommend sanding prior to painting and even finishing with a special top coat. For this project, I just gave it about 3 coats of paint to have an even finish.

Once I was done painting my husband cut the trim to the size needed. We used a wood glue to help them stay in place.

I debated whether or not to stain the wood, but in the end, the natural look is what I loved. We added a knob and it was done. It is just what I envisioned in my head.

The finished look. I love this little corner so much!

Home Mood Boards

I’ve mentioned before that we are remodeling our home. What the initial plan was, was to expand my living room to add space for a dining table. It has always been a “want” for me. To have my family gather around the table for dinner and talk about our day. But, with the current living space, I just didn’t have a place for a table. Of course, we were fine just the way we were, but we financially had the opportunity to start this project, so we decided to go for it. It was my dad and husbands bright idea, to add to the whole house. Might as well go big right? So here we are, almost doubling our square footage. Making our living room larger, 2 bedrooms larger, our bathroom is getting larger and we are adding a laundry room. What a blessing!! And did I mention that this is a DIY. My husband and father are doing as much as they can and that is why this process has taken almost a year to complete. We have had help from friends and family and we are so blessed with all the help. Truly grateful!!

We are finally nearing the end. We are adding finishing touches and soon enough we get to CLEAN and really make this place feel like home again. My favorite part is the decor, so you’d think it would be easy to pick and buy what I need right? Well, its not that easy. So many ideas are running through my head. Many times my husband has had a design question that I had to answer on the spot and I was so indecisive. I needed to finalize all my thoughts that were floating in my head. I’m a visual person so I had to gather my thoughts for each room on paper somehow. I decided to create a mood board for each room.

Creating a mood board has worked out so well for me. As we are out shopping for things, I refer to these boards so I stick to my plan. It has changed a bit, but for the most part, this has helped me stay focused with my original design plan.

First up, our bedroom. My vision is for it is to be bright. We purchased a new bedroom set that is a natural stain wood with dark hardware. I love it! The walls are all white. Maybe down the line, we can make an accent wall behind the bed. I have a window that looks to the back yard. I want to buy some light curtains and put either an accent chair or a recliner. Hubby wants a recliner in the living room. I’m trying to see if we can make it work. If not, it will go in the bedroom. Also, we have a whole wall of closets. I’m hoping we can design and DIY some closet doors in the future because I haven’t found any I like. For now, they will remain open.

Next is our bathroom. Our home has two bathrooms. We only remodeled the one attached to our room. It was so tiny before so it was so nice to add to this room. We made the old bathroom a wet room which is basically a big walk in shower. The addition to the bathroom is where we will place the vanity and toilet. I really wanted some bold pretty tile in here but I was scared to commit. I know styles change often so I decided to stay neutral in here as well. We chose white/grey marble tile for the shower and we purchased some beautiful teak wood for the shower floors. The vanity was a little hard to find. I wanted something with natural wood and a dark hardwood without paying thousands of dollars. My dad offered to build it but I did not want to add to the to do list. I ended up searching on offer up. I found a wholesaler who was selling vanities at the perfect price and it was just what we wanted. I highly recommend checking offer up for those deals!

Speaking of bold tiles, the one place I felt comfortable with a pattern tile was in the laundry room. There were so many beautiful tiles at Floor and Decor but this one I fell in love with since day one. It also matched the gold hardware and blue cabinets that I wanted in this space. I have a vintage utility sink that is on its way! This space is coming together and I am loving it. Doing laundry is definitely not a fun task but maybe doing it in a cute space will make it better!

My Ava girl wants a rainbow room. By rainbow I mean red, orange, yellow, etc which is too hard on my eyes. I have convinced her to let me do a muted rainbow. I promised her it would be pretty. And since she is getting older, I want her to be able to grow into this room and not have to remodel it for a few years. I am planning on a DIY ombre backboard for her bed. I have a table that belonged to her grandma that I am contemplating painting white. Then by her window, maybe create a little reading nook with some cute poufs and floor pillows. The ones pictured above are from Urban Outfitters.

Next area is the new dining space that I am so excited to finally have. I want a large dining table with black chairs. I found this really pretty table from Crate & Barrel and these chairs are from Home Depot. I want this space to be simple and pretty. Another DIY for this space will be a built in electric fireplace in black with a wood mantel. I am already in love and I can already picture family enjoying dinner around the table.

Final room is the new living room space. This room was the most difficult. We had to find a tile that matched out existing tile which was so hard. There weren’t many options when we did our floors years ago and now there are so many that it was overwhelming. But I think we found one and we were pretty close. We decided to lay the tiles in a herringbone pattern to offset the two different tiles. Hopefully when we deep clean the house we can see the true colors of the floor and cross our fingers that there isn’t too much of a difference. Aside from new floors I am trying to give this space a new look without spending too much money. Planning on buying a new rug and some new pillow cases. I have a ton of pillows that I need to reuse. I think adding some new wall pictures in here will finish this space.

Completing my home with all the decor pieces will take time. I will try to buy a few things at a time so that I’m not spending too much money at once. So bare with me as I share photos of the completed space.

I can’t wait to share more photos with you as it all comes together.